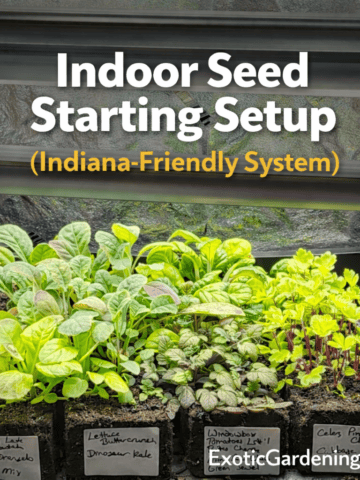
Here are some seed starting tips that will help you grow seeds indoors without grow lights.
Now, the truth is, seedlings need light so they are not leggy, but there are many ways to make sure they get light without using grow lights.
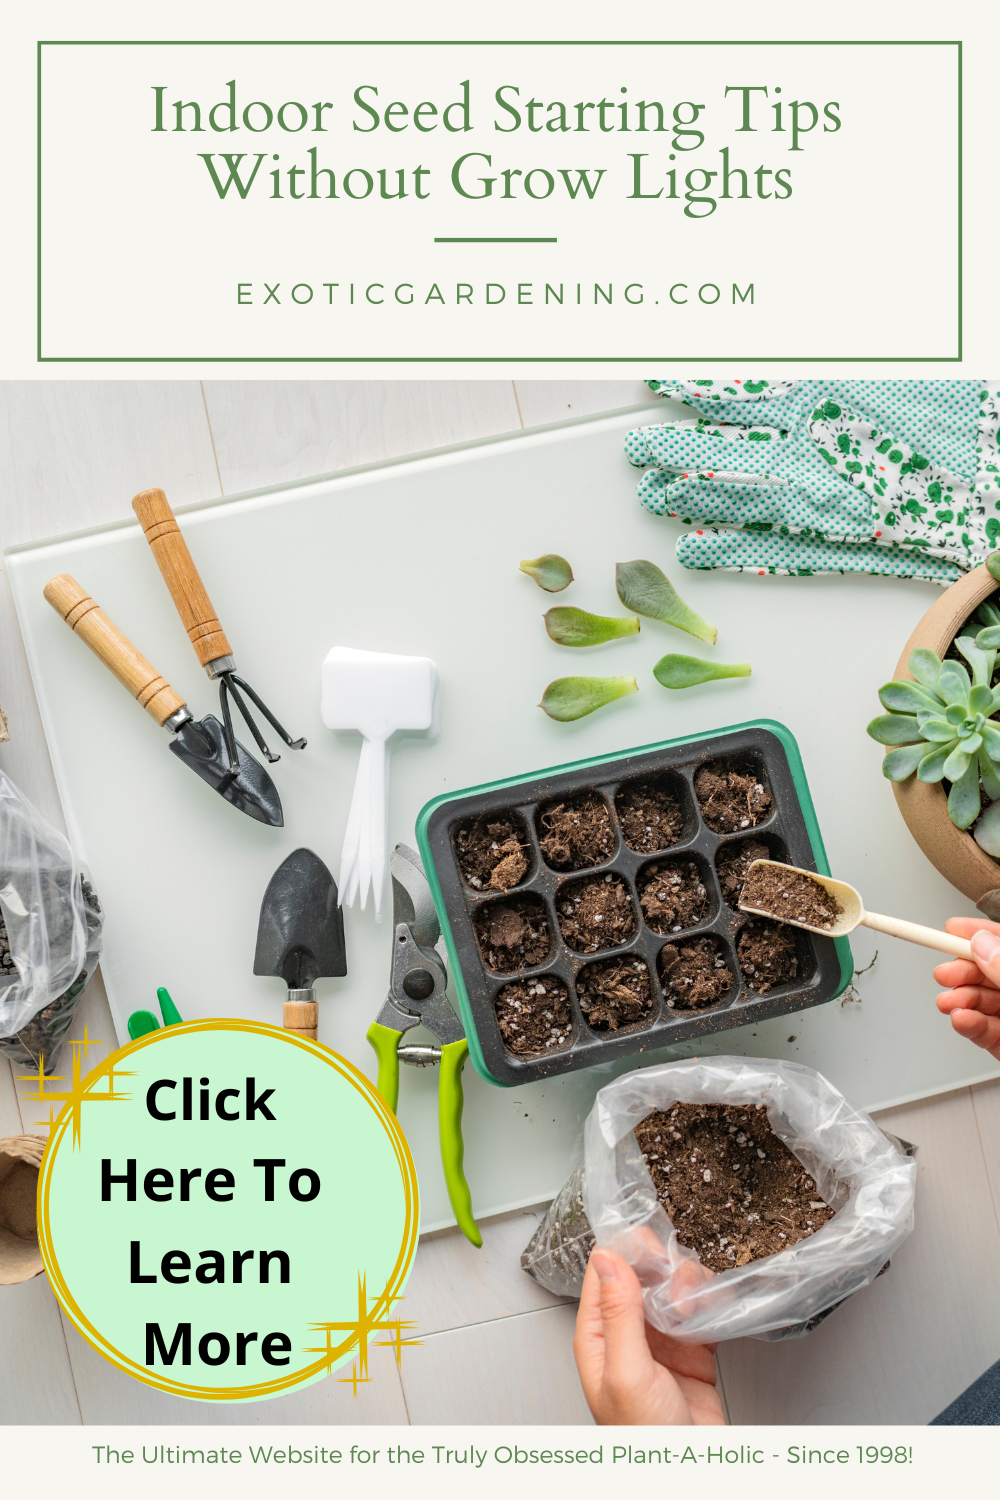
Yes, You Can Start Seeds Indoors Without Grow Lights
The truth is, it is seed starting season.
Today I thought I would share a video I did on Facebook Live about starting seeds indoors without grow lights.
While starting seeds indoors without grow lights does require a bit more work because you have to move the plants outside during the day, and bring them back indoors before it gets too cold outside at night, grow lights can be costly - and I know they are not in everyone's budget.
So this technique is super easy, it is very similar to winter seed sowing, only you have to bring the flats of seeds indoors once the outdoor temperatures begin to fall in the late afternoon.
This lets the seeds germinate and grow while hardening off at the same time.
In the end it saves you time because the seedlings you grow are ready to go into the garden once the danger of frost is over.
I truly hope you enjoy the video and that I answered some of the questions you had about how to start seeds without a grow light.
10 Easy Seeds To Start Indoors
I want to start off by giving you 10 easy seeds to start for those of you that have not started from seed indoors before.
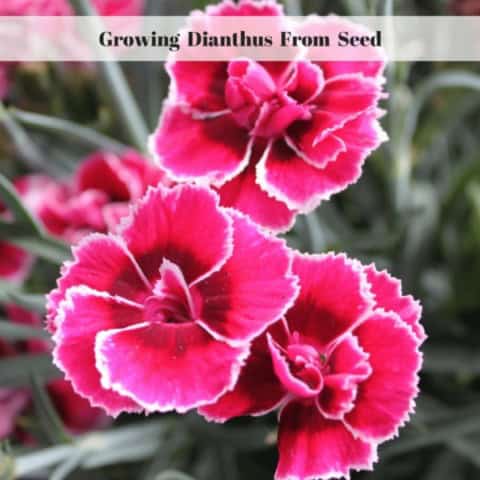
These 10 seeds are tomatoes, peppers, cabbage, basil, marigold, calendula, snapdragon, celosia and dianthus.
You can start these indoors and you can set them outside during the daytime.
That's the big trick for being successful without using grow lights.
You go ahead and start them indoors.
You start them in soil.
Use the normal germination techniques that you would use and then in the daytime, when it's above 50 degrees, you set the seedlings outside.
Prevent Legginess With These Seed Starting Tips
What happens when you do this is these seedlings actually become accustomed to the outdoor temperature during the day and the indoor temperature during the night.
The reason you bring them in during the night is so that they have the warmth that they need so that the seeds germinate.
This also prevents you from having to go through the hardening off process.
However, the main reason you want to do this, if you don't have grow lights, is so that your plants don't get leggy.
Are leggy plants going to die?
No, they're certainly not.
They're just not going to be as compact, as stocky and as nice as what they would be if they were getting adequate light.
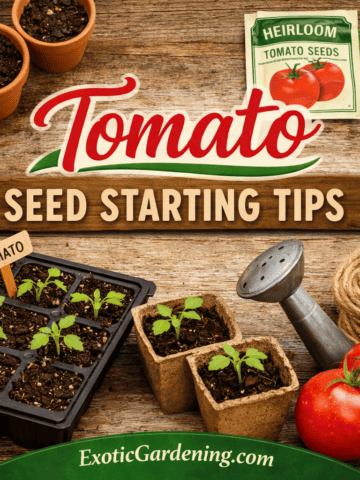
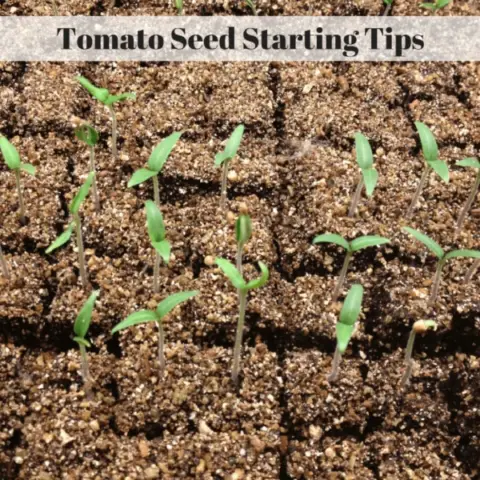
Quick Seed Starting Tips For Tomatoes
So let's take tomatoes for example.
Tomatoes are one of the easiest seeds to germinate.
They will normally germinate within three to 14 days from the time that you put them in the soil or put them in the paper towels.
I usually plant tomato seeds using the damp paper towel method.
However it is ok to go ahead and plant them in soil if you prefer.
Put a little sprinkling of vermiculite or seed starting soil on top.
I do recommend that you go with a seed starting soil mix, because if you don't, your soil could have pathogens in it and it could cause your seedlings to dampen off.
You don't want to go through all the work of getting seedlings started just to watch them die.
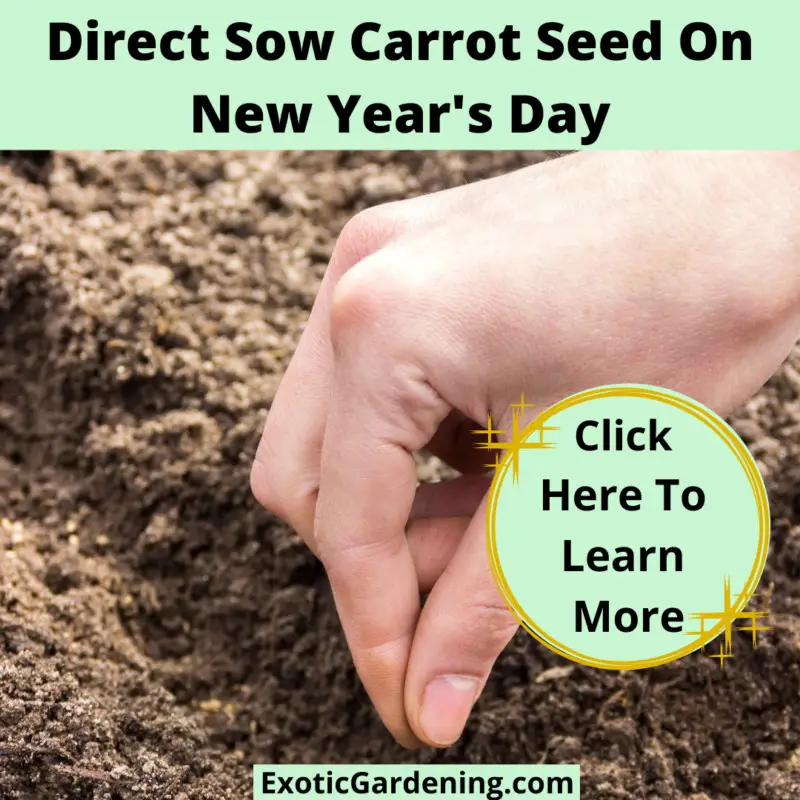
Start tomato six to eight weeks before your last frost date in your area, in Indiana that's May 15th.
There is no need to use a heat mat.
Just go ahead and plant them like you would if you was planting them outside.
In the daytime set your flat outside in a sunny location that has a little bit of protection to it.
Now you can do this up against the side of your house.
If you have a cold frame, you can set it in there.
An unheated greenhouse works too.
If you don't have seeds starting flats, you can use two liter pop bottles, or you can use milk cartons or empty water jugs, as long as they are clear.
Tomatoes are a warm season plant, so you need to bring those inside at night because if you don't, it's going to delay germination and possibly even kill the seed off because it's going to get too cold.
Paper Towel Seed Starting Tips
Here are some paper towel seed starting tips.
This is my favorite method of starting seeds.
If you're a little unsure of what you're doing, or maybe you don't have a lot of room to put all those flats, but you want to grow something anyway, germinate your seeds in paper towels and then transplant the seedlings.
That way you know what is growing and what it not.
What you want is two layers of paper towel on one side, and two layers of paper towel on the other side.
You are going to put your seeds right in the center, then fold the paper towel over the top of the seeds.
Then simply slide the paper towel into a plastic zip bag.
You can get small plastic baggies at places like Hobby Lobby or Walmart in the jewelry section.
Once the paper towel is inside the bag, just seal it up, then put the bag in one of those plastic shoe boxes put the lid on and check on the seeds every day.
Once you notice the seeds beginning to germinate, take tweezers, making sure that you do not touch the and very gently lift the germinated seed up off of the paper towel and plant it.
I bottom water the container so the soil stays moist and I add a sprinkling of vermiculite on top to keep the seedlings moist.
Otherwise the soil is going to suck all the moisture out of the seedlings roots and they will die.
Seed Starting Tips For Older Seeds
One more thing I do want to mention here is to not get discouraged if the seeds you sow - regardless of the method used - do not germinate in a timely fashion.
I was feeling really down this year because my seeds were old and not germinating.
Now I know the germination time can be slower for older seeds, but it seemed like they just were not growing - and it was not just one kind.
Yesterday - two months after I sowed them indoors - I finally noticed many little seedlings coming up!
I was so relieved.
I was seriously beginning to worry that I was not going to have a garden this year - so remember patience is the key!
The other thing I want to say about this is forget about that date on the seed packet.
Seeds are good for a lot longer than the date.
Using the paper towel germination method, you can check the viability of your seeds.
They have germinated seeds that have been thousands of years old.
Now, not every seed will do that.
Seeds do die.
How To Properly Store Seeds
I have been known to keep all my seeds in a shoe box in my refrigerator.
You can do this with tropical seeds too.
It's not going to kill them.
What you have to be careful about is storing them in the freezer.
If you have perennial seeds, you can pop those babies in the freezer and that's going to stratify them and get them ready for you to plant because they're already going to have gone through their cold treatment.
But if not, then I encourage you to put them in a zippered baggy in a plastic shoebox in your refrigerator, because it's going to hold the viability of that seed a little bit longer.
I would love to see some of your thoughts and comments below.
Remember that I am always happy to answer your gardening questions!
Seed Starting
Kickstart your gardening journey with our curated Seed Starting Resources! This handy list is packed with everything you need to grow healthy plants from seed, whether you're a beginner or an experienced gardener. Discover essential tools, step-by-step instructions, and expert tips for selecting the best seeds, preparing your soil, and creating the ideal conditions for germination. From seed trays and grow lights to organic fertilizers and watering techniques, this resource has it all. Perfect for planning your next gardening adventure and ensuring success every step of the way!


How To Plant Brugmansia Seeds
Learn how to plant Brugmansia seeds as well as why you might want to start these fragrant night blooming plants from seed.

Arisaema Seed Germination: Faster blooms from seed grown plants
Arisaema seed germination is easy as long as you have fresh seeds. You can even trick seed grown plants into blooming faster.
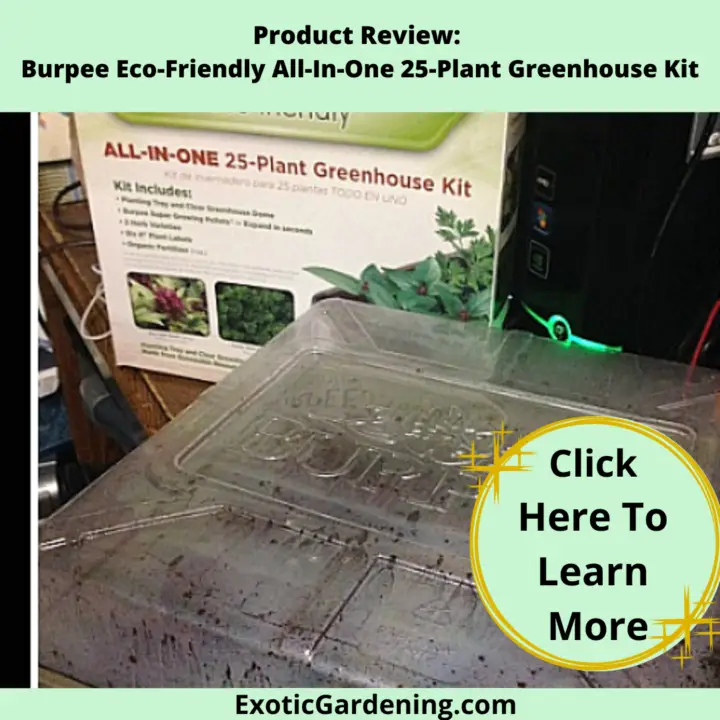
Product Review: Burpee Eco-Friendly All-In-One 25-Plant Greenhouse Kit
I gave the Burpee Eco-Friendly All-In-One 25-Plant Greenhouse Kit a try. Learn how to use it and what I thought of it.
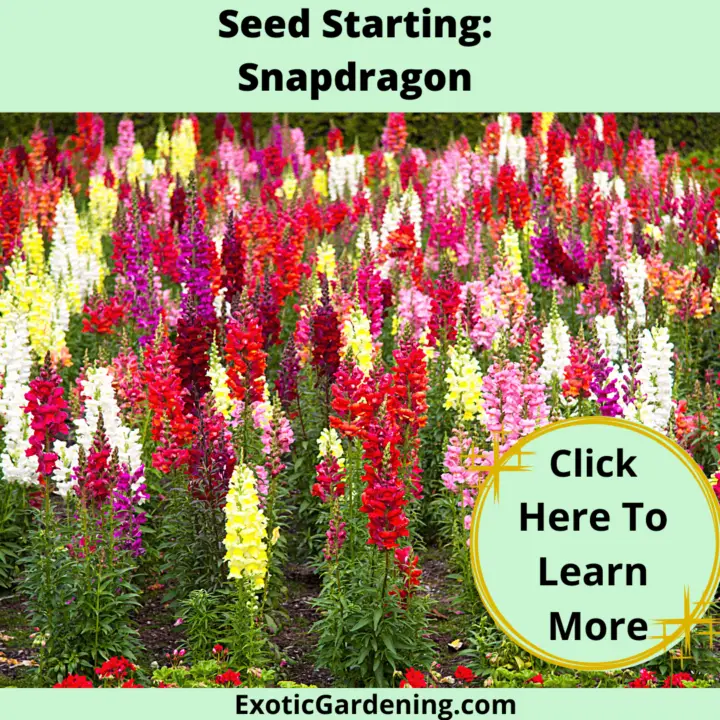
Seed Starting: Snapdragon
When it comes to seed starting, snapdragon are pretty easy. You can direct sow snapdragons. Learn about growing snapdragons from seed.
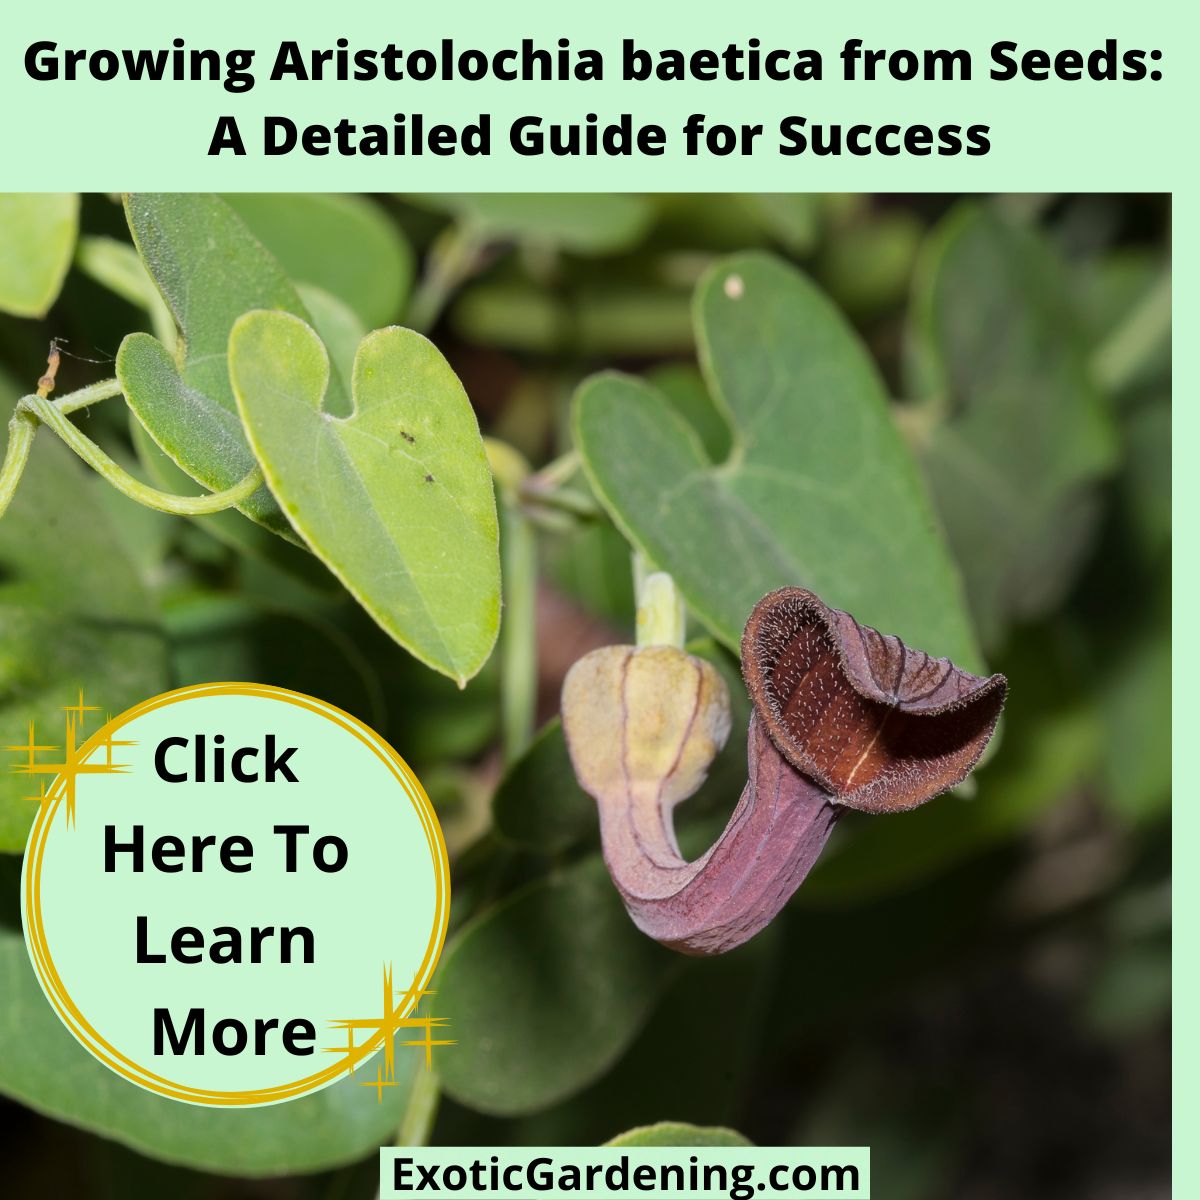
Growing Aristolochia baetica from Seeds: A Detailed Guide for Success
A detailed image of Aristolochia baetica with its characteristic pipe-shaped flower and bulbous base, surrounded by green leaves.