
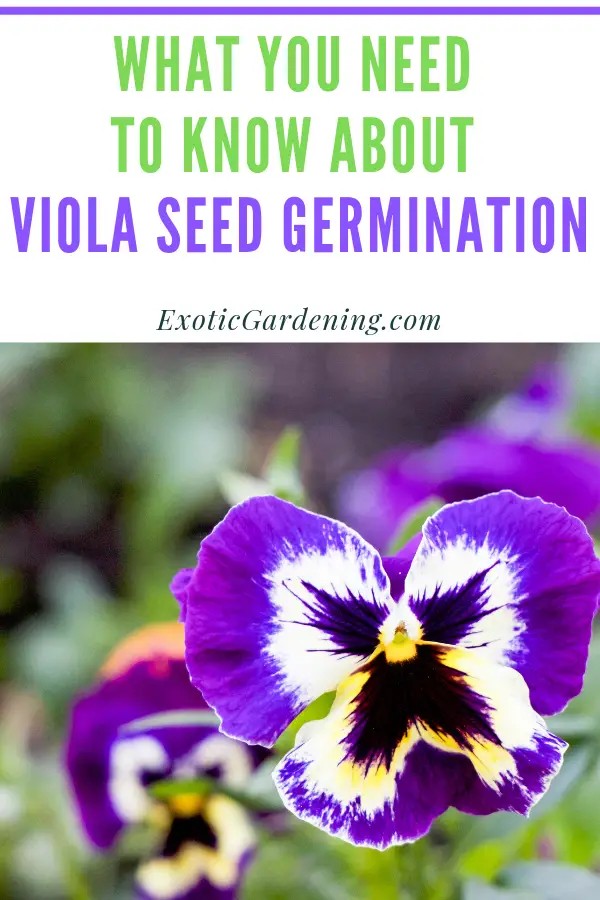
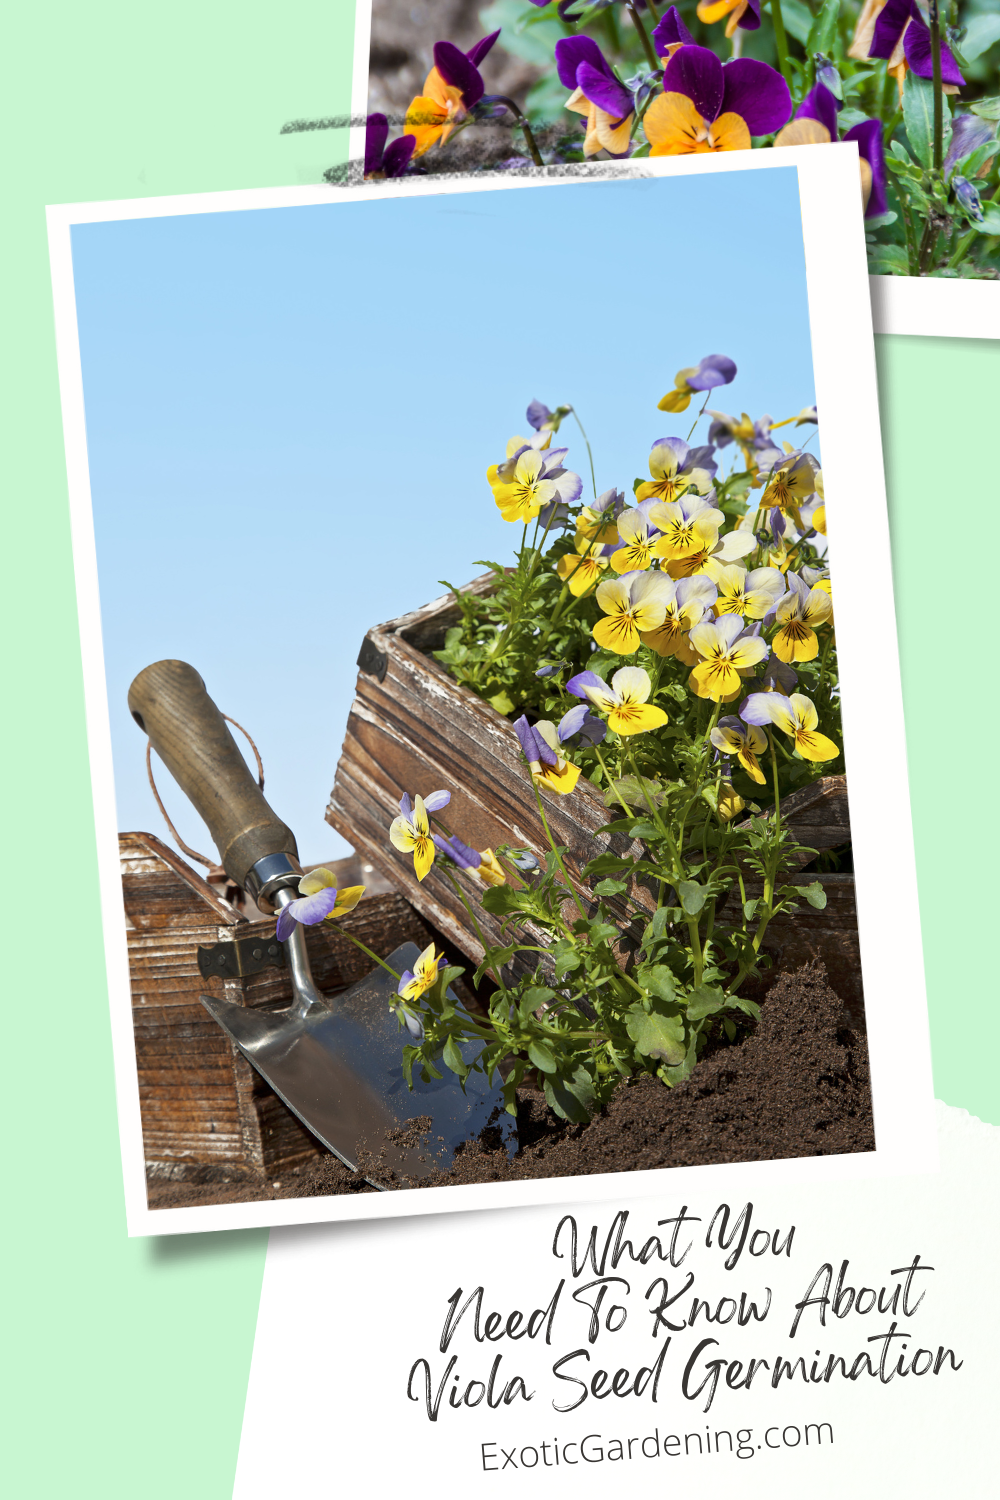
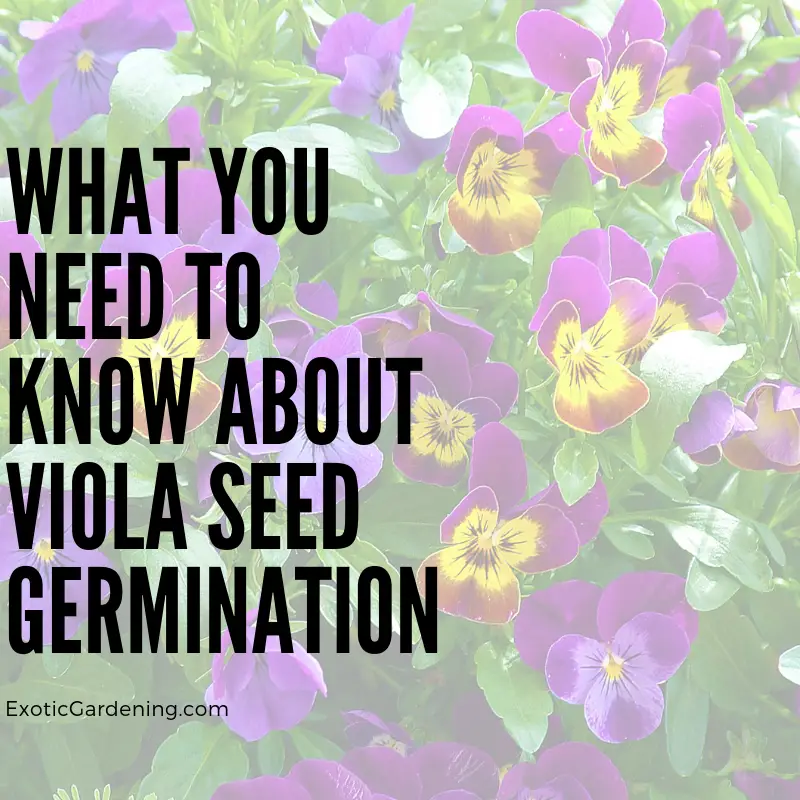
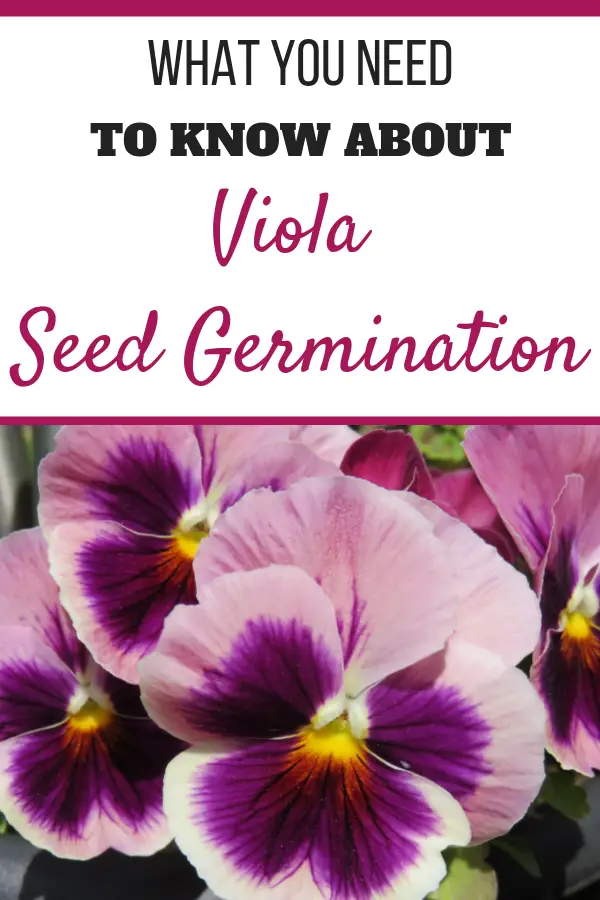
There are a few tricks to successful viola seed germination, however the good news is these are perfect for winter sowing!
For those of you unfamiliar with winter sowing, it is based on the fact that many seeds need a cold stratification period to germinate.
It is one of the easiest ways to germinate perennials and some half-hardy annuals because you plant the seeds, put the covered container outdoors in a protected location and let nature work her magic.
Of course, there are other seed starting methods discussed below as well and I do give the botanical names of the varieties I trialed as well as the final results of the viola seed germination experiment.
🌱 Want the quick overview version?
I’ve put my full indoor seed starting system - lighting, airflow, humidity, soil blocks, and monitoring - all in one place so you can see how it works together.
Tips About Viola Seed Germination
If you are in Indiana or zone 6, anytime from the middle of the November on you can start pansy and viola seeds.
The advantage of starting them at this time is you will have plants in bloom by April.
These can be started indoors under lights or outside in a cold frame.
To keep pansies and violas compact without cutting or using chemicals, move them to an area with cool temperatures once they reach flowering size.
The Difference Between A Pansy And A Viola
Botanically all pansies are violas, however there are some pretty obvious differences between the flowers commonly referred to as violas and those commonly referred to as pansies.
The easiest way for someone to tell which flower they are looking at is to look at the flower petals.
A Pansy has four petals that point upward and only one that points downward.
A Voila has three petals that point downward and two that point upward.
Pansies are a popular cool weather flower and were created by breeding a traditional viola variety with a wild viola variety.
True traditional viola's were imported from Europe during the 18th Century.
Both Pansies and Violas have edible flowers as well as long as they are grown using organic methods!
Here is how to germinate some specific varieties of both Pansy and Viola.
If you don't see the exact name of the one you are trying to germinate here, please feel free to ask in the comments.
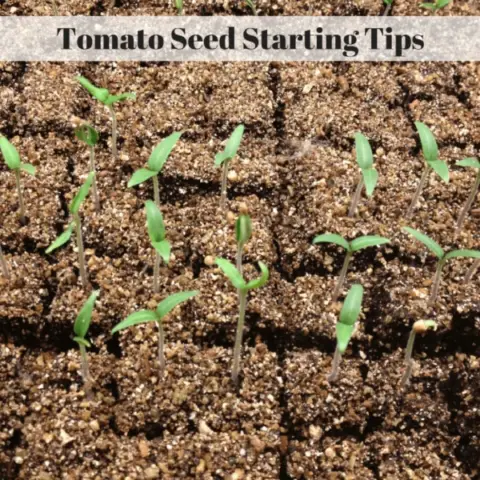
Viola Seed Germination Indoors
During the course of this viola seed germination experiment, I germinated forty different varieties of Pansy and Viola seed.
Some of these were germinated indoors and those germinated the quickest.
For the most part I used the same basic seed starting techniques and the results were pretty much the same.
Indoor Viola Seed Germination Technique #1
Here is the step-by-step technique I used to germinate the Viola seeds mentioned below these instructions.
- I sowed seeds of this on top of a homemade soil mixture made up of peat moss, vermiculite and perlite. I mix the three ingredients in a portion that allows me to easily see all three ingredients. An approximate breakdown is ½ peat moss, ¼ perlite and ¼ vermiculite.
- I then used hot water to moisten the peat moss mixture.
- I put the damp peat moss mixture into little square peat pots.
- I then placed one viola seed on top of the moist peat moss mixture in each peat pot right in the center.
- I did not use vermiculite on top the seed this time around because viola prefers bright conditions for germination.
- I did not cover the flat but will keep it inside until germination occurs.
Here are the varieties of viola seed I germinated using this method:
- Viola wittrockiana Frizzle Sizzle Yellow F1 - planted on January 3 and germinated on January 11.
- Viola velour Blue Bronze (mini Pansy) - planted on January 18 and germinated on January 30.
- Viola Prince John - I planted these on January 18 and they did not germinate.
- Viola soroia Freckles - I planted these on January 18 and they did not germinate.
- Viola King Henry - I planted these on January 18 and they did not germinate.
- Viola odorata Queen Charlotte - planted on January 18 and they did not germinate.
- Viola xwilliamsii Angel Tiger Eye - planted on January 18 and they did not germinate.
- Viola koreana Sylettas – Cyclamen Leaf Violet - planted on January 18 and they did not germinate.
Indoor Viola Seed Germination Technique #2
Here is the second technique I used.
- Fold a regular sized section of paper towel in half once, and then fold it in half again.
- Make sure the folded paper towel fits inside the container you are using. I suggest using the zippered clear jewelry bags available at most craft stores.
- Dip one corner of the paper towel in hot water; alternatively use an eye dropper to add one drop of hot water at at time to the paper towel. The key is to make sure the entire paper towel is damp, but not wet.
- Open the paper towel up to the first fold and place your seeds inside of it, then fold it back over.
- Now place the damp paper towel that contains the seeds inside the plastic bag and seal it.
- Place the plastic bag in a clear plastic shoebox or similar container and set it in a warm place.
- Be sure to check the seeds inside the plastic bag on a daily basis to see if germination has taken place.
- If the seeds are showing signs of germination, transplant them into the peat moss mixture mentioned above or a seed starting mix immediately.
The varieties of Viola seeds I used for this method of germination are listed below the step-by-step instructions.
- Viola koreana Sylettas – Cyclamen Leaf Violet - planted on December 19 and they did not germinate.
- Pansy Satin Boudoir - planted on December 19 and they did not germinate.
- Viola cornuta Skippy Blue/Yellow F1 - planted on January 26 and germinated on January 30.
- Viola wittrockiana Promise Pure Lilac Shades F1 - planted on November 26 and germinated on January 30.
- Viola Cuty - - planted on November 26 and germinated on January 31.
- Viola wittrockiana Promise Yellow/Red Wing F1 - planted on January 26 and germinated on January 30.
- Viola wittrockiana Promise True Blue F1 - planted on January 26 and germinated on January 30.
- Viola cornuta Skippy Purple Improved F1 - planted on January 3 and germinated on January 18.
- Viola odorata Queen Charlotte - planted on January 3 and they did not germinate.
- Pansy Mixed Colors Pelleted - planted January 21 and they did not germinate.
- Viola xwilliamsii Angel Black - planted January 26 and they did not germinate.
- Viola soroia Freckles - planted January 26 and they did not germinate.
- Viola wittrockiana Promise White/Blotch F1 - planted on January 26 and germinated on January 30.
- Viola xwilliamsii Angel Frosted Yellow Blotch - planted January 26 and they did not germinate.
- Viola (saved seed) - planted January 26 and they did not germinate.
- Viola wittrockiana Promise Deep Orange F1 - planted on January 26 and germinated on January 30.
- Viola Jewel Yellow - planted January 26 and they did not germinate.
- Viola Miniola Purple Heart - planted January 26 and they did not germinate.
- Pansy White with Dark Purple Face - planted January 26 and they did not germinate.
- Viola Blue on Blue - planted January 26 and they did not germinate.
- Viola xwilliamsii Angel Tiger Eye - planted on January 26 and they germinated on February 9.
- Viola Frosted Chocolate - planted on March 12 and germinated on March 20.
How I Grew The Indoor Planted Viola Seeds After They Germinated
After the viola seeds I planted indoors germinated, I allowed the seedlings to grow indoors until they had their first true set of leaves.
At this time I started hardening them off by moving them to the unheated greenhouse for an hour at first and then increasing the time by an hour or two each day.
By the end of two weeks they were ready to stay in the unheated greenhouse until it was time to plant them outdoors.

Viola Seed Germination In An Unheated Cold Frame
This is a variation on the winter sowing technique.
Instead of sowing the seed in sealed containers such as a milk jug or pop bottle, I sowed them in cell packs topping the potting mix off with a thin layer of vermiculite.
I set the cell packs in a regular flat and put them inside of an unheated cold frame.
I found it easier to water the seedlings when they needed it and transplanting was not necessary until I was ready to plant them in the yard.
Here are the Viola varieties whose seeds I sowed using this method.
- Viola wittrockiana Frizzle Sizzle Blue F1 - planted on November 20 and germinated on January 9.
- Viola wittrockiana Promise Rose Shades F1 - planted on November 20 and germinated on January 9.
- Viola wittrockiana Frizzle Sizzle Yellow F1 - planted on November 20 and germinated on January 9.
- Viola Bambini Mixed Colors - planted on November 20 and germinated on January 9.
- Viola cornuta Skippy Blue/Yellow F1 - planted on November 21 and germinated on January 9.
- Viola wittrockiana Promise Pure Lilac Shades F1 - planted on November 21 and germinated on January 9.
- Viola Cuty - planted on November 21 and germinated on January 9.
- Viola wittrockiana Promise Yellow/Red Wing F1 - planted on November 21 and germinated on January 9.
- Viola wittrockiana Promise True Blue F1 - planted on November 21 and they did not germinate in the cold frame.
- Pansy Banner Daffodil Mixed Hybrid - planted on November 21 and they did not germinate in the cold frame.
- Pansy Petite Bronze Hybrid - planted on November 21 and they did not germinate in the cold frame.
- Pansy x wittrockiana Flameco F1 Hybrid - planted on November 21 and they did not germinate in the cold frame.
- Viola cucullata Striata Alba - planted on November 21 and they did not germinate in the cold frame.
- Viola Baby Lucia - planted on November 21 and they did not germinate in the cold frame.
- Viola cornuta Sorbet Orange Duet - planted on November 20 and germinated on January 26. This one is tricky to germinate and I had tried in the past unsuccessfully. Using this method it did germinate, but it took a little longer than other varieties.
- Viola velour Blue Bronze (mini Pansy) - planted on November 20 and they did not germinate in the cold frame.
- Viola cornuta Skippy Purple Improved F1 - planted on November 20 and they did not germinate in the cold frame.
- Viola Prince John - planted on November 20 and they did not germinate in the cold frame.
- Viola xwilliamsii Angel Black - planted on November 20 and they did not germinate in the cold frame.
- Viola soroia Freckles - planted on November 20 and they did not germinate in the cold frame.
- Viola xwilliamsii Angel Frosted Yellow Blotch - planted on November 20 and they did not germinate in the cold frame.
- Viola King Henry - planted on November 20 and they did not germinate in the cold frame.
- Viola xwilliamsii Angel Tiger Eye - planted on November 20 and they did not germinate.
- Pansy F1 Hybrid Cello Violet Face - planted on January 21 and they did not germinate in the cold frame.

Direct Sowing Viola Seed In The Garden
The last method I tried was direct sowing some Viola seed in the garden.
This method was completely unsuccessful.
The following varieties were direct sown on January 21 and none of them germinated.
- Pansy Universal Citrus Hybrid Mixed Colors Winter Flowering
- Viola tricolor – Johnny Jump Up
- Viola Violin Purple and White
- Pansy Swiss Giant Mixed Colors
Viola Seed Germination Methods That Were The Most Successful
The most successful methods from my trials were the winter sowing cold frame method and the moist paper towel technique.
Both of these are fairly easy and so it really depends on which method you prefer.
What I love most about direct sowing them in containers and putting those containers in an unheated cold frame is how much of a time saver that method is.
There is no potting up of the seedlings, no hardening off and once the weather is nice enough you can simply transplant them into your garden.
Of course, you should use whatever method works best for you and for the seeds you are sowing, because the truth is some seeds that germinated using one method, did not germinate using a different method.
Questions or comments?
Leave them them in the comment section below!
Are you ready to learn more about starting seeds?
Then be sure to check out my book The Complete Idiot's Guide To Seed Saving And Starting.
Growing Plants From Seed

How To Successfully Start Seeds
Learn how to successfully start seeds indoors or out. Learn about light requirements, seed sowing depth, how to prevent damping off and more.
Growing Dianthus From Seed
Learn all about growing dianthus from seed and about some of the varieties available. Also learn how to save seeds from dianthus flowers.

Botanical Interests Continues Commitment To Being GMO-Free
I love Botanical Interests not only for their high quality seeds, but for their commitment to being GMO-free.

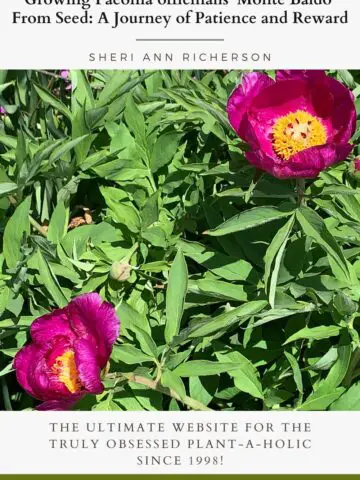
Growing Paeonia officinalis ‘Monte Baldo’ From Seed: A Journey of Patience and Reward
Grow Paeonia officinalis ‘Monte Baldo’ from seed and discover the joy of patient gardening with stunning purple blooms.


Seed Starting: Carrots
Unlock the Magic of Carrot Seed Starting: Expert Techniques for Success. Start Growing Vibrant Carrots Today!

Arisaema Seed Germination: Faster blooms from seed grown plants
Arisaema seed germination is easy as long as you have fresh seeds. You can even trick seed grown plants into blooming faster.


Leave a Reply