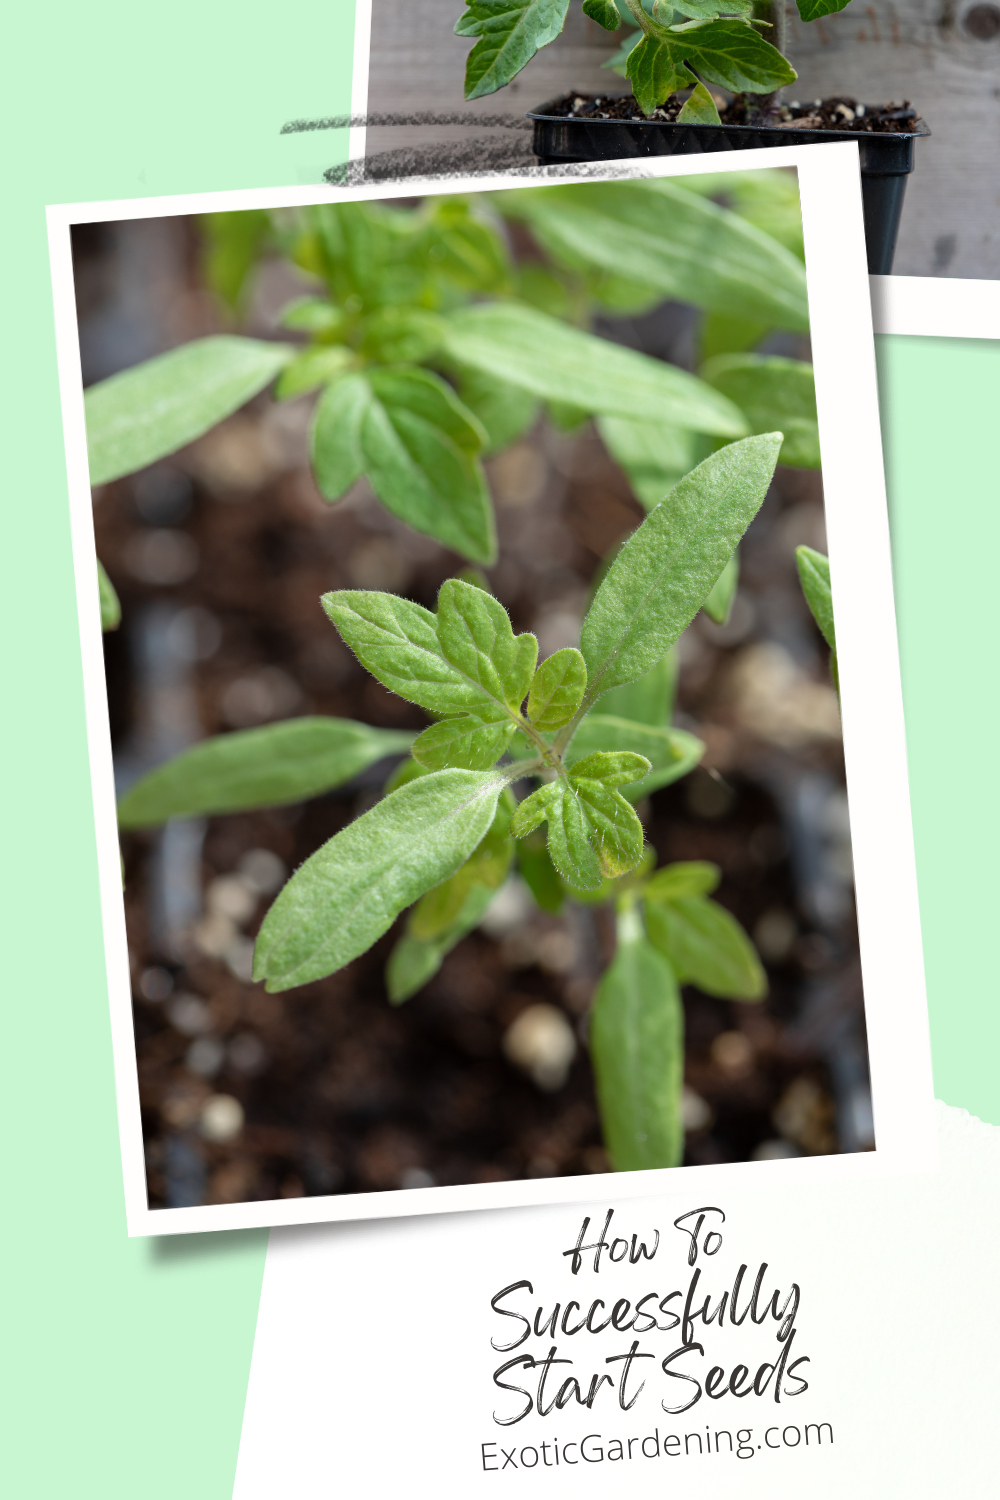
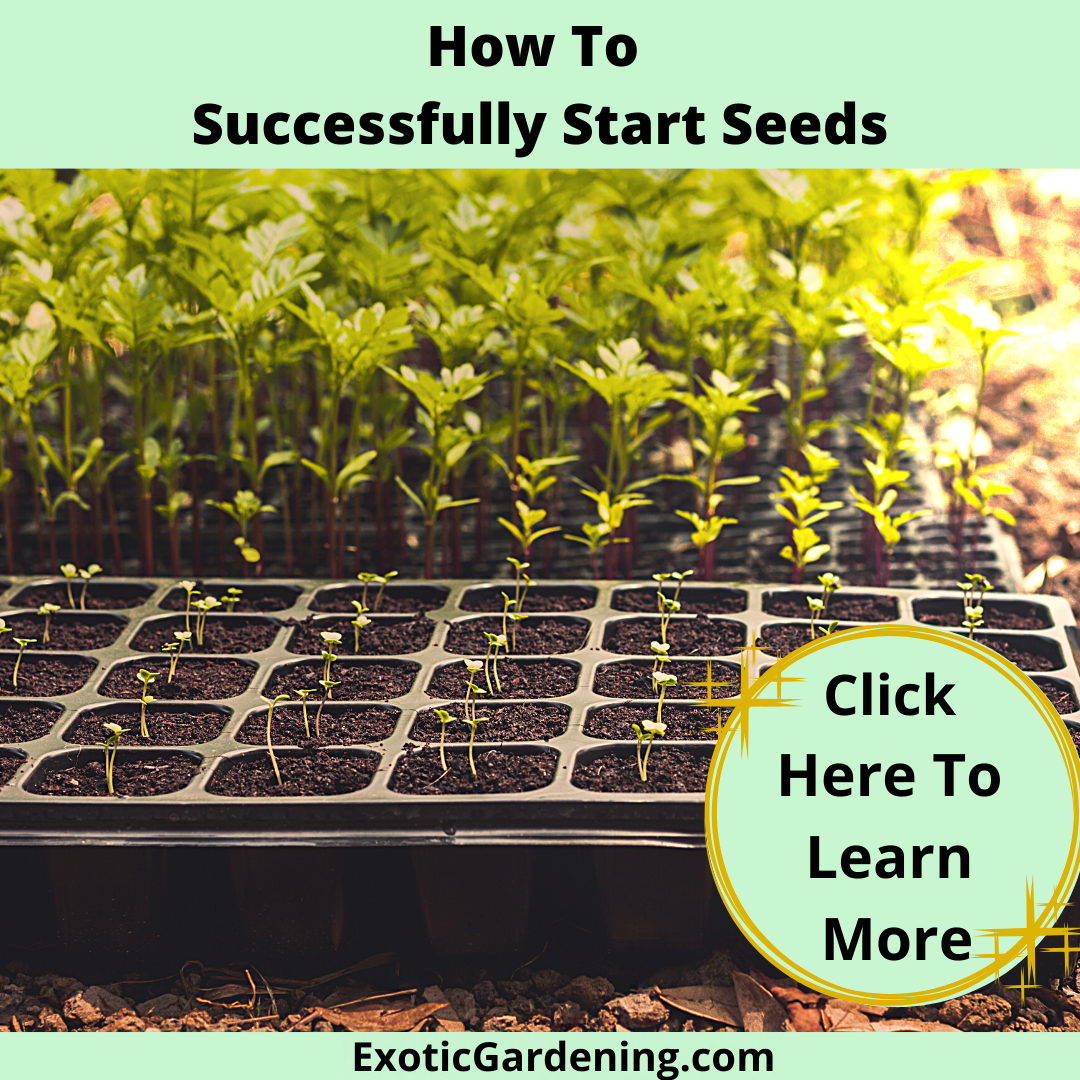
If you've ever wondered how to successfully start seeds, than you might already know that nothing compares to growing plants from seed.
It is fun, it is economical and it gives you the opportunity to grow plants you can’t find locally.
Starting plants from seeds is one of the most rewarding aspects of gardening.
Starting plants from seed also allows you to extend the gardening season.

What You Will Learn About How To Succesfully Start Seeds
You can garden indoors, nurturing seedlings, when you don’t want to be outdoors.
Some of these plants will begin to flower, even before you plant them.
Of course, there is more to it than that.
The fine points of seed starting will be covered too.
You will learn why the right seed sowing medium matters.
You will learn about plastic pots, peat pots and peat pellets.
This will help you make an educated choice on which seed starting pots are best for your needs.
You will also learn about the time commitment involved in seed starting and why you need to plan ahead.
Finally, you will learn all about light, temperature and how to prevent diseases such as dampening off.
You will learn how to grow healthy, productive plants from the tiny seeds, rather you grow them indoors or out.
So get ready to get your seed starting supplies gathered up so you can try all of these new techniques you are going to learn as you go along!

Basics Of Seed Starting
Savvy gardeners have long known that starting seeds is the best way to save money and grow the most unusual, or newest plants on the market.
Seed catalogs are full of enticing choices, exotic, colorful flowers, flavorful herbs, delightful heirlooms and of course, the newest hybrid vegetables guaranteed to taste better than anything you’ve ever tasted.
Many of these plants are simply not available at local nurseries, or even big box stores.
If you want to grow them, you simply must start from seed.
If you choose to start with open-pollinated heirloom plantsopen-pollinated heirloom plants, you can save even more by saving seeds from those plants for next year’s garden.
You may not even have to buy seeds.
Maybe someone has shared some with you, or you saved some from last year’s garden.
Whatever the case may be, the key to success is starting off right.
This means understanding what a seed need to thrive and grow into a mature, healthy, vigorous plant.
Light, water, soil, nutrients and temperature all play a critical role in the life of the developing seedling.
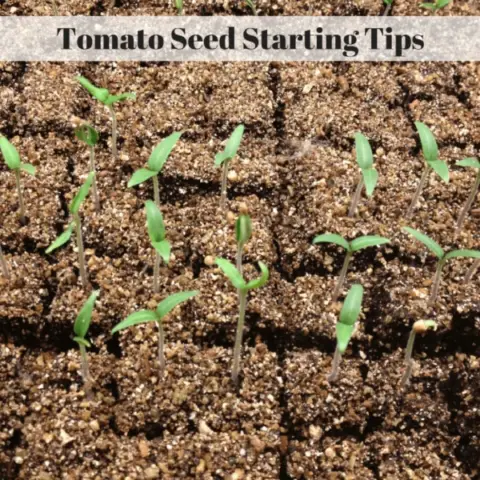
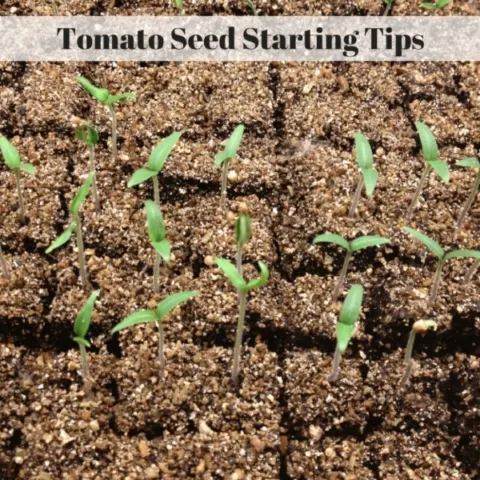
When a seed first sprouts, it has everything it needs to sustain its first few days of growth.
This bit of nutrition that nourishes the seed until germination takes place and the plant can absorb nutrients from the soil, is contained in the endosperm.


Seed Sowing Medium
Seed sowing medium is usually a soil-free mixture that does not contain nutrients.
This means as the seed sprouts and the roots enter the soil, there is nothing there for the plants to absorb and use for nourishment.
To prevent this problem, you need to add something, such as kelp, to the seed sowing medium or use a half-strength liquid fertilizer every time you water once the seedlings begin to grow.
There is no reason why you have to start with a commercial seed starting mix.
You can make your own.
The key is to make sure the ingredients you use are sterile.
You can do this by heating the soil, on a grill or in an oven, to a temperature of 180 degrees F. and maintaining that temperature for 30 minutes.
Cooking soil is not a delightful smell, so unless you have a very good air vent indoors, you will want to do this outside.
Basic-Seed Starting Mix
- 2 parts sterilized peat moss
- 1 part vermiculite
- 1 part perlite
- 4 cups kelp
- Mix the ingredients thoroughly while they are still dry.
- Add enough hot water to make the soil mixture slightly soupy. Let this sit overnight. The peat moss will absorb most of the water.
- If the mixture is too dry the next day, simply add more hot water.
- This seed sowing medium is not set in stone. If you are growing plants, such as cacti that need superior drainage, add some sand or increase the amount of vermiculite.
- Feel free to add 1 part of sterilized compost.
- Work with your homemade seed starting mix until it works well for you.
- Remember gardening, and growing plants from seed, is about experimentation.

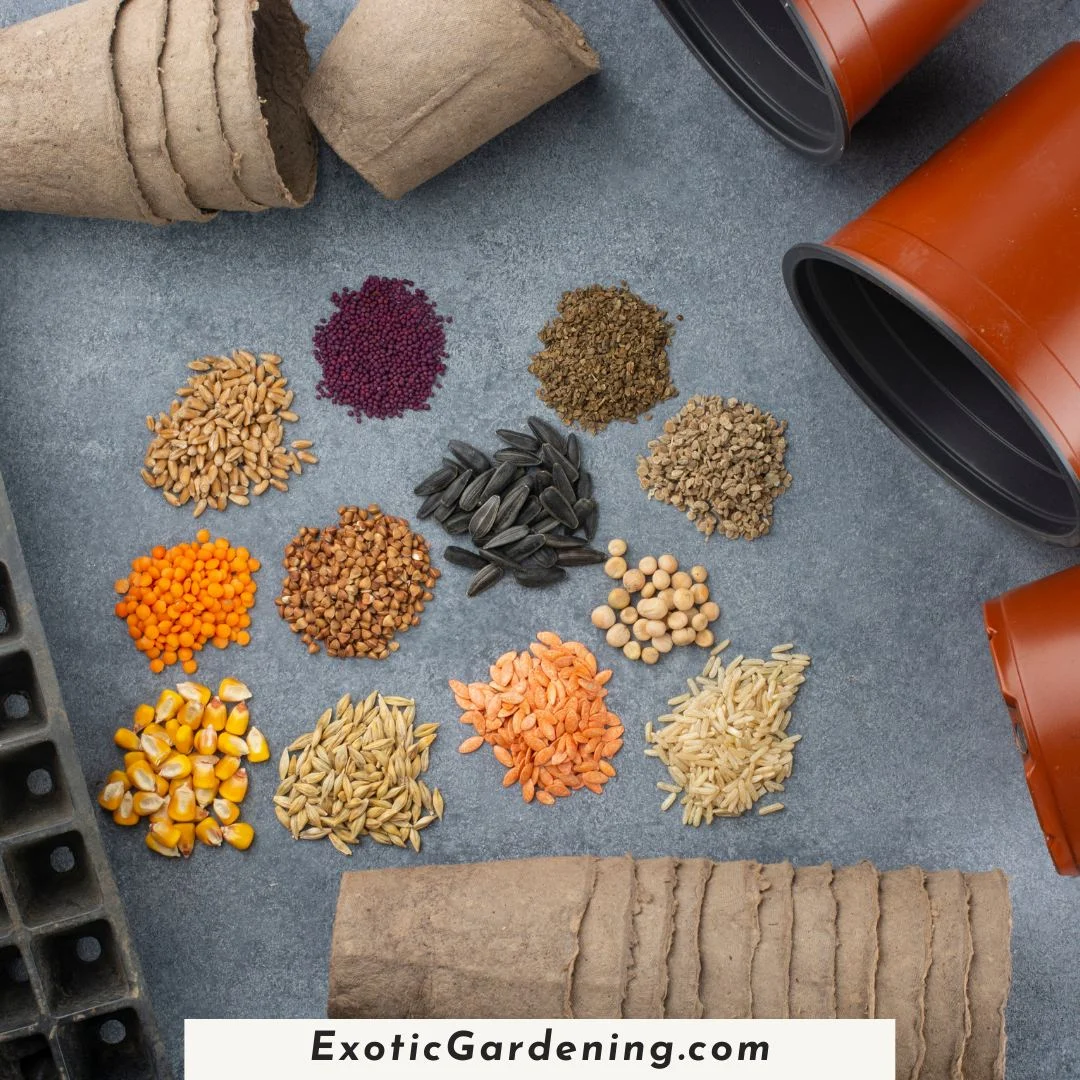
Seed Sowing Containers
There are many types and styles of seed sowing containers on the market.
Peat pots, peat pellets, plastic pots, flats filled with the latest, greatest seed starting medium, newspaper pots and CowPots, which are made from, you guessed it, cow manure!
With so many products on the market it can be hard to decide which product will meet your needs.
Each type of pot has its own advantages.
Some pots work better for certain types of seeds than other pots.
Then there is the decision on whether or not you prefer pots that are recyclable or re-usable.
Of course, if you want to get really creative, just look around your house to see what kinds of things you can recycle to start seeds in.
Empty egg shells and egg cartons are ideal for starting tiny seeds in.
The egg shells contain calcium that will break down in the ground, improve your soil and help the plant grow better.
Milk cartons, empty toilet paper or paper towel rolls cut to size, butter, yogurt, cottage cheese or even small plastic containers also work well for seed starting.
Be sure to punch some holes in the bottom so the excess water can drain off, otherwise your seeds or young plants could drown.
Soil blocks, made with a soil block maker, are good for people who do a lot of seed starting.
Because the seedlings grow in small blocks of soil, they are rather inexpensive to make.
The soil block maker will cost quite a bit the first time around, but will pay for itself after several seasons.
The way soil blocks are designed is you start with a tiny block, move it up to a larger size block, then move it up once more before planting it in the garden.
This eliminates transplant shock because you are planting the entire soil block in the garden.
Plastic Pots
Plastic pots are re-usable from year to year as long as you take the time to clean and sterilize them.
Eventually they will break down or even break, but that won’t happen for several years.
Plastic pots do a great job of keeping the plants side roots contained.
The roots will find their way to the bottom of the pot though and creep out through those holes.
When you see the roots down there, it is time to pot them up into a larger container.
A big drawback of plastic pots is that if you don’t pay attention, the plants roots will grow and entangle under the pot.
This means you are likely to break some of them when you remove the plant from the pot.
This can cause the plant to have a slight delay in growth.
Unless it is a plant with a tap root, like a hollyhock, it is unlikely to kill the plant however.
Another problem is the roots that grow out of the pot are exposed.
If you don’t keep them dark, cool and moist, they could dry up, which would kill the plant.

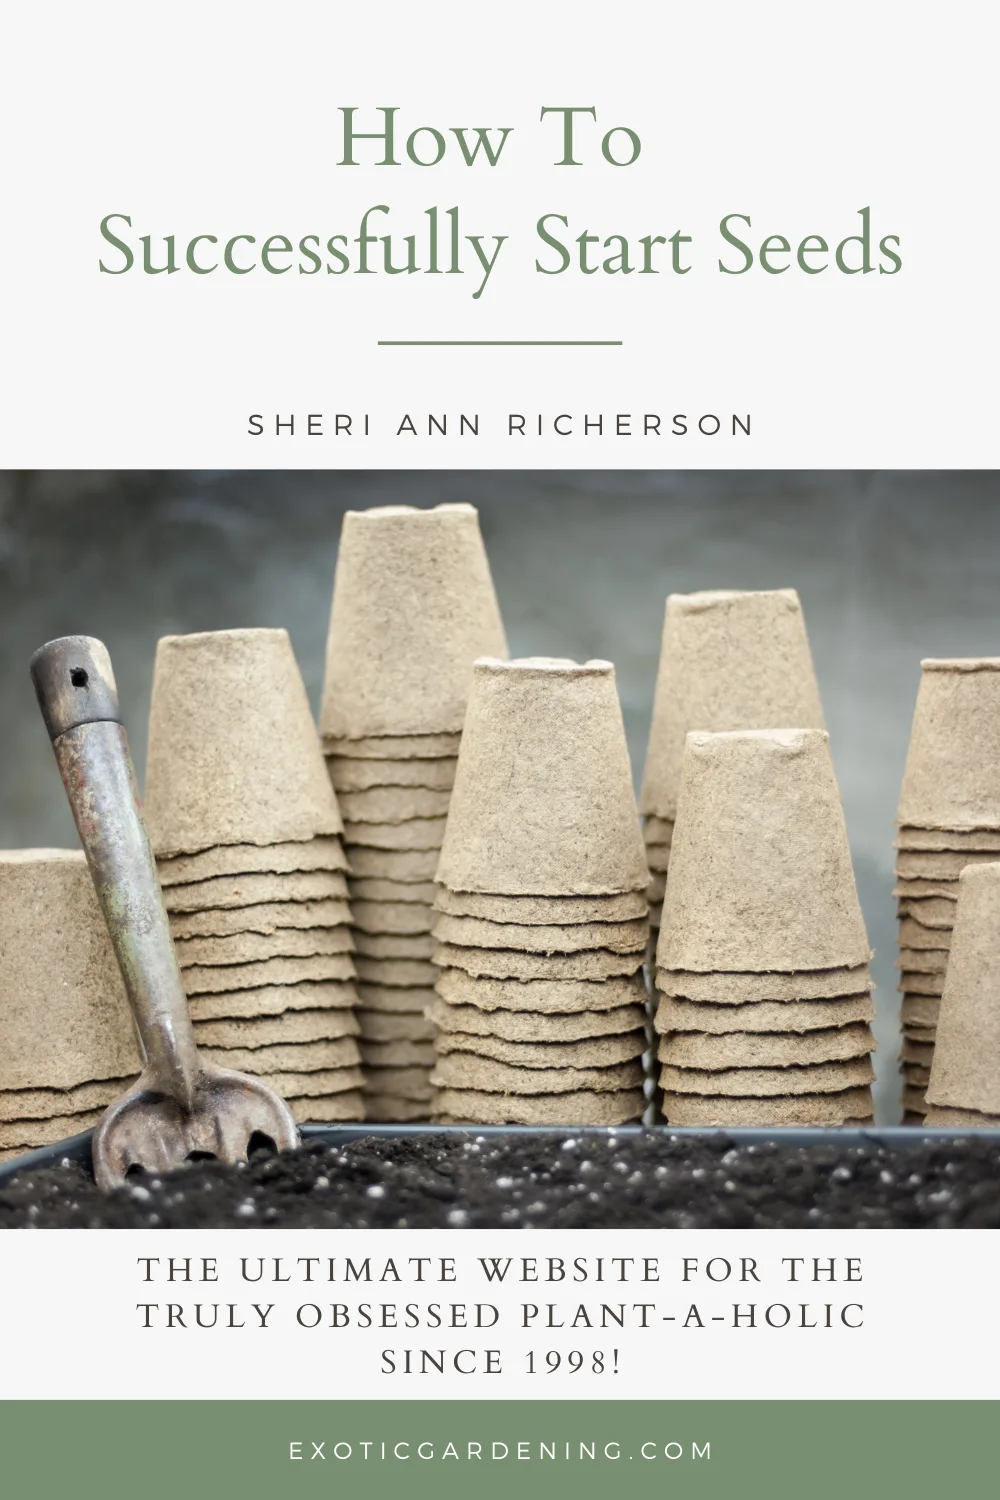
Peat Pots
Peat pots and peat pellets are nice because you plant the pot and all in the ground when the time is right, thus eliminating transplant shock.
The downside to these pots is they are peat based.
You must make sure they are completely underground and that the soil around them stays moist.
If the tops of the peat pots are left above ground, natural evaporation will take place. sunlight and the wind will dry the exposed tops out.
As the peat pots try to keep soaking up moisture to prevent this, the plants roots will begin to dry up.
Peat dries up quickly and is hard to re-wet once it is dry, so even if you catch the problem in time, getting the peat pots wet enough once again to prevent damage may be difficult.
Peat pots are nice because they come in a variety of sizes and you can fill them with your favorite potting mix.
For plants that resent being transplanted such as poppies, or plants with tap roots such as hollyhocks, peat pots are the ideal way to go.
It is easy to start seeds in small peat pots, then just put the entire peat pot into a larger one of the plants roots begin to show.
Keep a close eye on the moisture level of peat pots, especially if you are using them in a greenhouse.
You don’t want them to dry up at all.
In fact, keeping a thin layer of water in the flats they are sit in is a good idea.
This way they always have enough water to wick up to prevent them from drying out.
Peat Pellets
Peat pellets consist of an oval ball of peat moss inside a netted bag.
These are small and expand only when you add water to them.
They are easy to use, you do not add any additional soil to them and once the plants grow, you plant the whole thing in the ground.
As with the peat pots, if the peat moss dries up, you will lose your plant, so again, you must keep the area where plants are grown using this medium moist.
Over time both peat pellets and peat pots will break down.
You can speed up the process by tearing away the top edges of the peat pots, or tearing off the bottoms if they are not covered with plant roots when you plant them into the garden.
Simply bury the peat pot material in a hole in your garden, or toss it into the compost pile.
The earthworms will incorporate the peat based matter into your soil thus improving its natural structure.
If you choose to use peat pots or peat pellets for seed starting, look for them at the end of the season clearance sales.
You will save a bundle of money!
Remember too that you will have to buy new supplies every year, or as you use them up.
If you start a lot of seeds early in the season, or start seeds year-round, be sure to stock up.
Most places don’t carry peat pots or peat pellets except during the early spring when seeds first arrive on the store shelves.

Plan Ahead
If you intend to start a large quantity of seeds it is a good idea to plan ahead, way ahead.
Go to the end of the season clearance sales to look for soil, seed starting supplies, extra seeds that you may need and don’t forget to save your favorite seeds from your own garden.
When the time is right to start the first seeds of the season, it is likely that stores will not be stocking the supplies you need.
If you already have them on hand, this is not a problem.
You also need to consider the area where you will start seeds and how much time starting the amount of seeds you want to start will consume.
Setting up a permanent seed starting area is always nice.
This can be in a basement, in an attic, in the corner of the room or in a greenhouse, if you have one.
If you so set up a permanent seed starting area, keep it clean.
Never leave dried up seed trays, dead plant material or old seeds lying around.
This will encourage pests and invite disease into your seed starting area.
You want to keep this area as sterile as possible so nothing gets into your young seedlings and ruins your work.
Wash out pots as soon as they are empty, then once they are dry, stack them according to size.
When you are busy starting seeds the following year, you will be glad you did this at the end of last season.
When factoring in the time requirement, consider the care of the seedlings.
Sowing seeds is easy, but once they germinate, you must water them, transplant them and care for them.
Time your seed sowing so all the seeds don’t germinate at once.
This will extend your vegetable harvest or extend the amount of time the flowers you grow from seed will bloom in your garden.
A general rule of thumb is to sow a few seeds every 10 days through the end of the sowing season.
This time varies considerably depending on where you live and what plants you are growing.
Time Commitment
The more seeds you sow, the more time you will spend tending them.
Once you have successfully germinated the seeds you sow, the work begins.
Once germination occurs, regular watering is essential to keep the seedlings alive.
They will need some type of food as well.
You can use compost tea, a fertilizer at half-strength or add kelp to the soil.
Sometimes weeds will sprout in the pots.
If this happens, take the time to remove them immediately.
Consider the amount of time it will take to transplant the seedlings into larger pots or move them into the garden.
Remember you must harden them off first.
If you sow multiple seeds in a large flat or pot, you will have to take the time to separate them once they get large enough.
This is a tedious, time consuming job, but sometimes, especially with tiny seeds, it is the only choice you have.
The hardest part of separating tiny seedlings is making sure you do not damage the roots or stems, which could kill the plant.
It is better to take the time to put each seed in a pot by itself.
Doing things right the first time and handling each tiny seed will eliminate the work of carefully separating the young seedlings.
It also gives the root systems a chance to grow larger without the possibility of being damaged when you separate them.
The larger and healthier the root system, the easier it will be to transplant and establish the various plants in your own garden.
Of course, the time commitment doesn’t end here.
Once those plants are in your garden, you will still need to care for them.

Germination Temperatures
Every type of seed has its preferred germination temperatures.
Remember we are talking soil temperature, not air temperature.
There are many ways, rather you start seeds indoors or out, to adjust the soils natural temperature so it is exactly what we need it to be at the right time.
Learning to adjust the soil temperature and maintain it takes a little practice, but as long as you have a trusty soil thermometer, it won’t take long before master these techniques.
Indoor gardeners often use heat mats to keep the soil in their seed starting trays a certain temperature.
These are nice, easy to use, easy to clean, easy to store and some of the really fancy models have a temperature dial so you can manually adjust the temperature.
Some of the cheaper models simply maintain a temperature between 65 and 75 degrees.
All you have to do is lay these on a flat, non-flammable surface, plug them in and set your seed flat on top.
Watch putting the clear plastic lid on your seed flat if you use these unless it has a vent.
Heat could build up underneath and cook your seeds or young plants.
If you don’t want to invest in a seed starting mat, you can make your own seed starting box.
This is nothing more than a wooden box with a light fixture inside of it.
Use a 15W bulb, such as you would use in an appliance.
The bulb fixture, which you can find in hardware stores, should be inserted into the side of the box.
Make sure to make your box large enough so the bulb is far enough away from both the wooden sides and the plastic flat that it won’t melt the flat or catch the wood on fire.
You can buy these boxes.
They are usually made of Styrofoam, but they have a tendency to get too hot and melt.
If you do all of your seed starting outdoors, in the ground, you can heat up your soil using compost or plastic.
Plastic attracts the sun and using it, short-term is a great way to not only heat up your soil, but to sterilize it as well.
When the sun beats down on the plastic, it heats up the soil, then holds that warmth in the soil overnight.
The next day, the soil warms some more and the process continues until you remove the plastic.
Some people leave their plastic soil cover on all summer to suppress weeds.
This is not a good idea for two reasons.
The first is it could get hot enough under the plastic to cook the plants roots and the second it, the soil will not be able to breath and the normal earthworm and insect activity in the soil will be affected.
In other words, the soil you worked so hard to build could sour, thus making it unusable.
Compost is a better way to warm the soil.
Spread a 3-inch layer of compost over the top of the soil on a warm day.
The compost will hold some of the soils natural heat in.
Think of compost like a blanket for the soil.
If you remove it, the heat will be released, and if you cover the soil up with compost, it will get warm underneath.
Using compost helps improve your soil structure and helps eliminate weeds by suppressing them.
Now that you know how to warm soil, let’s go the other way and see how you would go about cooling the soil.
Although you may not need to use this technique quite as often, it is still good to know how to do it, especially if you want to grow cool season crops, or even direct sow them in the heat of the summer.
Compost, shade cloth, lattice panels and other solid structures can help keep the soil cool.
You just learned that compost is a great way to heat up the soil, but did you know it also keeps the soil cool?
Mulch is used to suppress weeds, keep moisture in the soil and enrich the soil, but you can use compost as well.
Simply apply a 3-inch layer of compost to the soil and the roots underneath will remain cool and moist.
There is no need to add an additional layer of mulch.
If compost alone isn’t enough to cool the soil, try shade cloth, lattice panels or create a solid structure of some type above your garden beds.
This will shade the soil and help cool it.
Spun-bonded shade cloth row covers are created to eliminate some of the natural light that hits your plants.
This helps cool the soil.
A better choice, however is shade cloth.
You may have seen this material on top of greenhouses.
It’s made to allow difference amounts of light to penetrate it.
There is 50 percent shade, 70, 80 and even 100 percent shade options.
In most cases, the 50 percent shade option will work just fine. Simply attach this to some sort of structure, such as a square frame, that sits above your plants.
Lattice panels can be placed between the plants and the sun, if you know which direction the sun comes from, or they can be suspended above the plants on wooden posts.
Another option is to create a solid shaded structure.
Metal roofing, plywood or heavy shade cloth attached to four poles will do the job.
Just make sure the plants do not receive too much shade.
Light Requirements For Seed Starting
Most plants, even shade plants, need light once they germinate in order to develop properly.
Some plants do require darkness to germinate.
The key to being successful with these plants and preventing them from becoming leggy, is to move them into the light as soon as they germinate.
Plants grown outdoors in their natural environment are not as subject to the need for additional light as those grown indoors or started in a greenhouse.
Adequate light is essential to the health and vigor of seedlings grown outside their natural environment.
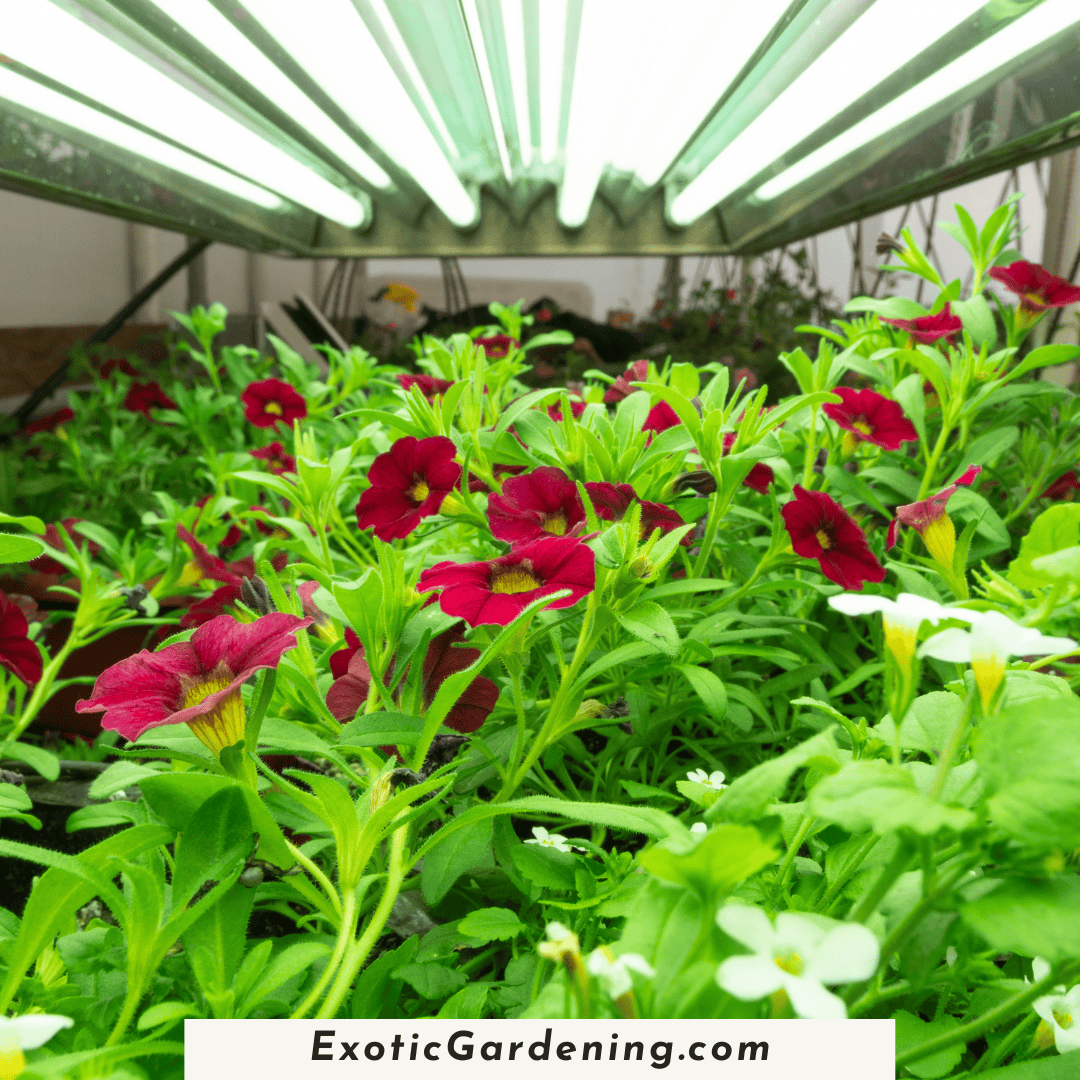
Setting up artificial lighting, in the form of grow lights, is not difficult.
You need a level, horizontal surface to sit the plants on, a power source, some ceiling hooks, a ladder and of course a light fixture.
This can be as simple as a 4 foot fluorescent fixture with chains so you can raise and lower it.
A timer is also a good investment.
When the seeds are germinating and first growing, keep the light on between 14 and 16 hours per day.
As the plants begin to mature, cut the light back to 12 hours per day.
For starting seeds that require light to germinate, simply set the light up so it is 3-inches above the top of the seed starting container.
Once the seeds germinate and you move them into pots, keep the lights positioned 3-inches above the top of the foliage.
If the foliage begins to look a little brown or dry, you can move the lights so they hang somewhere between 3 to 6-inches above the tops of the plants.
This will prevent the germinating seeds and young seedlings from getting leggy and provide all the light they need.
Seed Sowing Depth
A good rule of thumb is to sow seeds at a depth of 2 to 3 times their smallest dimension.
While this is a good rule of thumb to remember, it is also essential to understand that some seeds such as celosia or poppy germinate better on top of the ground and may not germinate at all if they are covered with soil.
Seed packets generally recommend the proper sowing depth.
If you saved your own seed, or were given seed someone else saved, this information may not be included.
Keep track of any seed packets you sow, especially if you intend to save the seed.
You can tape these into a seed savers diary or use them to put the seeds you save back into to store from year to year.
Planting seeds at the proper depth is important for good growth.
Seeds that are planted too deep spend their energy trying to reach the soil’s surface.
Once they do, they are weak and spindly.
Seeds that are planted too shallow may begin to root above the soils surface.
When the root is exposed to air, it begins to dry up, thus the seedling will die.
When you germinate seeds before planting them, add enough additional depth to accommodate the emerging root.
Gently pick up the germinated seed with a pair of tweezers making sure to grab hold of the seed coat, not the roots or stem.
Make an indentation in the soil that is large enough to accommodate the root.
Once the seed is in place, you want the soil to be right up against the root, but you do not want to break the root off in the process.
Loose soil that readily falls against the root is the best type.
Once the seed is planted, be sure to water it in well, even if there is no root to worry about.
This makes sure the soil and the seed make good contact with one another which is essential for healthy growth.

How To Avoid Dampening Off
Overwatering young seedlings or getting water on their foliage can cause a fungal disease known as dampening off to attack them.
Once this disease strikes, it is too late.
The seedlings will die.
There are several preventative methods you can use to avoid this problem.
Always water germinating seeds, young seedlings and plants from below.
Avoid splashing water on their stems or leaves.
Do not allow them to sit in water.
Water the seedlings, allow the water to sit in the tray for 15 to 30 minutes, then pour the excess water off.
There are a few exceptions to this rule.
Plants that need consistently wet soil should never have the excess water dumped off them.
Pond plants are a good example.
Grow these separately.
The use of a small fan to circulate the air around your plants is another way to prevent dampening off.
Should moisture end up on the leaves or stems either because it was accidently spilled, or because of high humidity, the fan will quickly dry it up.
Besides being a great way to prevent dampening off, fans are useful for hardening off seedlings.
When you move them outdoors, they will already be used to the effects of wind.
Now that you know how to successfully start seeds, what are you waiting for?
Gather your supplies and give it a try - you will be glad you did!
Growing Plants From Seed
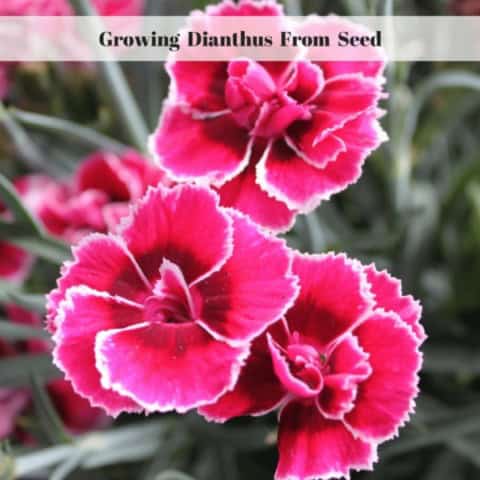

Growing Dianthus From Seed
Learn all about growing dianthus from seed and about some of the varieties available. Also learn how to save seeds from dianthus flowers.


Botanical Interests Continues Commitment To Being GMO-Free
I love Botanical Interests not only for their high quality seeds, but for their commitment to being GMO-free.


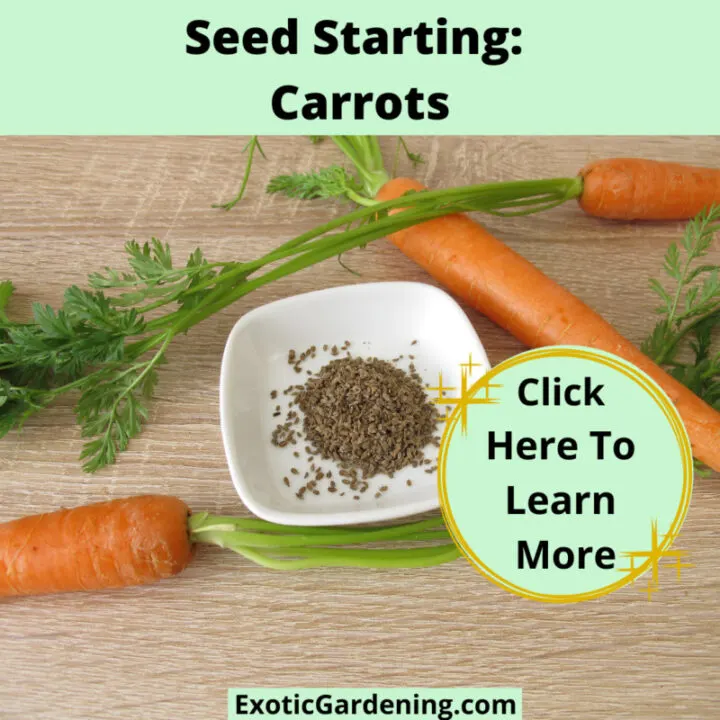
Seed Starting: Carrots
Unlock the Magic of Carrot Seed Starting: Expert Techniques for Success. Start Growing Vibrant Carrots Today!