
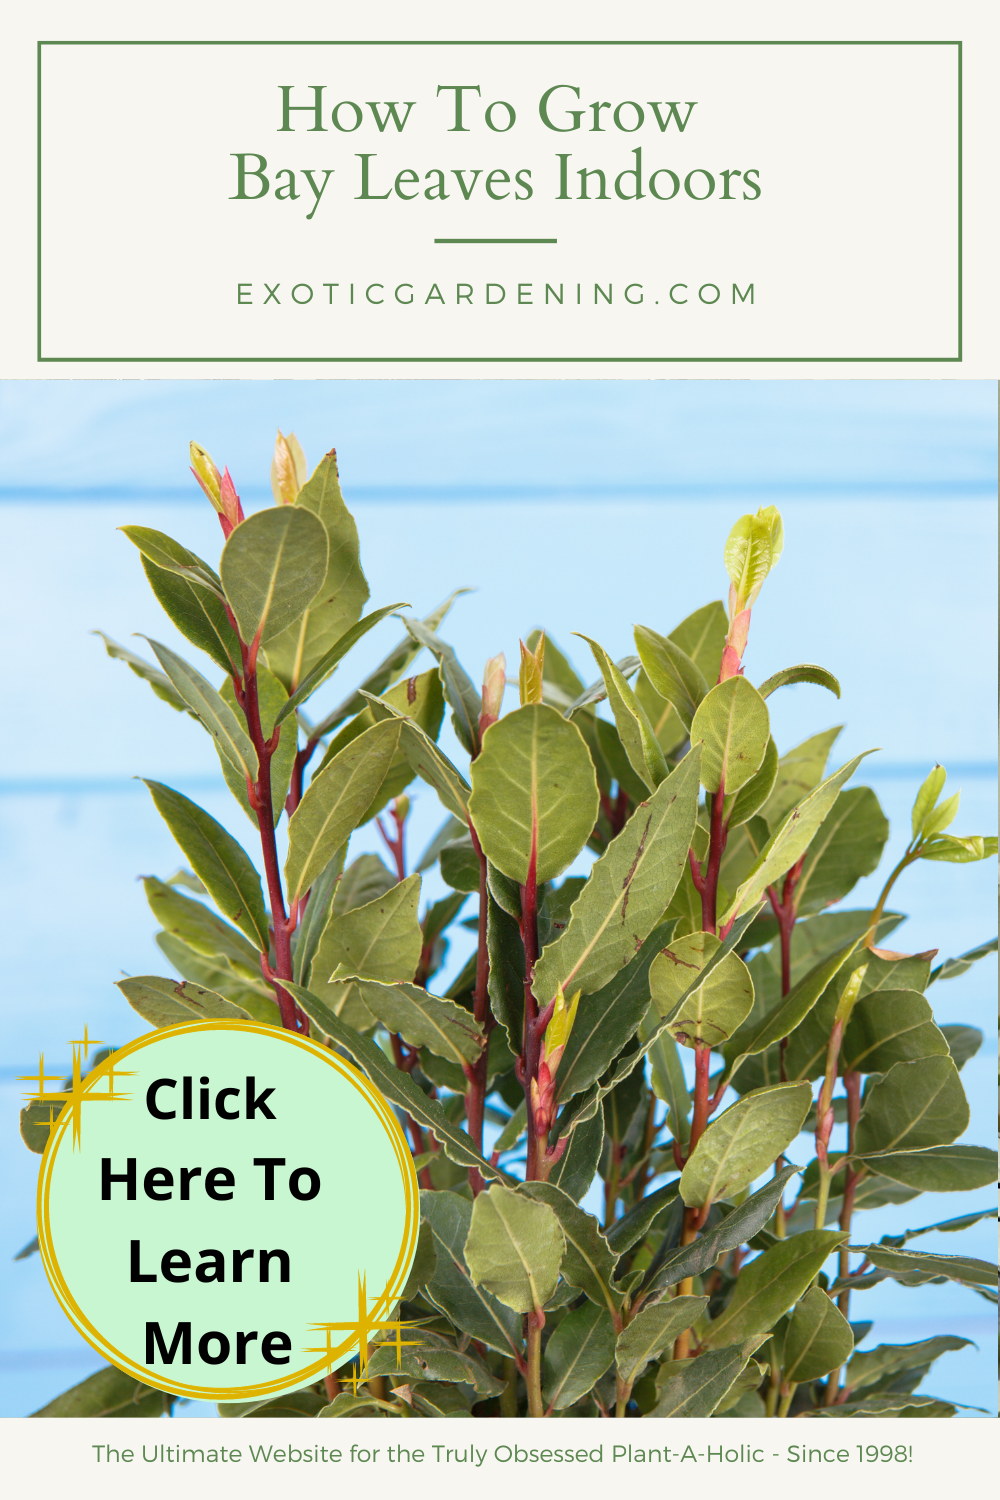
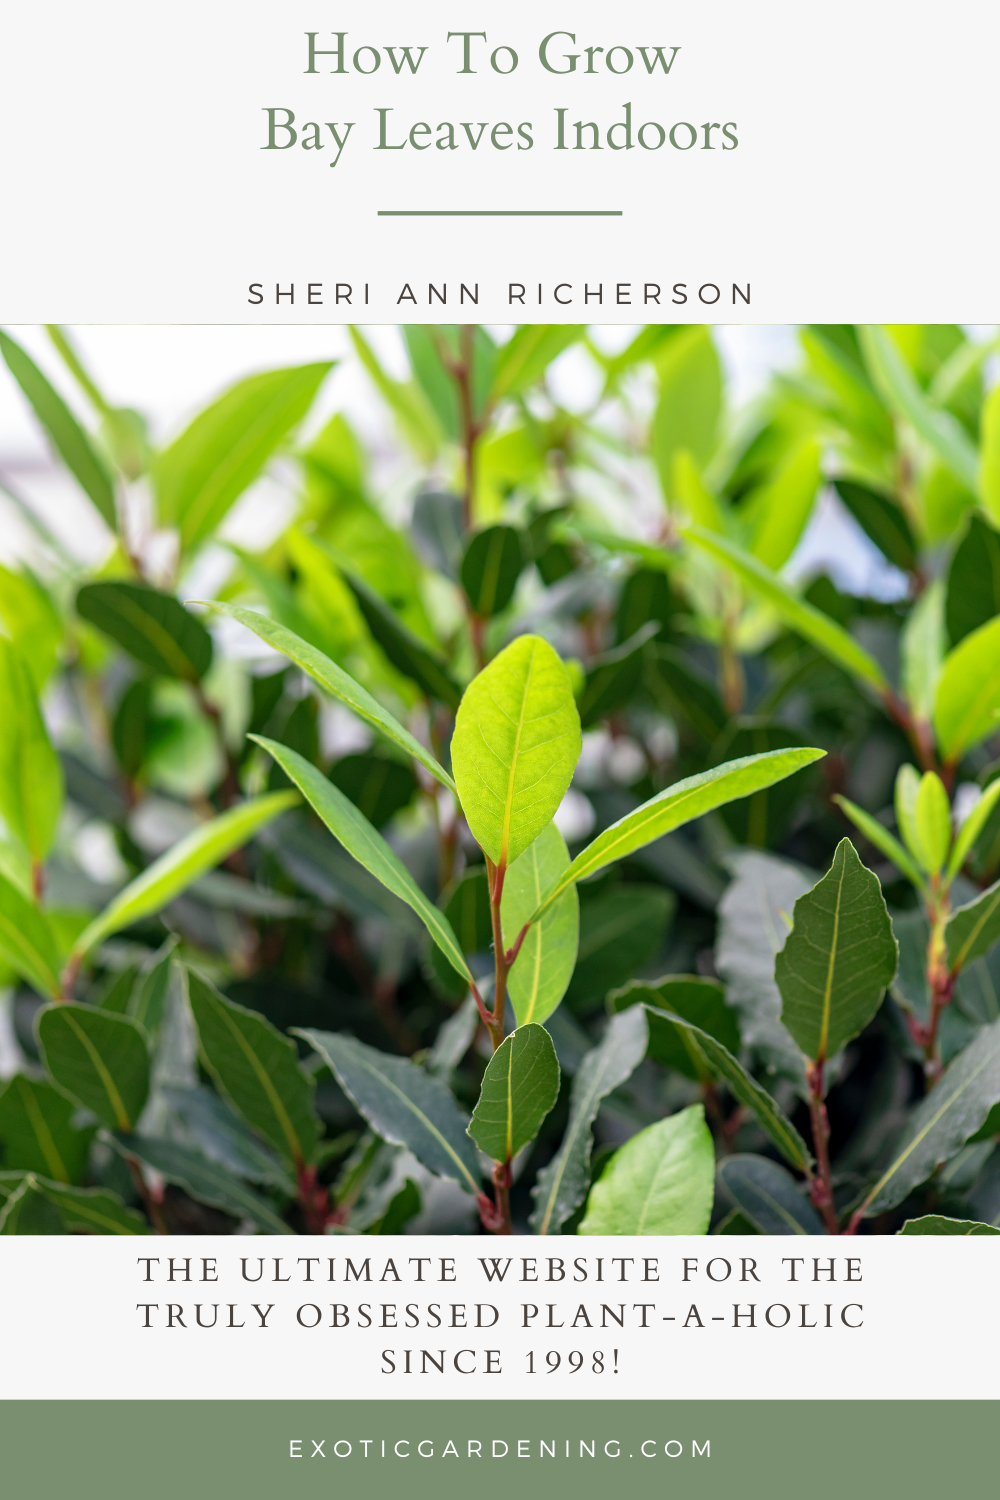
Wondering how to grow bay leaves indoors?
The bay leaf plant, or Laurus nobilis, is a culinary treasure that can bring a touch of Mediterranean charm to your indoor garden.
Cultivating bay leaves indoors can be a delight, especially when you can reach out and pluck those aromatic leaves for your cooking.
In this guide, we'll walk through the journey of nurturing your very own bay leaf plant right at home.
Let's start with the basics.
The bay plant thrives in specific conditions, and meeting its preferences is the key to success.
From ideal light intensity to the perfect temperature range, we'll cover it all.
And don't even get me started on watering – the bay leaf plant has its own hydration rules, and we'll decipher them together.
Now, about that soil mix – it's not your average potting soil.
We'll discuss how to create the perfect growing medium, one that's well-drained and moderately moisturized, ensuring your bay leaf's roots are happy and well-fed.
Ready to put your green thumb to work?
We'll explore the best practices for planting bay leaf seeds or cuttings.
But it doesn't end there; we'll also dive into the ongoing care techniques, including the art of watering, pruning, and feeding your bay leaf plant.
So, if you've ever wondered how to grow bay leaves indoors and dreamed of having a bay leaf plant at your fingertips, this guide is your ticket to fragrant success.
Let's get started on this aromatic journey of indoor bay leaf cultivation!
Understanding the Essential Needs of Your Bay Leaf Plant
Bay leaf plants, or as we fondly know them, Laurus nobilis, embody a delightful fusion of culinary delight and the joys of gardening.
Nurturing these plants isn't just about enhancing your garden's charm; it's about bringing that extra dash of freshness to your culinary creations.
- Lighting Conditions: Much like how we crave food, bay leaf plants hunger for light. They thrive in locations blessed with full sunlight or partial shade. While they can endure lower light levels for a brief period, extended periods of insufficient sunlight can hinder their growth. So, be sure to find a spot where your bay leaf plant can soak up a minimum of four to six hours of sunlight daily.
- Soil and Planting Conditions: Bay leaf plants are all about that well-draining soil. A potting mix with peat moss, perlite, or sand to aid drainage is just the ticket. These plants aren't fans of waterlogged roots, so steer clear of soil that stays perpetually soggy. When planting, they're not overly fussy, but giving them ample room to stretch their roots in a generously sized pot can encourage optimal growth.
- Consistent Temperature and Humidity: Moderation is the name of the game for bay leaf plants. They thrive in temperatures between 45 to 65 degrees Fahrenheit. Going significantly below or above this range can stress them out. And when it comes to humidity, they appreciate a good dose. If the air gets too dry, a tray filled with pebbles and water beneath your plant can work wonders.
- Pruning and Shaping: Let your artistic side shine with bay leaf plants. They respond beautifully to pruning and shaping, which allows you to encourage bushier growth and manage the plant's size. You can even trim back up to a third of the plant without causing any harm.
- Feeding and Fertilizing: These plants aren't too demanding when it comes to food, but a bit of fertilization can make them happy. In early spring, an all-purpose houseplant fertilizer can provide the nutrients they need for fresh growth and lush leaf production.
In conclusion, if you tend to these essential needs—light, well-draining soil, moderate temperatures, humidity, occasional pruning, and some gentle feeding—your bay leaf plant will bless you with an abundance of aromatic leaves, perfect for elevating your culinary masterpieces.
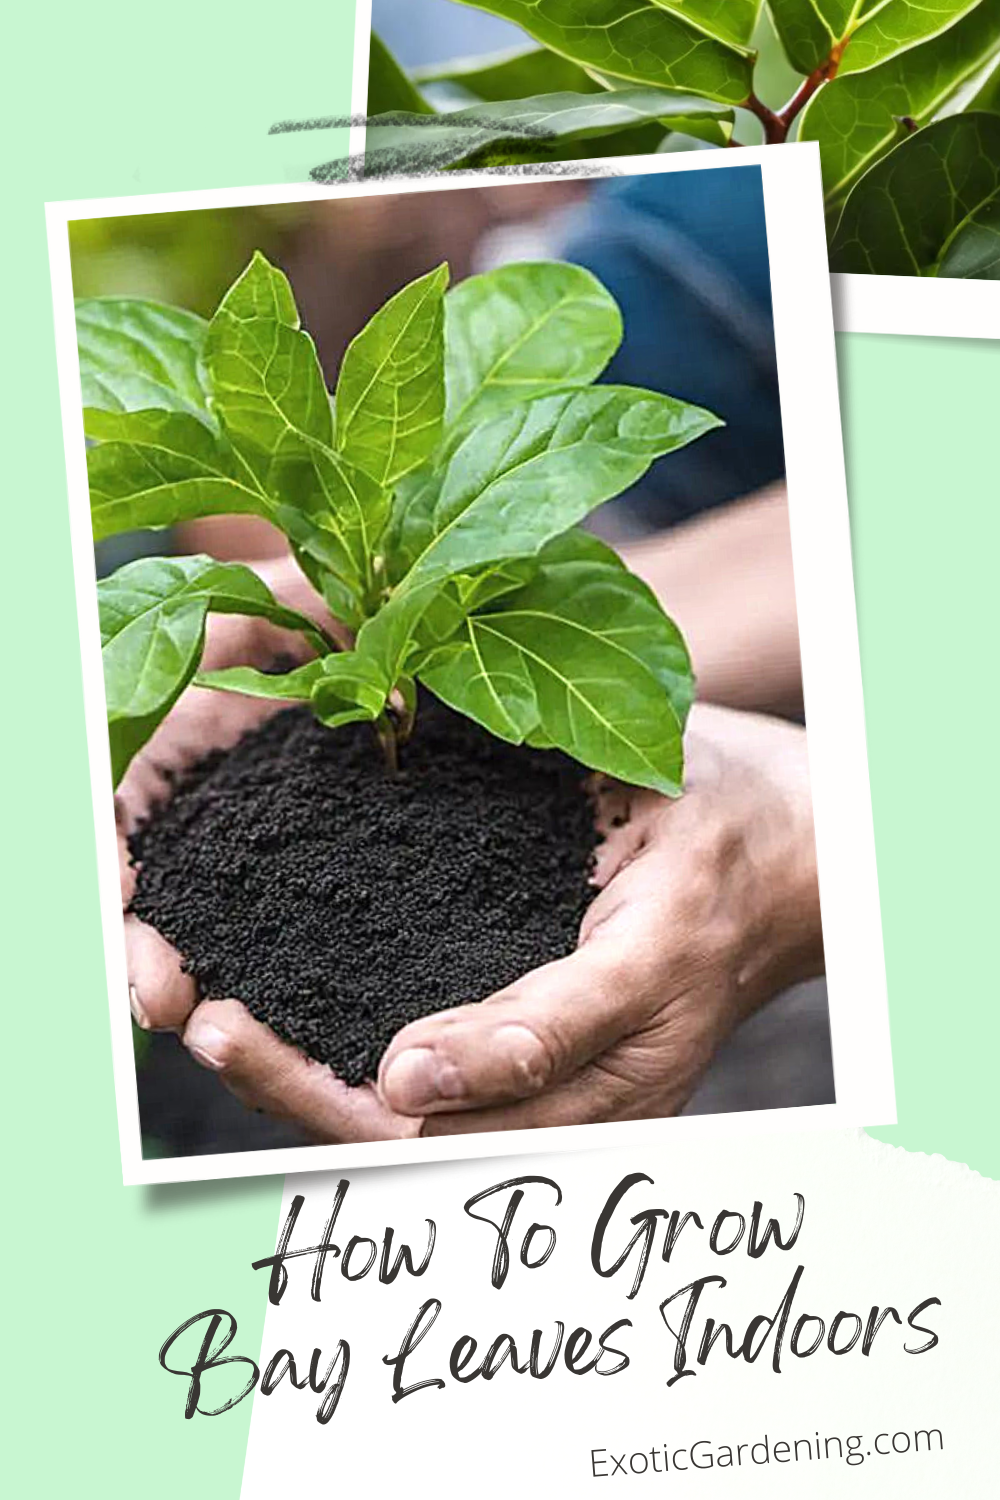
Preparing the Ideal Potting Mix for Your Bay Leaf Plant
Oh, the heart of the matter when it comes to nurturing our beloved bay leaf plants – the potting mix.
It's not just some soil in a container; it's the secret sauce that ensures your plant's vitality, well-being, and productivity.
Let's dive into the art of crafting the perfect potting mix for your bay leaf plants.
The Ideal Mix Composition
Our bay leaf plant craves a potting mix that's a blend of well-drained and fertile goodness.
Imagine something spongy to the touch, well-aerated, and capable of retaining moisture while ensuring efficient drainage.
In simpler terms, it should keep the bay's roots happily moist, not waterlogged.
To achieve this delicate balance, you'll need the right ingredients.
Start with a mixture of garden soil, compost, and sand, or perlite.
The garden soil should be free of pests and rich in organic matter.
A 1:1:1 ratio of these components typically does the trick.
Mixing with Precision
Begin by thoroughly mixing a part of garden soil into the equation.
This soil is the fundamental ingredient, holding essential nutrients and water for the plant.
However, as we've learned, our bay leaf plant is not a fan of waterlogged conditions.
This is where the coarse sand or perlite comes into play.
Add a part of this material to the mix.
They don't hold onto water, allowing it to drain through easily, improving aeration and preventing root rot.
Always opt for coarse sand to avoid compaction and drainage issues.
Lastly, mix in a part of compost for that organic boost.
Compost is fantastic because it's loaded with nutrients and beneficial microbes.
Just make sure it's fully decomposed; unfinished compost can actually take nitrogen away from the plants as it breaks down.
After blending all these ingredients, ensure that you mix them evenly.
Trust me; those seemingly subtle hotspots could lead to significant challenges for your bay leaf plant down the road.
So, a thorough mix is essential.
Now, before you transition your bay leaf plant into this mix, test its drainage.
Moisten it and squeeze a handful. It should hold together but crumble when you release your grip.
If water drips when squeezed or it doesn't fall apart when you open your hand, it's a sign that the mix might be too heavy or contains too much water.
Sterilizing for Success
The last step is all about sterilization - and the only way to skip this is if you purchased materials to make your potting mix that were already sterilized.
To sterilize the mix yourself, bake soil mixture in an oven or use the microwave to sterilize it.
Expect this process to smell up your house.
This step ensures that any potential diseases or pests are eliminated, providing a safe and welcoming new home for your plant.
Remember, the potting mix is the unsung hero of your bay leaf plant's growth journey.
It's where the roots will establish themselves and draw nourishment from, so the extra care you put into its preparation will undoubtedly yield excellent results.
So, don't underestimate what's happening beneath those beautiful bay leaves.
With the right potting mix, your lovely bay leaf plant will not just survive but truly thrive!
Planting and Care Techniques
Jumping straight into it, any serious gardener will remember one cardinal rule: watering.
Knowing when and how much to water your bay leaf plant is crucial to keeping it happy.
This charming semi-tropical plant, while fairly resilient, doesn't take kindly to soggy roots.
Over-watering can cause root rot, a disease that can be fatal for your plant.
Rather, it is best to water the plant when the top 1 to 2 inches of soil have dried out.
Keep in mind, don't just douse the plant with water until the pot is cascading like a miniature waterfall.
Instead, slowly water around the base, allowing the water to reach the deeper roots gradually.
This allows oxygen to penetrate the soil, promoting healthier root growth.
And remember, always avoid watering the foliage directly to reduce the risk of leaf spot diseases.
Accelerating Growth with Proper Care
Bay leaf plants have a reputation for slow growth, but that shouldn't discourage any enthusiast!
Proper care can speed up the process.
Bay leaf plants are known for their leisurely growth, but with a bit of care and attention, you can give them a growth boost.
One effective method is regular misting with room-temperature water.
This practice helps by increasing humidity around the plant, creating an environment that mimics its native tropical habitat, ultimately contributing to faster growth.
Additionally, giving your bay leaf plant an occasional shower with room temperature water can improve the appearance of its leaves and deter potential pests.
Pest Management: Watch Out for Uninvited Guests
Speaking of pests, keep an eye out for the usual suspects.
Bay leaf plants are an all-you-can-eat buffet for critters like aphids, scale, and mealybugs.
Bay leaf plants, while delightful, can be a favorite spot for some unwelcome guests.
Common culprits include aphids, scale, and mealybugs.
To tackle these pests, you can use a good insecticidal soap, which is readily available.
If you prefer a DIY approach, a mixture of regular dish soap and water can often do the trick.
However, it's essential to test this mixture on a small part of the plant before applying it overall to ensure it doesn't harm your bay leaf plant.
Choosing the Right Container for Optimal Growth
Another key factor in maintaining a healthy bay leaf plant involves its container.
Bay leaf plants thrive best in broad, shallow pots with ample drainage holes.
The choice of container plays a significant role in your bay leaf plant's health and growth.
These plants do best in broad, shallow pots that offer ample drainage.
The pot should match the size of the plant - not too large, not too small.
Repotting every 2-3 years is recommended.
This practice helps prevent root-bound conditions, stimulates growth, and replenishes lost nutrients, ensuring your bay leaf plant thrives.
Protection from Harsh Weather
To ensure your bay leaf plant lives its best life, protection from harsh weather is essential.
While bay leaf plants adore the sunshine, they are not fans of harsh winds.
When temperatures drop below freezing, it's crucial to move your bay leaf plant into a sheltered location, preferably indoors.
Similarly, in extreme heat, the plants benefit from some dappled shade to protect them from sunburn.
Providing this shelter from harsh weather conditions ensures your bay leaf plant remains healthy and vibrant throughout the year.
It isn't rocket science, it's a labor of love.
These special plants serve a two-fold purpose, apart from livening up your garden space.
They're both ornamental and culinary wonders, making these essential principles in taking care of your bay leaf plant all the more rewarding.
And there you have it, folks - now, remember to exercise patience as these lovely plants take their time to flourish.
But once they do, it's worth every single moment and effort invested.
Cultivating Thriving Bay Leaf Plants Indoors
Cultivating bay leaf plants indoors can be a both a challenge and a deeply rewarding journey.
The height of your success depends on your ability to understand the unique nature of these plants and meet their specific requirements related to sunlight, temperature, and watering schedules.
But the rewards are well worth the effort.
To ensure the long-term health and productivity of your herbal plant, it's essential to implement feel-good planting and ongoing care techniques.
This includes mastering the art of effective watering, knowing when and how to prune your plant, and providing the right nutrients through proper feeding.
These practices will keep your bay leaf plant in prime condition, ready to enhance your home with its vibrant vitality and infuse your dishes with a pinch of fresh, aromatic flavor.
Embrace this knowledge, and you'll be well-equipped to cultivate a thriving bay leaf plant indoors.
Herb Gardening
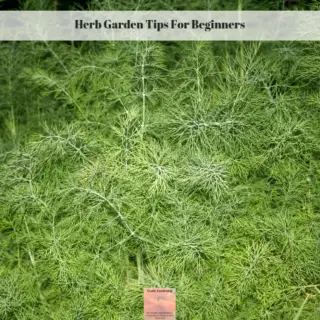
Herb Gardening Tips For Beginners
Follow these simple herb gardening tips for beginners to successfully start your herb garden. These herb garden tips are ideal for container gardens too.
Herb Garden Tips For Beginners
From how to grow herbs to how to harvest herbs and everything in between, these herb garden tips give bite sized information ideal for beginners.
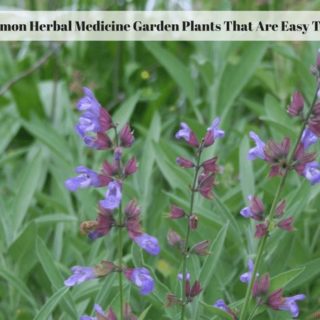
14 Common Herbal Medicine Garden Plants That Are Easy To Grow
These fourteen common herbal medicine garden plants are easy to grow, indoors or outdoors. Common medicinal herbs often double as culinary herbs, so it is possible you are already growing some of these if you already grow an herb garden.
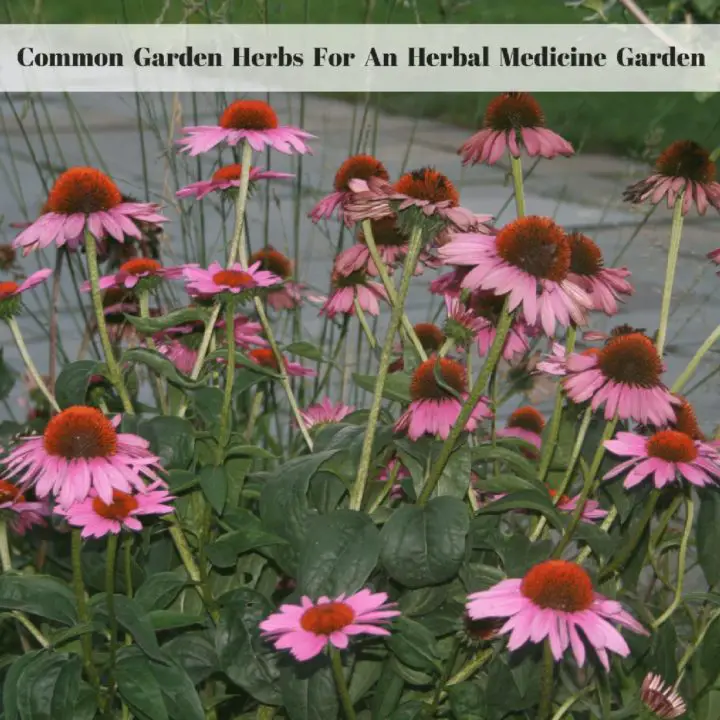
Common Garden Herbs For An Herbal Medicine Garden
Starting an herbal medicine garden is easy. Self-sufficiency and alternative healing options are just a couple reasons to grow a medicinal garden.

Citrus Theme Garden Tutorial
A citrus theme garden incorporates more than just fruit trees. Try citrus scented herbs, vibrant orange or yellow flower pots or even

Popular Medicinal Herbs St. Johns Wort, Ginseng and Gingko Biloba for Natural Health
St. Johns Wort, Ginkgo Biloba and Ginseng are popular medicinal herbs for natural health. Growing medicinal herbs is quite easy to do.
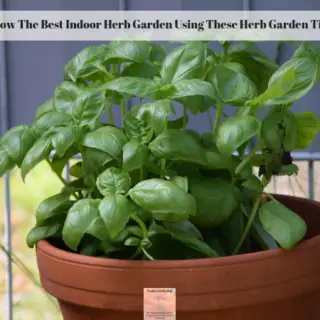
Grow The Best Indoor Herb Garden Using These Herb Garden Tips
Learn how to grow the best indoor herb garden ever by following these simple herb garden tips. It really is easy to grow and harvest herbs year round.

Tips On Planning A Medicinal Herb Garden
Check out these tips for planning a medicinal herb garden. Learn how to choose what herbs to get started with, how to choose the right site and more.
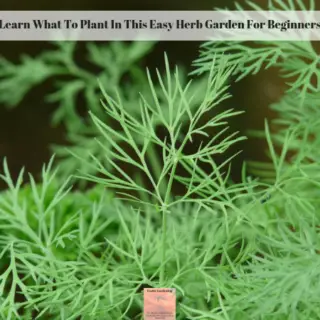
Learn What To Plant In This Easy Herb Garden For Beginners
Knowing what to plant makes creating an easy herb garden for beginners to tend much more enjoyable. Try these eight herbs.
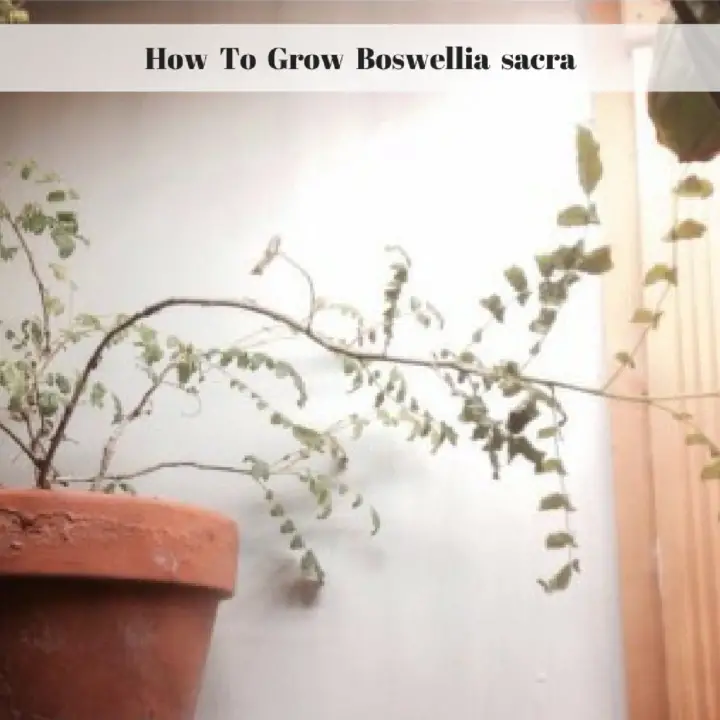
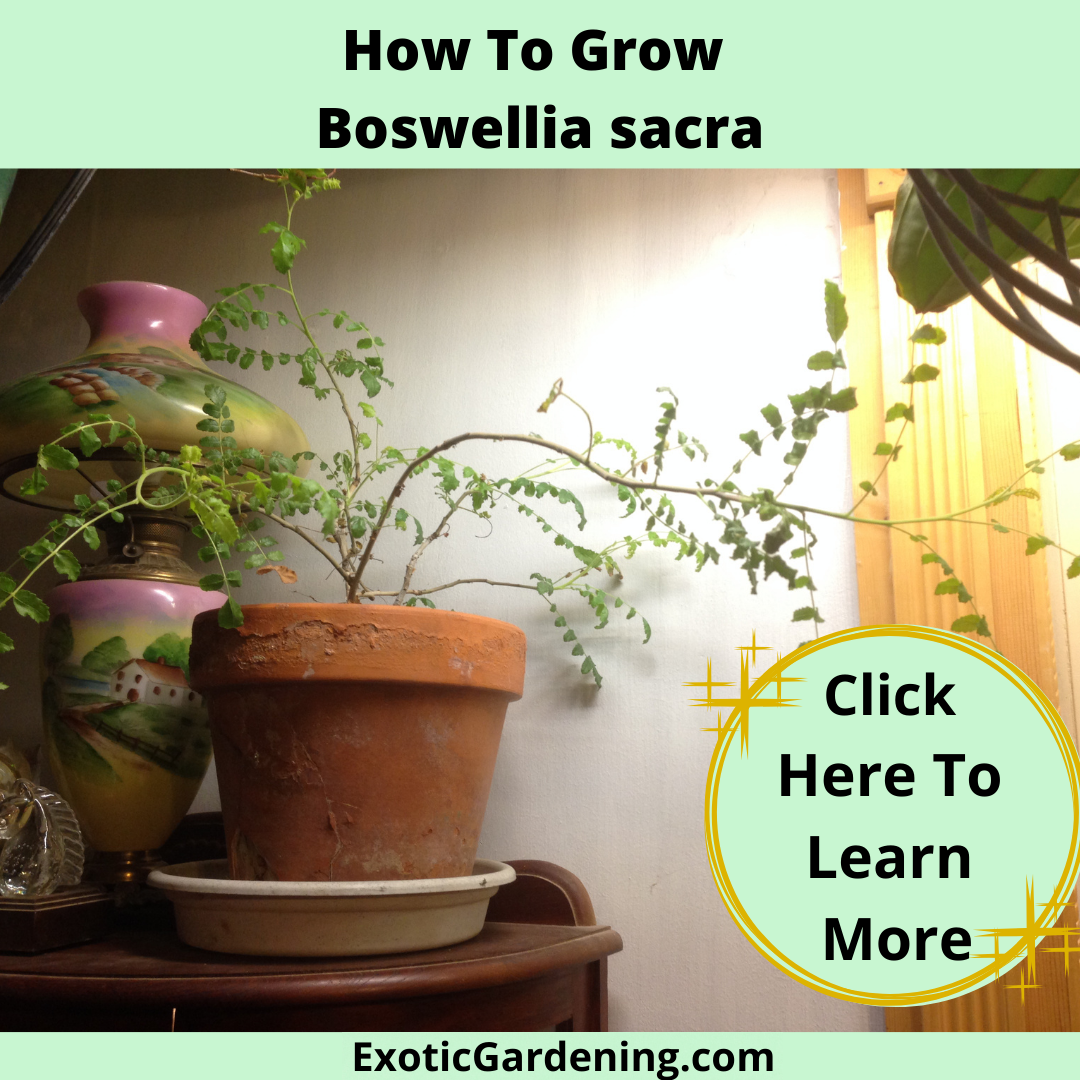
How To Grow Boswellia sacra
Boswellia sacra is the plant frankincense tears comes from. Learn how to grow the Boswellia sacra plant and what the various uses for it are.

The Truth About Authentic, Easy To Grow Lemon Grass
Lemon grass is a versatile herb that is known for being used in cooking. It is easy to grow and the lemon scent just can't be beat.

Sheri Ann Richerson
Learn how to make three different herb garden gifts, step by step plus get some great tips on propagating herbs.
The three types of gift ideas include:
Herbal Mason Jar Trio
Trio Of Herbs In Small Clay Pots
Herbal Advent Calendar
The idea that steals the show is the herb garden Advent Caledar.
Besides making a great gift, the herb garden Advent Calendar is ideal for homeschool families!
Allow the children to plant either an herb plant or herb seeds in little buckets and then hang them in a window so they can watch the herbs grow through the winter months.
Each day in addition to planting an herb in the buckets, a lesson could be taught about the herb.
The supplies for the Advent Calendar are available at many dollar stores or this could even be a lesson in recylcing supplies you have on hand.
If you love herbs - or know someone who does - this is one eCourse you won't want to miss!


Leave a Reply