
How to fix waterlogged soil in pots is a topic that often escapes our gardening conversations.
Water is an essential component to nourish the life within pots - those vibrant flowers, lush leaves, or the healthy growth of desired plants.
However, too much of anything can be harmful, and the same applies to the watering of potted plants.
Overwatering often leads to waterlogged soil, which can distress the plant, causing various symptoms such as yellowing of leaves, foul smell, or even plant death in extreme situations.
This piece discusses the signs that underscore waterlogged soil in pots, the role of correct watering techniques to avoid over-saturation, and potential methods to improve soil drainage, all to ensure a healthy environment for your indoor or outdoor potted green companions.
Identification of Waterlogged Soil
Have you ever been faced with wilting plants despite following recommended watering routines and schedules?
In that case, you might be dealing with waterlogged soil.
Understanding how to recognize waterlogged soil is essential to nurturing a healthy, thriving garden.
Let's dive right into the world of soil saturation!
Waterlogged soil is simply soil that is holding too much water.
This isn't an inherent 'bad guy,’ but it can hinder a plant's ability to breathe properly.
It happens when water fills up all the tiny air spaces in the soil, leading to root suffocation and eventually plant death.
Waterlogging is often a result of poor drainage systems in heavy clay soils or container plants with inadequate drainage holes.
So how can you detect this perpetrator of plant problems?
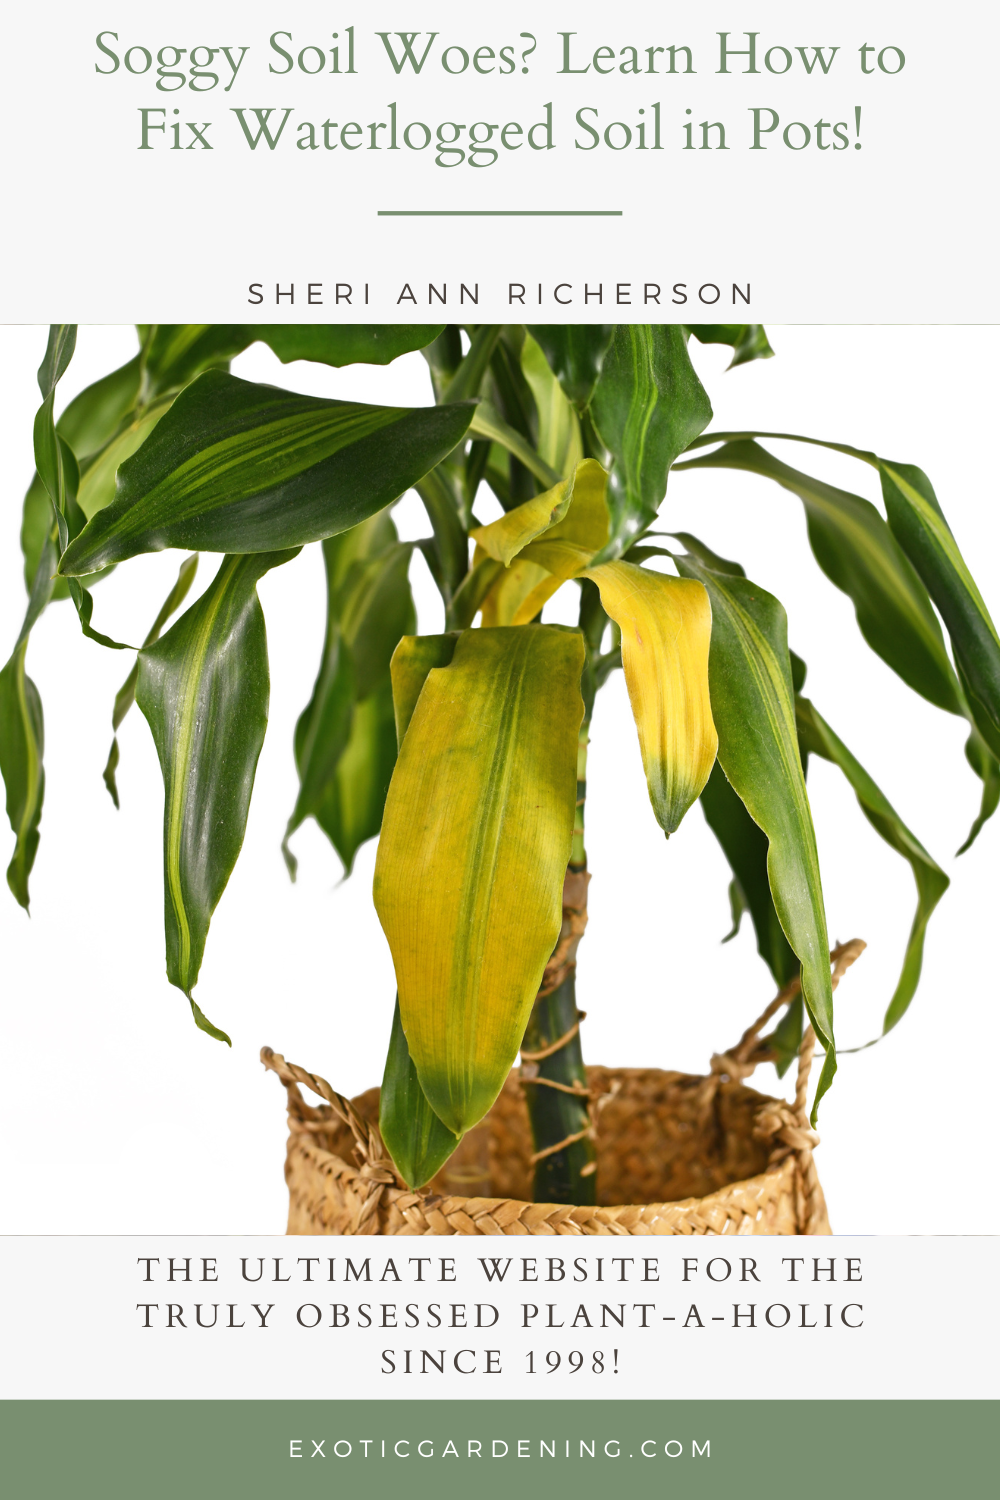
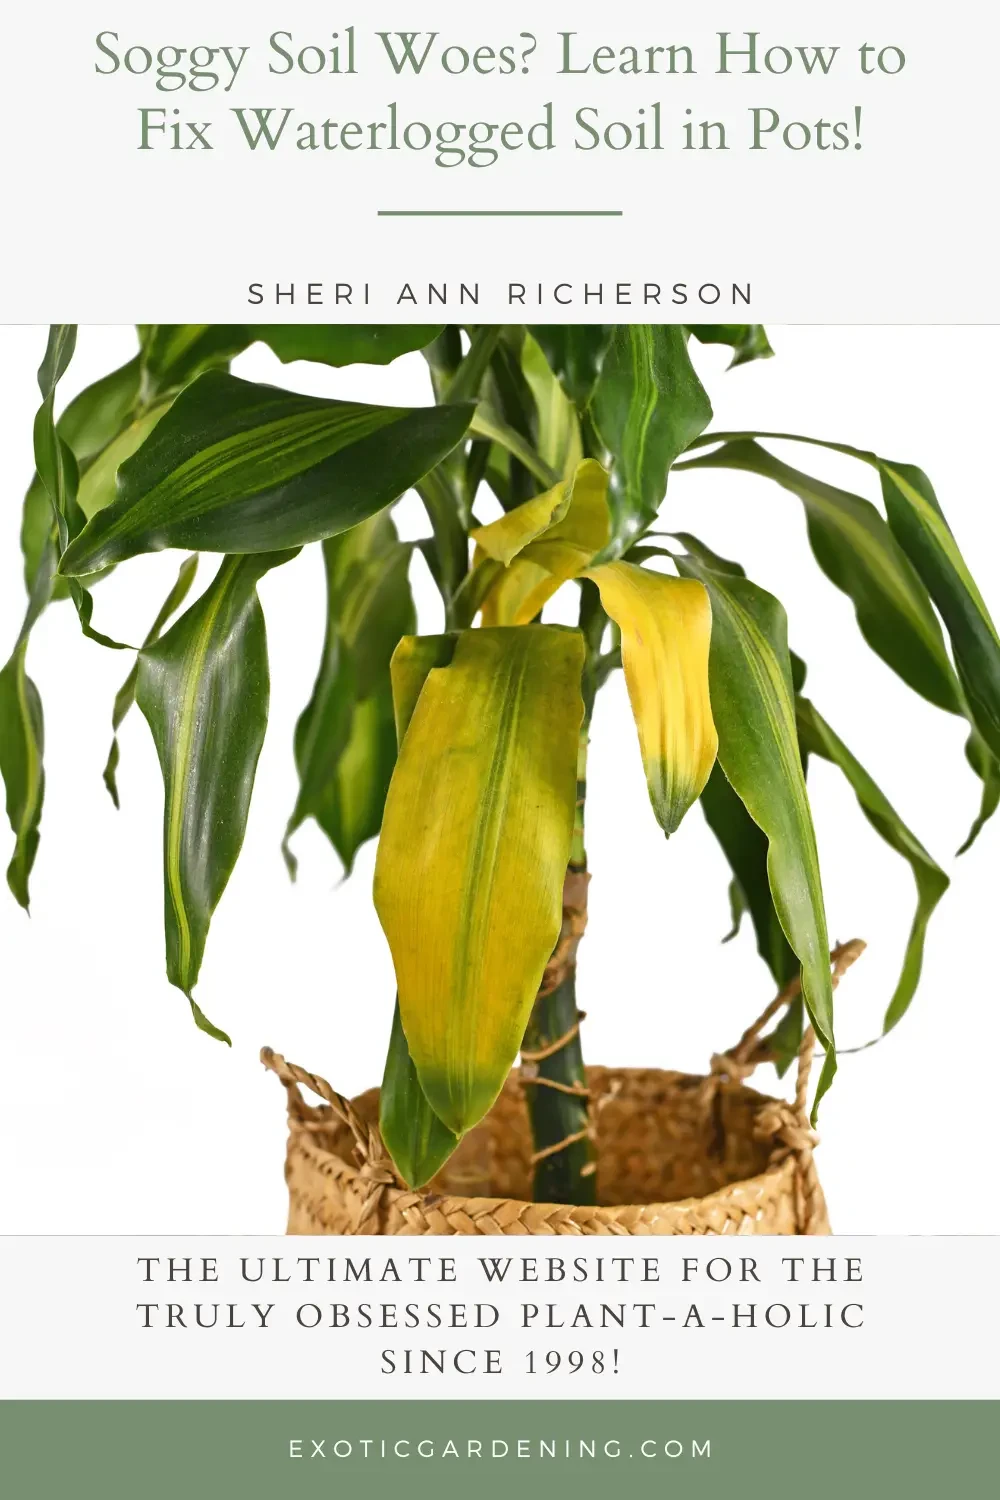
- Yellowing Leaves: If you notice that the leaves, particularly the lower ones, are turning yellow, this could be a telltale sign of waterlogged soil. This symptom is due to a lack of oxygen, ultimately culminating in the yellowing, wilting, and dropping of the leaves.
- Stunted Growth: When plants are sitting in waterlogged soil, their roots are unable to absorb the necessary oxygen for growth. As a result, these plants may exhibit noticeably stunted growth compared to their peers.
- Mold or Algae: A casual stroll around your beautiful greens might reveal a surface layer of mold or algae. This is an unmistakable sign of soil that is too damp. This mossy cover not only looks unsightly but prevents the sun's rays from warming the soil effectively.
- The Sniff Test: Another simple procedure to identify waterlogged soil is the trusty 'Smell Test.' Waterlogged soil often gives off a rather unpleasant, sour smell due to the presence of anaerobic bacteria that thrive in oxygen-starved conditions. A healthy soil, on the other hand, has a fresh, earthy aroma.
- The Squeeze Test: This is a highly recommended technique by gardening experts. Grab a handful of soil and give it a good squeeze. If water is visibly dripping out, it's likely waterlogged. If it forms a tight, wet ball and doesn't crumble easily when poked, it's too waterlogged. Healthy soil, conversely, forms a loose ball and crumbles readily.
Often, the problem of waterlogged soil can be resolved by improving your garden's drainage system or shifting to a more suitable soil mix.
But first things first - you've got to identify this notorious plant killer, also known as waterlogged soil.
So, don your gardening gloves and detective caps, garden enthusiasts, and use these insightful diagnostics to ensure your greens are growing in the healthiest of soils!

Correct Watering Techniques
Hobbyist gardeners know very well that watering your plants isn't a one-size-fits-all situation.
Depending on the type of plant, its stage of growth, and even the time of year, your watering regimen can fluctuate wildly.
Here's a handy guide to help you determine when and how much to water different types of plants.
- Succulents and Cacti, with their iconic desert roots, are champions of water conservation. Their watering needs are quite minimal. During the growing season, which typically happens in spring and summer, these plants need watering only when their soil is dry to the touch. Aim to water them once every 1-2 weeks. However, in their dormant period, which usually occurs in the colder months of fall and winter, their water needs decrease further. Watering once every 2-3 weeks is more than sufficient.
- Houseplants, on the other hand, might require a more regular watering schedule. Philodendrons, for instance, prefer their soil to be consistently moist but not water-logged. They might need watering as often as once a week, but always check the soil's moisture before watering. If it feels dry when you press your finger an inch deep into it, these leafy companions could use a drink. But, if the soil still feels moist, hold back a little longer.
- Vegetable plants, needless to say, are quite demanding in terms of their water needs. Most veggies, including tomatoes, cucumbers, and peppers, crave consistently moist soil. This might mean watering them every day in the heat of summer, especially if they are in containers, which dry out faster than ground soil. These summertime favorites are best watered at ground level to avoid leaf dampness and disease spread.
- Ornamental outdoor plants like roses need about an inch of water per week throughout the growing season. If Mother Nature isn't providing enough rain, you should step in to meet the deficit. For best results, water these beauties deeply and infrequently rather than little and often to encourage deeper root growth.
- Herbs are famous for their water sipping habits. Many herbs including basil, rosemary, and thyme prefer their soil to dry out completely between watering. Overwatering can lead to root rot, especially in winter, so err on the drier side with these fragrant assets, unless of course, they start looking droopy.
- Established trees and shrubs, by virtue of their deep root systems, can often take care of themselves unless you're in an area of severe drought. The exception to this rule is newly planted trees and shrubs, which will need regular watering until they're established.
Remember, these are just guidelines.
Individual plants in pots may vary in their needs, and watering will also depend heavily on your climate and weather.
It's always best practice to do a quick soil moisture check before watering your potted plants, to ensure they stay happy, healthy, and enjoy their ‘me thirst no more’ mode of living.
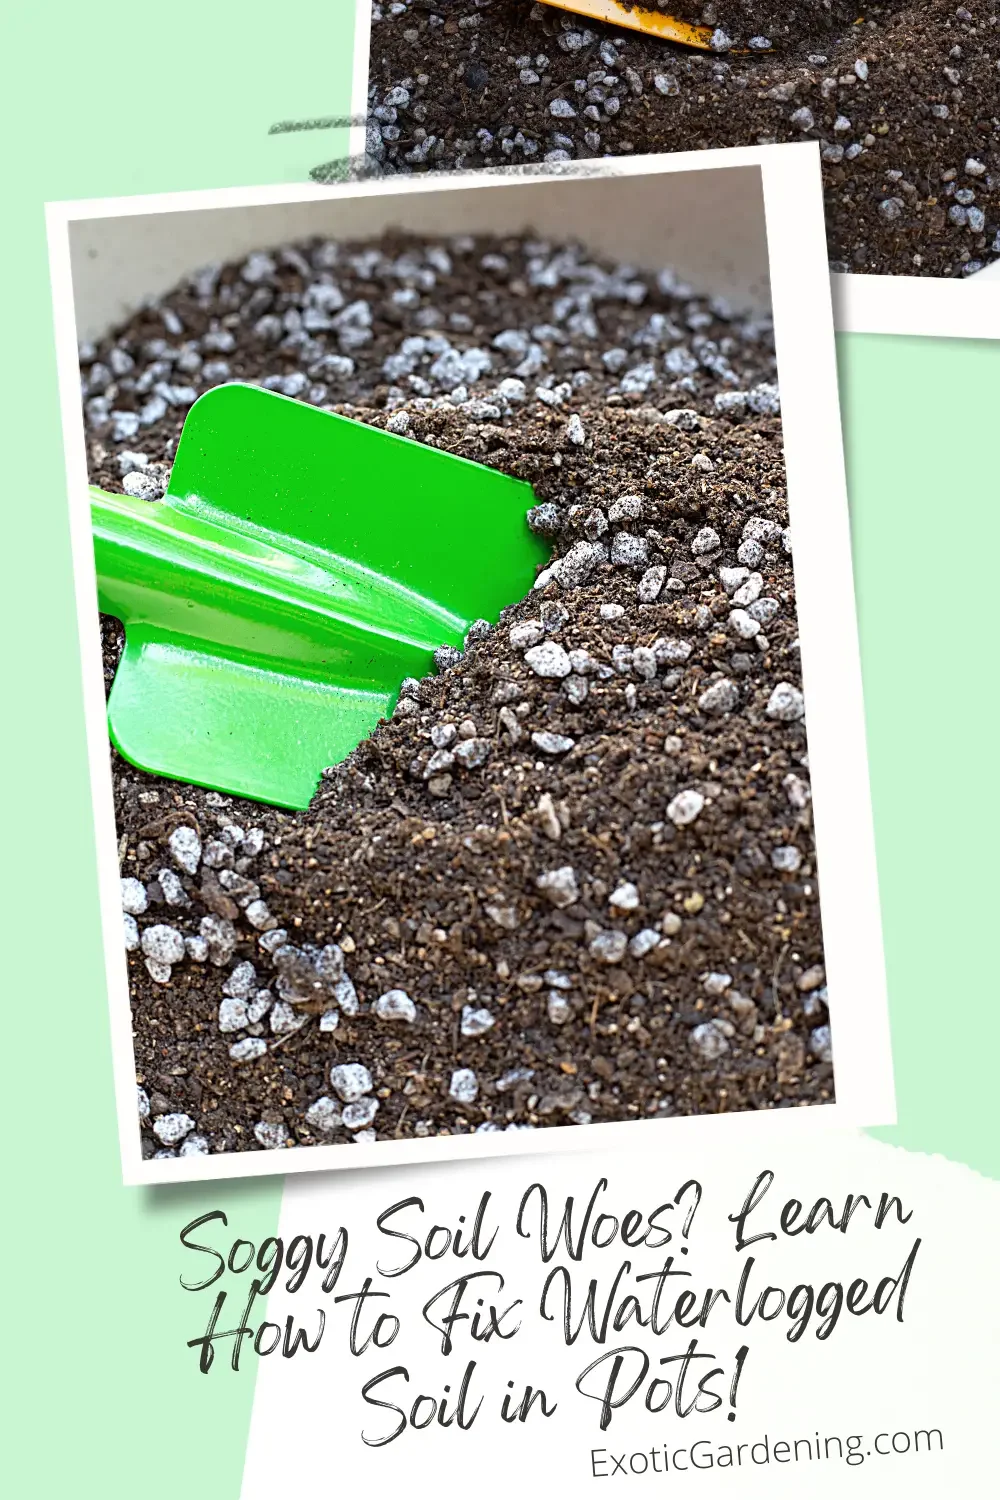
Crafting the Perfect Well-Draining Potting Mix
A well-draining potting mix is essential for healthy plant growth, especially in containers.
It should allow excess water to flow through the soil, preventing waterlogged conditions.
Here's what a good-draining potting mix typically consists of:
Components of a Good-Draining Potting Mix:
- Organic Matter: This provides nutrients and structure to the mix. Common organic components include peat moss, coconut coir, or well-rotted compost.
- Inorganic Additives: These enhance drainage and aeration. Examples include perlite, vermiculite, or coarse sand. These materials create air pockets in the mix, ensuring roots receive oxygen.
- Vermicompost: Also known as worm castings, vermicompost is a superb organic component. It adds nutrients and beneficial microorganisms to the mix.
- pH Adjustments: You may need to adjust the pH of the mix based on the plants you're growing. Materials like limestone can help raise the pH, while sulfur can lower it.
- Micronutrients: Consider adding a balanced, slow-release fertilizer to provide essential nutrients for plant growth.
Now, let's create a simple recipe for a well-draining potting mix:
Recipe for Well-Draining Potting Mix:
Ingredients:
- 2 parts peat moss or coconut coir
- 1 part perlite or vermiculite
- 1 part coarse sand
- A handful of vermicompost
- Optional: Adjust pH with limestone or sulfur as needed
Instructions:
- Begin by choosing a clean container to mix your potting mix. Make sure it's free from contaminants.
- In your container, combine two parts peat moss or coconut coir. These will serve as the organic base of the mix.
- Add one part perlite or vermiculite to the mix. This will improve drainage and aeration.
- Incorporate one part of coarse sand to further enhance drainage and provide stability to the mix.
- Add a handful of vermicompost to introduce beneficial microorganisms and nutrients to the mix.
- If your plants have specific pH requirements, adjust the pH level using limestone to raise it or sulfur to lower it. Follow the recommended rates based on your plant's needs.
- Thoroughly mix all the ingredients until they are evenly distributed.
- Your well-draining potting mix is now ready for use in your containers. It will provide the proper balance of water retention and drainage for your potted plants.
This homemade potting mix will work well for a wide range of container plants, but you can always adjust the ratios or components to suit the specific needs of your plant species.

Marvelous Methods to Improve Soil Drainage in Pots
When it comes to the pursuit of healthier potted plants, hobby gardening offers a host of exhilarating challenges and enlightening solutions.
One of the more complex dilemmas a budding green thumb may come across is the issue of soil drainage.
But fear not!
This guide outlines some nifty techniques and tips to optimize soil drainage, guaranteeing a happy home for your cherished plants.
- Adding a Layer of Coarse Material: A common method to improve drainage is introducing a layer of coarse material at the pot's base, such as pebbles, crushed terra cotta, or coarse sand. This aids in creating a channel for excess water to escape, reducing the likelihood of waterlogged soil.
- Use of Potting Mixes: Tailoring the potting mix used can also make a significant impact. Some gardening enthusiasts swear by using lightweight, porous materials in their soil mix to promote better drainage. Perlite, vermiculite, or even small pieces of styrofoam can be mixed into the soil, increasing its capacity to let water pass through.
- Double-Potting Plants: The double-potting or cache-pot method involves placing your plant in a slightly smaller drainage-friendly container, then placing this inside the decorative pot. This method secures the aesthetic appeal of the pot, while ensuring that the plant has ample drainage capacity in its inner home.
- Employing the Right Container: Sometimes, the problem is not in the soil but in the container itself. For instance, using containers or pots made of porous materials, such as terracotta or wood, can significantly improve soil drainage by letting the water evaporate from the pot sides. Additionally, ensuring a sufficient number of good-sized drainage holes is key.
- Use of Plant Saucers: The use of plant saucers is a clever way to improve soil drainage. By placing a saucer underneath the pot, any excess water that is drained can be collected. Remember, though, that water should not be let to stand in the saucer for a long time, as this could reabsorb into the pot and cause waterlogging. Instead, any excess water collected in the saucers should be promptly removed.
Remember, improving soil drainage is not a one-size-fits-all task.
What might work for your succulents might not be suitable for that tomato plant you're tending.
As with any offering from mother nature, each plant comes with its unique set of wants and needs.
Salvaging a Plant from Waterlogged Soil: Step-by-Step Guide
Discovering a waterlogged plant can be disheartening, but there's hope for revival.
In this step-by-step guide, we'll walk you through the process of rescuing a waterlogged plant and giving it a fresh start.
Whether you're a seasoned plant parent or just beginning your journey, understanding how to salvage a waterlogged plant is a valuable skill.
By following these carefully curated steps, you can nurse your green friend back to health, and with care and patience, witness it thrive once more.
- Assess the Situation: First, carefully remove the plant from the waterlogged pot. Gently shake off excess soil and inspect the roots.
- Trim Damaged Roots: Identify and trim any mushy or discolored roots. Use clean, sharp scissors or pruning shears for this delicate task.
- Choose a New Pot: Select a new pot with proper drainage holes and a size that accommodates the plant's root system. Ensure it's clean and sanitized.
- Prepare Fresh Potting Mix: Create a well-draining potting mix by combining quality potting soil with additives like perlite, vermiculite, or sand.
- Plant the Rescued Plant: Position the plant in the new pot, spreading the roots evenly. Add the prepared potting mix around the plant, leaving some space at the top.
- Water Sparingly: Water the newly potted plant lightly to help settle the soil and remove air pockets. Ensure that the pot allows excess water to drain.
- Provide Adequate Light: Place the plant in an appropriate location based on its light requirements. Avoid direct sunlight until it recovers.
- Monitor Moisture Levels: Pay close attention to the soil's moisture. Water only when the top inch or so of the soil feels dry to the touch.
- Adjust Care Routine: Adapt your care routine to the specific needs of the plant species, considering factors like humidity, temperature, and season.
- Encourage Recovery: Be patient and give your plant time to recover. Avoid over-fertilizing, as the roots may be sensitive at this stage.
- Observe New Growth: As the plant regains strength, you should start seeing signs of new growth. This is a positive indicator of successful recovery.
- Regular Maintenance: Once your plant has fully recovered, continue with your regular maintenance routine, but be mindful of not overwatering.
By following these steps, you can give your waterlogged plant a second chance at thriving.
It's a rewarding process that allows you to save a beloved green companion from the perils of waterlogged soil.
Caring for Potted Plants: A Greener Approach
There must never be room for negligence when it comes to safeguarding the environment within which your plants thrive.
Waterlogged soil, improper watering, and inadequate soil drainage may appear as minor concerns, but they hold the power to profoundly impact your plant's well-being.
By fine-tuning your watering habits, implementing effective drainage solutions, and understanding the telltale signs of waterlogged soil, you're on the path to creating a healthier haven for your beloved potted plants.
So, gather your gardening tools, exercise patience, and apply these fundamental gardening practices.
Soon, you'll witness your plants breathe, grow, and thrive happily in their pots.
The pride you feel from nurturing these green companions will undoubtedly be unparalleled.
FAQ about Waterlogged Soil
Q. What causes waterlogged soil in potted plants?
A. Waterlogged soil often occurs due to excessive or poorly drained water, leading to oversaturation and reduced oxygen supply to the plant roots.
Q. What are the common symptoms of waterlogged soil in pots?
A. Typical symptoms include yellowing leaves, a foul odor, and stunted growth in your potted plants.
Q. Can any type of potting soil lead to waterlogged conditions?
A. Yes, but it's more likely in heavy, clay-rich soils that don't drain well.
Q. How can I avoid overwatering my potted plants?
A. Always check the moisture level of the soil before watering and ensure the pot has proper drainage.
Q. What's the best way to improve soil drainage in pots?
A. You can enhance drainage by adding perlite, sand, or gravel to your potting mix.
Q. Should I choose specific pots to prevent waterlogging?
A. Pots with drainage holes are a good choice, as they allow excess water to escape.
Q. Can I salvage a plant suffering from waterlogged soil?
A. In some cases, you can save the plant by repotting it in well-draining soil and trimming damaged roots.
Q. How often should I water my potted plants to avoid waterlogging?
A. The frequency depends on the plant type, pot size, and climate. Check soil moisture before watering.
Q. Is it better to water from the top or bottom of the pot?
A. Watering from the bottom (sub-irrigation) can help avoid overwatering, but it depends on the plant's needs.
Q. Can I use a wetting agent to prevent waterlogged soil?
A. Wetting agents can help improve water penetration, but they may not solve drainage issues entirely.
Q. Are there plant species that are more resistant to waterlogging?
A. Some plants, like water-loving varieties, can tolerate higher soil moisture levels, but most plants prefer well-drained soil.
Q. Is it possible to reuse potting soil from a waterlogged pot?
A. Yes, if you amend it with materials like compost and perlite to improve its drainage properties.
Q. What's the role of mulch in preventing waterlogged soil?
A. Mulch can help regulate soil moisture, reducing the risk of waterlogging in pots.
Q. Can indoor potted plants suffer from waterlogged soil too?
A. Yes, indoor plants in pots are susceptible to waterlogging, especially if they're overwatered.
Q. How can I tell if my pots have proper drainage before purchasing them?
A. Look for pots with drainage holes at the bottom, which allow excess water to escape.
Soil Amendments


Linkyo Stainless Steel Kitchen Compost Bin Review
A kitchen compost bin is a must for many people. Find out what features the Linkyo had that I loved and what compost bins I recommend.

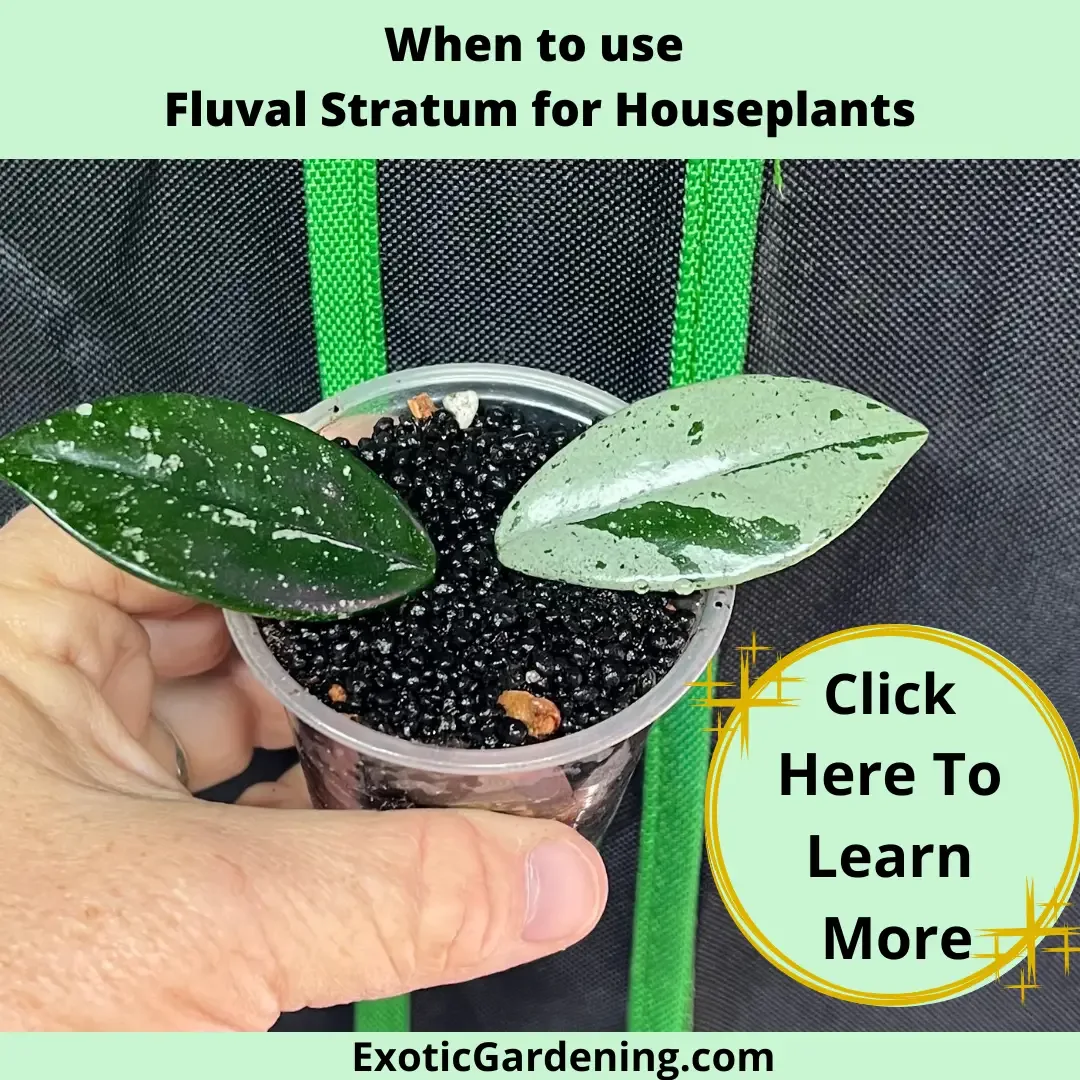
When to use Fluval Stratum for Houseplants
Discover the perfect timing to use Fluval Stratum for houseplants and unlock vibrant growth in your indoor oasis. Learn more here.