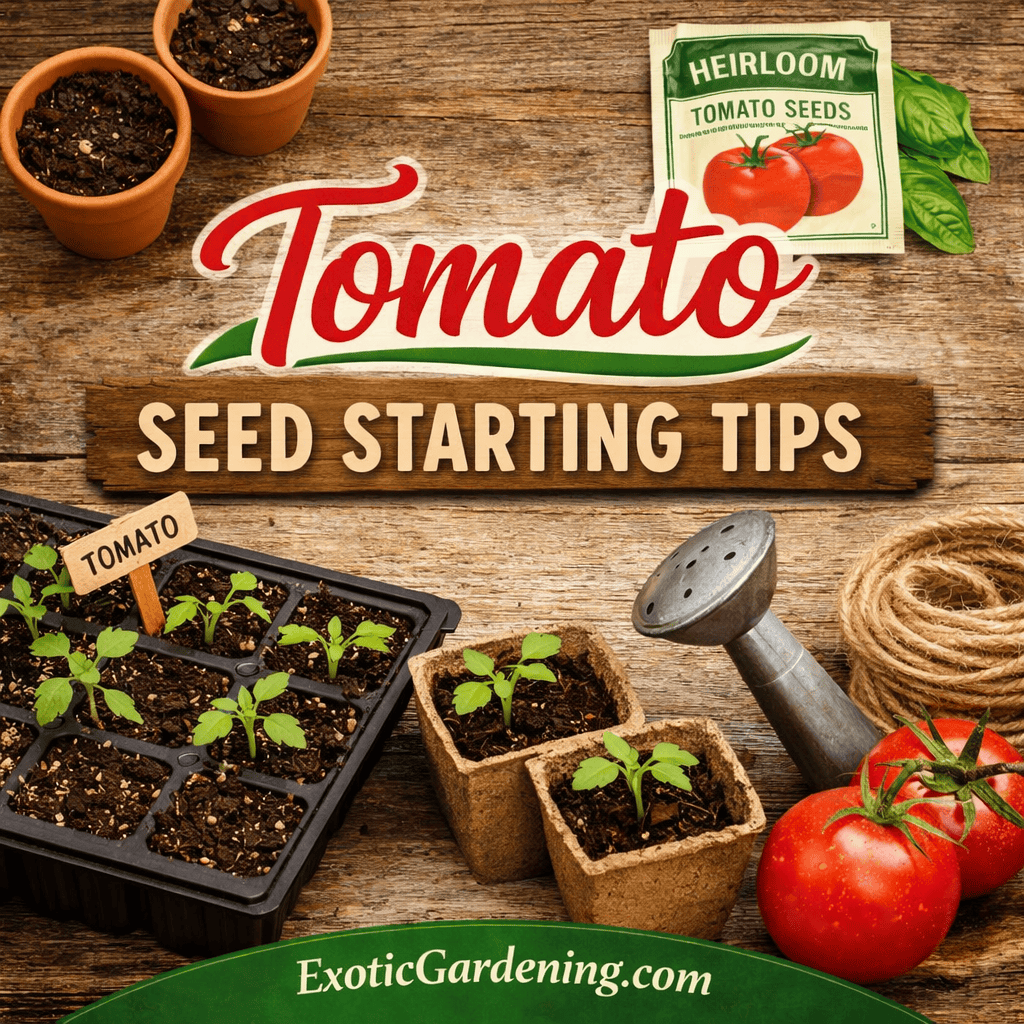
These tomato seed starting tips can help take the guesswork out of starting tomatoes from seed, which is ideal if you’re new to gardening or have just never grown tomatoes from seed before.
Growing tomatoes from seed is a great option for gardeners who want to grow organic, heirloom varieties and have more control over what goes into their garden.
These tomato seed starting tips are designed for beginning gardeners who want clear, practical guidance without unnecessary complication.
Some gardeners prefer to buy tomato plants that are ready to transplant, and that works just fine.
Others enjoy starting tomatoes from seed and being involved in the process from the very beginning.
It does take more time, but many gardeners find the results - and the experience - well worth the effort.
Starting tomatoes from seed isn’t difficult, but it does require understanding a few basics, such as when to start, how deep to plant, and what seedlings need once they sprout.
After growing tomatoes from seed for years here in Indiana’s unpredictable spring weather, I’ve learned that consistency matters more than perfection.
The information below walks you through each step so you can grow strong, healthy tomato plants with confidence.
🌱 Want the quick overview version?
I’ve put my full indoor seed starting system - lighting, airflow, humidity, soil blocks, and monitoring - all in one place so you can see how it works together.
Choosing Tomato Seeds
Before you ever think about soil, containers, or lighting, the most important decision you’ll make is which tomato seeds to start with. Seed choice affects everything that comes later, from how predictable your plants are to whether saving seeds in future seasons is even worthwhile.
For starters, you have to start with the right kind of seeds.
Tomatoes generally fall into two main categories: hybrid and heirloom. Understanding the difference early on helps prevent frustration later, especially for beginning gardeners who expect consistent results.
You won't get great results with hybrid tomato varieties unless you buy the seeds from the store.
Hybrid tomatoes are bred for specific traits, such as disease resistance or uniform size, but those traits don’t reliably carry over when seeds are saved from the fruit. This is why gardeners who save seeds from hybrid plants are often disappointed the following season.
When gardeners save seeds of hybrid tomatoes from their own garden, they don't grow true to the parent plant the way a good, old-fashioned heirloom does.
Heirloom tomatoes, on the other hand, are open-pollinated varieties that have been passed down for generations. When grown and saved properly, they produce plants that closely match the parent, making them ideal for seed starting and seed saving.
There are many good heirloom varieties to grow from seed.
Choosing heirloom seeds also opens the door to an incredible range of colors, flavors, sizes, and growth habits - many of which you’ll never see at a garden center. From small cherry tomatoes to large slicing tomatoes, there’s an heirloom variety suited to nearly every garden space and taste preference.
So do yourself a favor and start with seeds from your favorite heirloom varieties and follow the steps outlined below.
Starting with varieties you already enjoy eating makes the entire process more rewarding, especially when you harvest your first ripe tomato of the season.
Soon, you will be growing the healthiest, tastiest and most beautiful tomatoes you can imagine.
When To Start Tomato Seeds
One of the most common mistakes beginning gardeners make is starting tomato seeds either too early or too late. Timing plays a big role in how well your seedlings grow indoors and how easily they transition to the garden later on.
Start the tomato seeds indoors 6 to 8 weeks before the last spring frost in your area.
Starting within this window gives seedlings enough time to develop strong roots and sturdy stems without becoming overgrown before they can be planted outside. Seedlings that are started too early often become tall and weak, while seeds started too late may not have enough time to mature and produce well during the growing season.
If you aren't sure when to start, simply input your zip code into the USDA Plant Hardiness Zone Map.
Knowing your approximate frost date takes much of the guesswork out of seed starting and helps you plan the rest of your garden more confidently. Once you have that date, you can count backward to determine the best time to start your tomato seeds indoors.
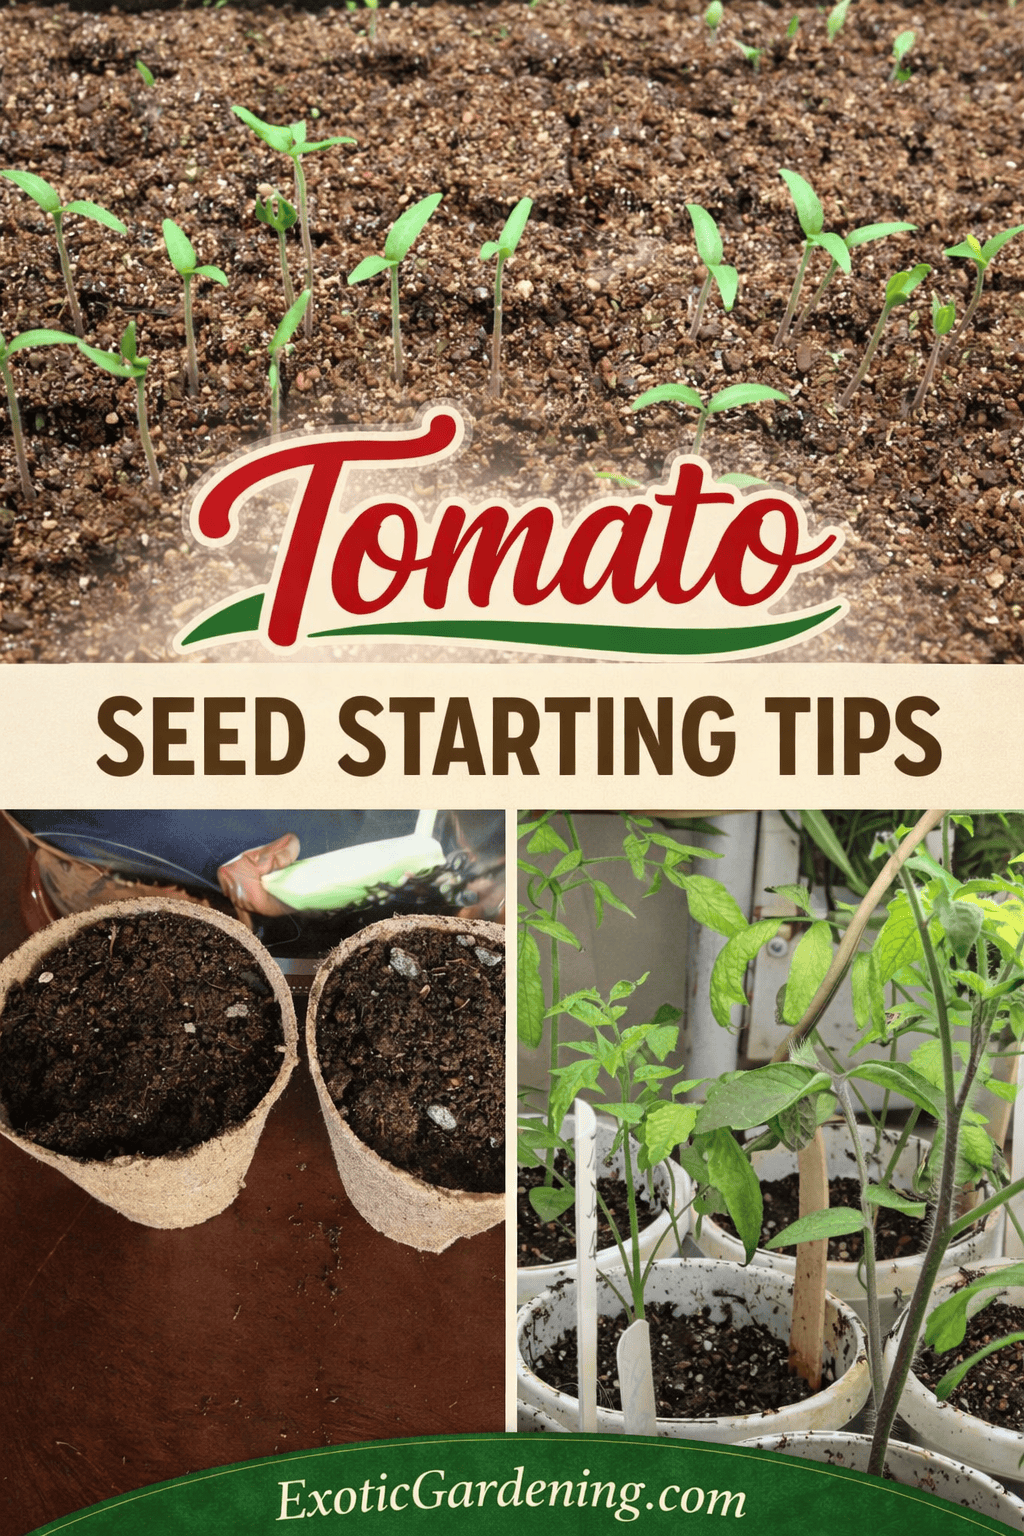
How To Start Tomato Seeds
Starting tomato seeds indoors is a straightforward process when broken into simple steps. Taking the time to prepare properly at the beginning helps prevent common problems later on.
Step-by-Step Tomato Seed Starting
-
Prepare your containers and growing medium.
To get started, purchase sterile seed-starting mix along with peat pots, plastic seed-starting containers, or peat pellets. Using a sterile mix helps prevent disease and gives seeds the best possible start. -
Moisten the soil before planting.
Place the seed-starting mix into a plastic tub or other non-leaking container and add enough hot water to evenly moisten the soil, then fill your pots.
If you are using peat pellets, add hot water to the tray they are in and allow them to fully expand. I use hot water because it absorbs into the soil better, and I pre-moisten the soil so I don’t end up with dry spots in the center of the pots. -
Make planting holes.
Using a pencil or bamboo skewer, make shallow holes about ¼ inch deep, one hole per seed-starting container or peat pot. If you are using peat pellets, the indentations are already in place. -
Plant the seeds.
Place one seed into each hole. -
Cover lightly.
Sprinkle vermiculite or additional seed-starting mix over each seed so there is about ¼ inch of soil covering the top. -
Provide warmth.
Place the containers in an area that consistently stays between 75 and 80°F. Warm, steady temperatures help ensure even germination. -
Water from the bottom.
Water as needed using warm water, allowing about ⅛ inch of water to sit in the bottom of the seed-starting containers until the seeds begin to germinate. This keeps the soil moist without disturbing the seeds. -
Add light immediately after sprouting.
As soon as the seeds begin to sprout, add a strong light source using fluorescent grow lights or natural sunlight. If you are using any type of plastic cover over the trays, remove it at this point. -
Maintain moisture as seedlings grow.
Continue watering from the bottom using warm water. The goal is to keep the soil moist without allowing the pots to sit in water continuously. I typically water every 2 to 3 days, adjusting as needed based on conditions.
Special Instructions For Mass Tomato Plantings
Some gardeners prefer to start many tomato seeds together in a single container rather than planting one seed per pot. This approach can save space early on, but it does require an extra step later in the process.
After about a month you will notice the first “true” and identifiable tomato leaves begin to appear.
True leaves look like actual tomato leaves and are different from the smooth, rounded seed leaves that appear first. Their appearance is your signal that the seedlings are strong enough to be handled and moved.
For those who grow their tomato seeds in one large pot or container, instead of following the instructions above, once these “true” leaves appear, it is time to transplant your seedlings to bigger containers. This is known as “picking out” your seedlings.
Picking out seedlings allows each plant to have its own space, which helps prevent crowding and encourages healthier root development as the plants continue to grow.
When transplanting tomato seedlings that are growing in close proximity, it is important to only handle them by the leaves. Pinching the stems causes damage to the plant – and while tomatoes generally recover, it does slow their growth down.
The stems are delicate at this stage, but the leaves are much more forgiving. Handling seedlings carefully helps them recover quickly after transplanting.
Hold the tomatoes by their leaves and gently tease the roots apart. Only plant one plant per new container.
Take your time during this step, especially if roots are tangled. Tomatoes are resilient, but gentler handling leads to stronger plants.
If you planted just one tomato per container you can skip this time consuming, tedious step.
Starting seeds individually may take a little more space early on, but it eliminates the need for picking out seedlings later.
How To Transplant Tomato Seedlings
Transplanting tomato seedlings is a natural next step as your plants grow, and it’s one of the easiest ways to encourage stronger roots and sturdier plants. While it can feel intimidating the first time, tomatoes are very forgiving as long as they’re handled carefully.
Once your tomato plants have their “true” leaves and begin outgrowing the pot they are in, transplant individual seedlings into containers that are at least 3 to 4 inches in diameter filled with moistened potting mix. For those who used peat pots to start their tomato seeds, move on up to the next size peat pot or use gallon sized plastic pots which are available at many nurseries.
Giving seedlings more space at this stage allows their root systems to continue developing without becoming crowded, which helps prevent stress and slow growth later on.
When transplanting tomatoes, I place the bottom of the soil on the bottom of the new container and fill the pot up with soil making sure to leave at least two tomato leaves sticking up above the soil in the new container. The reason I do this is tomato plants send new roots out from their stems if the stems are buried under ground. This makes the plant sturdier.
Burying part of the stem may feel counterintuitive to new gardeners, but this is one of the unique advantages of tomato plants and a simple way to grow stronger, healthier seedlings.
Gently water in the seedling after planting – and again I suggest watering from the bottom.
Watering from the bottom helps the soil settle around the roots without washing soil onto the leaves or compacting the growing mix.
When spring weather reaches and holds 55-degree temperatures at nights, move your plants out into the sun for a few hours at a time to harden them off.
This gradual exposure helps seedlings adjust to outdoor conditions such as sunlight, wind, and temperature changes without becoming stressed.
Gradually increase sunlight exposure daily over a week, until they can sit outside all day.
Taking this step slowly helps prevent leaf scorch and allows the plants to transition smoothly from indoor growing conditions to life outdoors.
Before transplanting your seedlings, be sure to check the pH level of your soil to ensure it is not too acidic or alkaline. You want your soil pH to be between 6.0 to 6.8 for tomatoes. Home soil testing kits can be purchased at gardening and home improvement stores, and many major cities offer laboratory testing.
Checking soil pH ahead of time helps avoid nutrient problems later in the season and gives your tomato plants the best chance to grow and produce well.
When you are ready to transplant your plants, remove the bottom branches and plant up to just below the bottom leaves to ensure healthy growth and a strong root system. Again you are burying as much of the stem as possible. I typically use a shovel to dig the holes for my tomato plants. I double dig which means I dig one hole that is the depth of the blade of my shovel, then I go back into that hole and dig further down until the hole is the depth of two of my shovel blades. Smaller tomatoes do not need holes this large, but I typically end up with some pretty large tomatoes by the time it is safe to plant them outdoors here.
Planting deeply gives tomatoes a strong foundation, especially for gardeners who start seeds early and end up with larger plants by planting time.
Once your tomato plants are in the ground, add support in the form of cages or stakes and water gently – this time at ground level. Avoid splashing dirt and water onto the tomato plants.
Adding support early prevents damage to roots later and helps keep plants upright as they grow and begin producing fruit.
Helping Tomato Plants Establish in the Garden
The first week or two after transplanting is when tomato plants are most vulnerable. Even healthy seedlings can struggle as they adjust to new soil, direct sunlight, wind, and fluctuating temperatures. Taking a little extra care during this period helps plants settle in and begin growing steadily.
After planting, water deeply to encourage roots to grow downward into the soil rather than staying near the surface. Shallow watering can lead to weak root systems, especially during hot or dry weather. Allow the soil to dry slightly between waterings, but do not let newly planted tomatoes dry out completely.
If the weather turns unusually hot, cold, or windy shortly after transplanting, providing temporary protection can help reduce stress. Shade cloth, garden fabric, or even a lightweight cover can give plants time to adjust without being overwhelmed by sudden changes.
It’s also normal for tomato plants to pause growth for a short time after transplanting. This doesn’t mean something is wrong. As long as the plants remain upright and the leaves are mostly healthy, they are likely focusing energy on root development below the soil surface.
Avoid heavy fertilizing immediately after planting. Too much nitrogen at this stage can encourage leafy growth before roots are well established. Allow the plants to settle in first, then feed lightly once you see signs of new growth.
Keeping the soil evenly moist, minimizing stress, and giving plants time to adjust helps ensure tomatoes establish strong root systems. Once established, they tend to grow quickly and require much less hands-on attention.
How To Care For Tomato Plants In The Garden
Once tomato plants are established in the garden, ongoing care is fairly simple. At this stage, the goal is to reduce stress on the plants while supporting steady growth and fruit production.
To help prevent weeds around your tomato plants, hold moisture in the soil and encourage the tomatoes to ripen faster, you can lay a red plastic garden mulch around the tomato plants once they are in the ground.
Mulching helps regulate soil temperature, reduces competition from weeds, and minimizes moisture loss during hot weather. Red plastic mulch has the added benefit of reflecting light back up toward the plant, which many gardeners find helps speed ripening.
Depending on the size of the plant I am transplanting, I either lay the mulch before I plant and cut out the hole area where I am digging – or ideally I simply cut an “X” in the plastic and gently pull the tomato plant through the plastic, then put the tomato cage into the ground through the plastic to help hold it in place!
Using the tomato cage to anchor the mulch helps keep everything secure, especially in windy conditions, and reduces the need to adjust the mulch later in the season.
As your tomato plants grow, simply water soil when dry, add some nutrients such as compost or organic fertilizer and enjoy your harvest!
Regular watering, occasional feeding, and basic support are usually all tomatoes need once they’re growing well. With a little attention and patience, your plants will reward you with a steady supply of fresh tomatoes throughout the season.
Tomato Seed Starting FAQs
Q. How deep should I plant tomato seeds?
A. Tomato seeds should be planted about ¼ inch deep. Planting them deeper can make it harder for seedlings to emerge, while planting too shallow can cause seeds to dry out.
Q. Should tomato seeds be covered after planting?
A. Yes. Tomato seeds should be lightly covered with soil or vermiculite. Covering the seeds helps retain moisture and supports even germination.
Q. How long do tomato seeds take to germinate?
A. Most tomato seeds germinate within 5 to 10 days, depending on temperature and moisture conditions.
Q. Do tomato seeds need light to germinate?
A. No. Tomato seeds do not need light to germinate, but they do need strong light immediately after sprouting to prevent weak, leggy growth.
Q. Why are my tomato seedlings tall and skinny?
A. This is usually caused by insufficient light. Seedlings stretch toward light sources, which results in thin stems and weak growth.
Q. Can I start tomato seeds in regular potting soil?
A. It’s better to use a sterile seed-starting mix. Regular potting soil is heavier and may contain pathogens that can affect young seedlings.
Q. How many tomato seeds should I plant per pot?
A. Plant one seed per pot or cell. This reduces competition and eliminates the need to separate seedlings later.
Q. Should I use a heat mat to start tomato seeds?
A. A heat mat can help speed germination, but it is not required. Tomato seeds will germinate as long as temperatures remain consistently warm.
Q. When should tomato seedlings be moved to larger pots?
A. Tomato seedlings should be transplanted once they develop true leaves and begin to outgrow their containers.
Q. Why do tomato plants stop growing after transplanting?
A. A short pause in growth after transplanting is normal. Plants often focus energy on establishing roots before resuming visible growth.
Q. When can tomato seedlings be planted outside?
A. Tomato seedlings should only be planted outside after nighttime temperatures consistently stay above 55°F and the plants have been properly hardened off.
Q. Is it normal for tomato leaves to droop after planting?
A. Yes. Temporary drooping can occur after transplanting due to stress, and plants usually recover within a day or two.
Q. Do tomato plants need support right away?
A. Yes. Adding cages or stakes at planting time helps prevent root damage later and keeps plants upright as they grow.
Building a Complete Tomato Growing System
Tomato seed starting is only the beginning. Strong plants don’t happen by accident — they’re the result of a system that supports them from seed to harvest.
It starts indoors with consistent lighting, proper airflow, steady warmth, and careful watering. A controlled indoor seed starting setup allows you to grow sturdy seedlings instead of tall, stressed plants that struggle after transplanting. If you’d like to see how I structure my full indoor system here in Indiana, you can read about it here → Indoor Seed Starting Setup (Indiana-Friendly System).
Once seedlings are ready to move outdoors, soil preparation becomes the next priority. Healthy tomatoes begin with balanced soil, proper pH, and organic matter that supports root development. Taking time to prepare beds before planting reduces problems later in the season. You can explore my complete soil health approach here → Soil Health System for Stronger Gardens.
Transplant timing is just as important. In Indiana, rushing plants into cold soil can set them back weeks. Watching nighttime temperatures and hardening off properly makes the difference between plants that stall and plants that thrive.
After planting, ongoing monitoring matters. Consistent watering, proper support, and light feeding keep tomatoes steady through fluctuating weather, heavy rain, or dry spells. Small adjustments throughout the season prevent bigger problems later.
Finally, preservation completes the system. Whether you’re canning, freezing, or cooking fresh, growing from seed gives you control over flavor, variety, and harvest timing. If you’re interested in using your homegrown tomatoes for preservation and homestead cooking, you’ll find more practical guidance over on ExperimentalHomesteader.com
When seed starting, soil health, timing, and monitoring work together, tomato growing becomes predictable instead of stressful.
That’s when gardening shifts from guesswork to confidence.
Growing Tomatoes
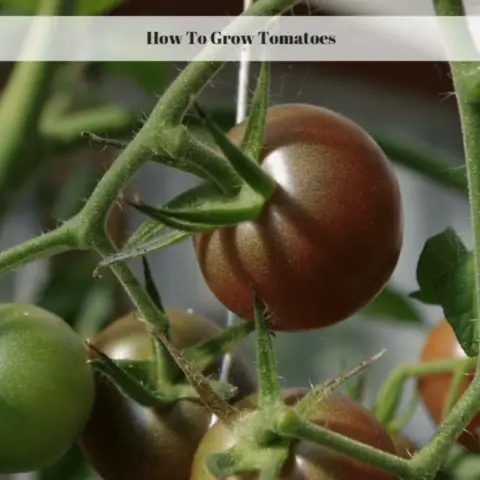
How To Grow Tomatoes
Learn how to grow tomatoes and how to plant tomatoes in a garden. Growing great tomatoes is easy if you follow a few simple steps.

How Long Does It Take To Grow Tomatoes From Seed
Learn the real answer to how long does it take to grow tomatoes from seed. Plus learn what factors can affect the germination process.

Heirloom Tomatoes – Varieties For Every Palate, But Where Do You Start?
Do you want to grow non gmo tomatoes in your garden? Choose your color and taste preference then grow your own organic heirloom tomato plants.
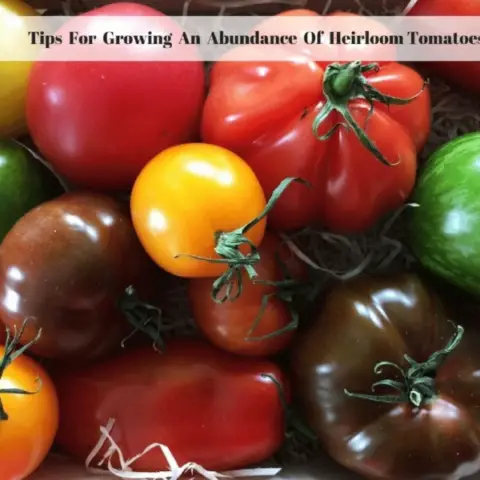
Tips For Growing An Abundance Of Heirloom Tomatoes
Non gmo tomatoes started from seed at home are the choice for many gardeners. Learn tips for growing great tomatoes in your own garden.
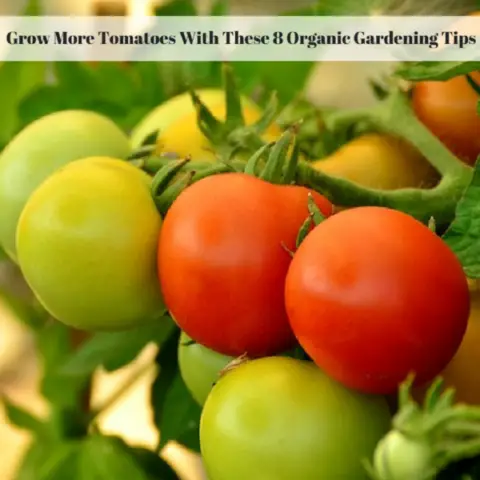
Grow More Tomatoes With These 8 Organic Gardening Tips
Learn how to grow organic tomatoes with these 8 tips. Then grow more tomatoes that are healthy and delicious right in your own backyard!
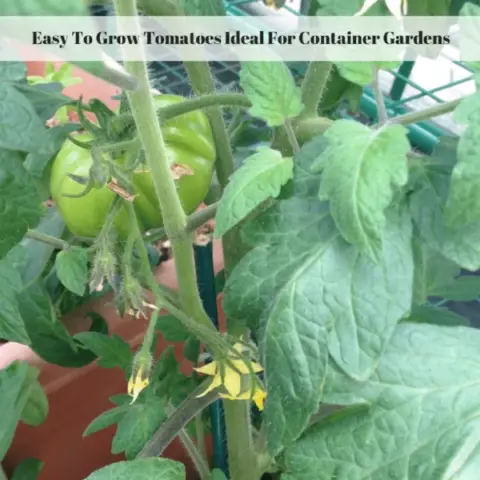
Easy To Grow Tomatoes Ideal For Container Gardens
Ever wonder how to grow tomatoes in pots outside? Start with these easy to grow tomatoes that perform well when grown in containers indoors or out!
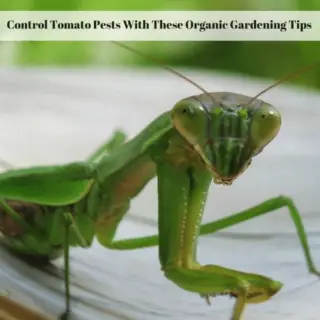
Control Tomato Pests With These Organic Gardening Tips
These organic gardening tips for controlling pests on tomato plants help you identify, control and get rid of the problem without the use of organic pesticides in most cases.

The Bottom Line On The 3 Tomato Sampler Challenge
The tomato sampler challenge shares my thoughts on how three tomatoes taste and how fast they ripen, plus my thoughts on a fourth one.


Leave a Reply