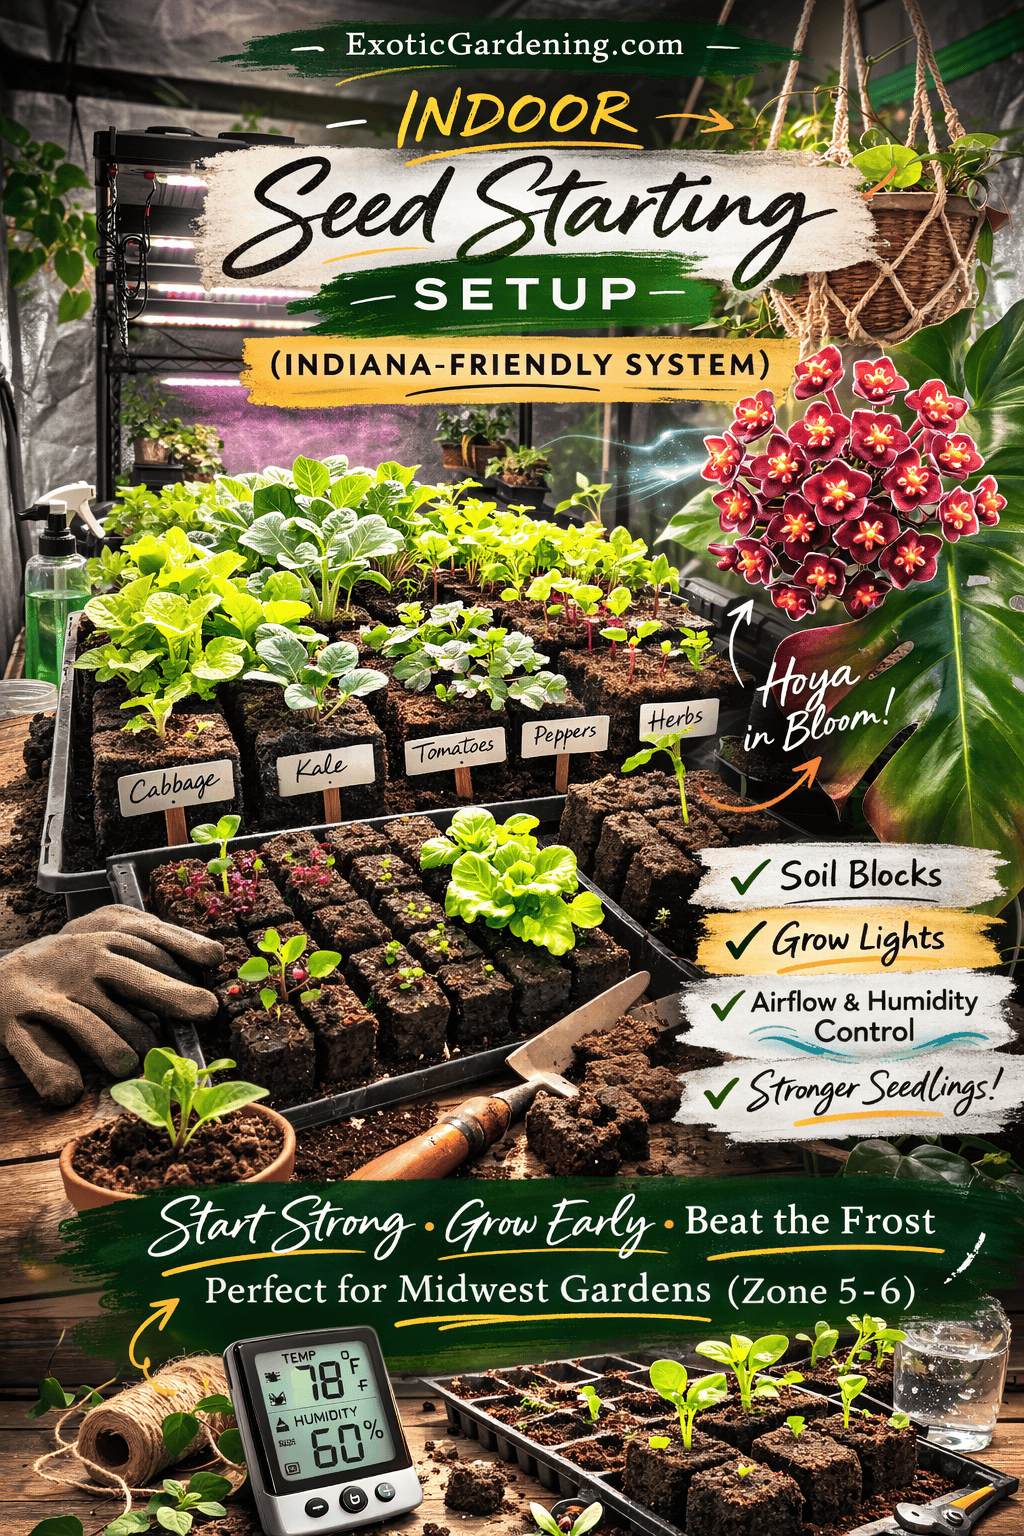
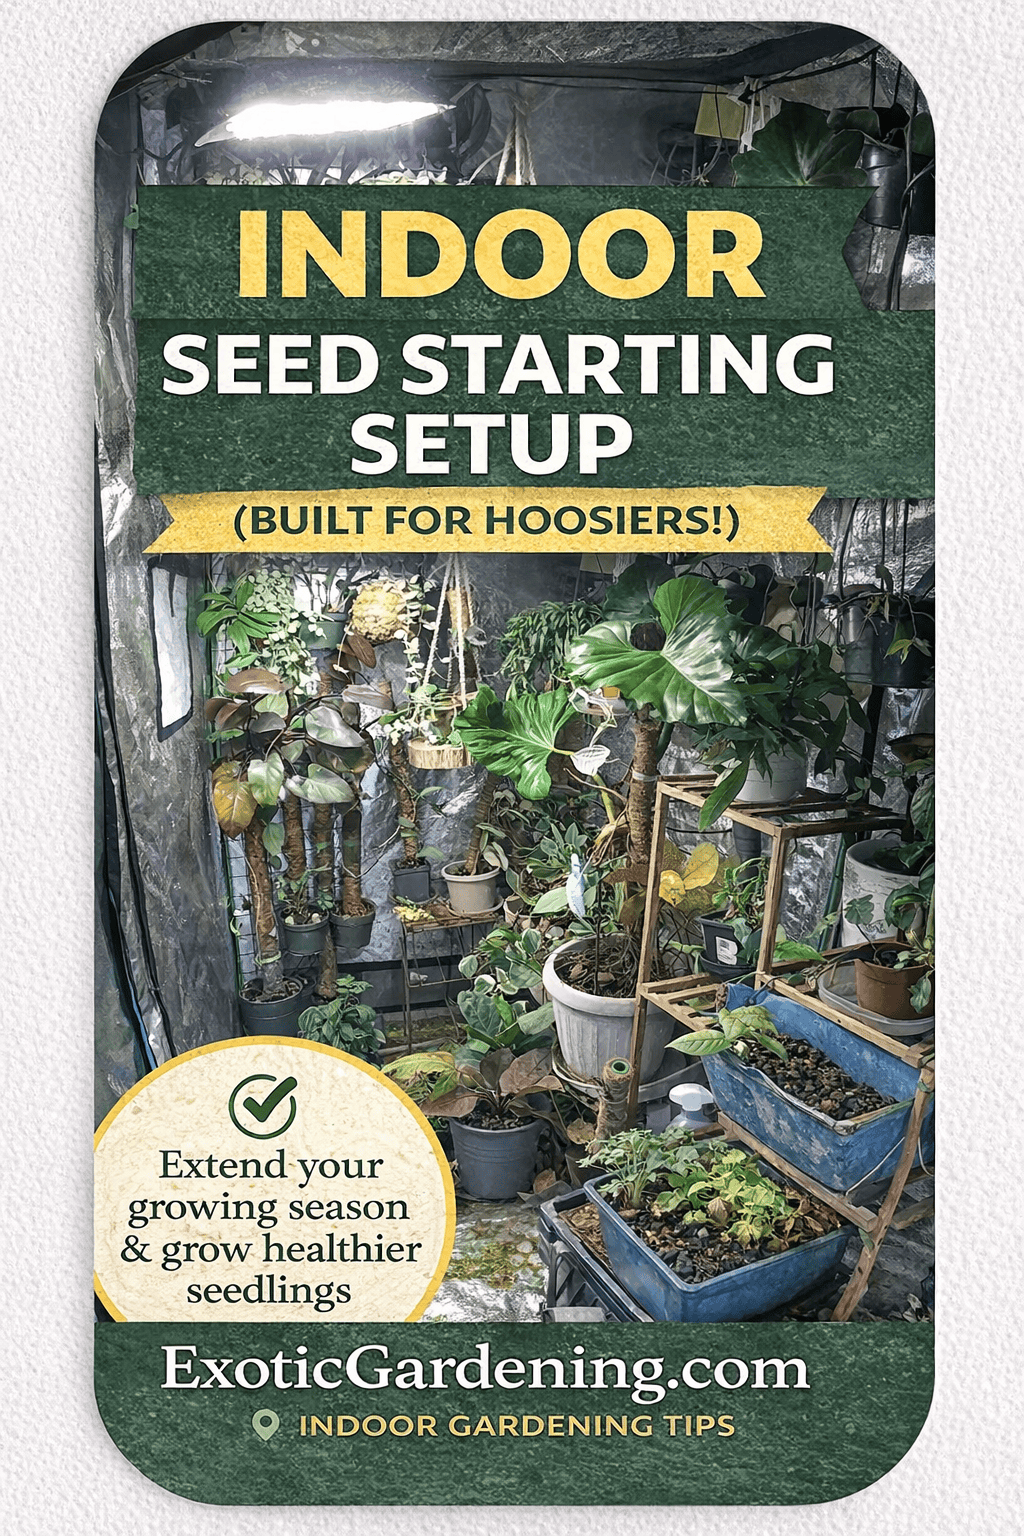
An effective indoor seed starting setup is essential if you garden in Indiana.
Our growing season is generous - but not long enough.
We get cold snaps in May, sudden heat in June, long cloudy stretches, and dry winter air that can stress young seedlings before they ever make it outdoors. Waiting to direct sow everything simply isn’t practical if you want strong, early harvests.
That’s why I rely on a structured indoor seed starting setup that works in a real Midwest climate - fluctuating temperatures, inconsistent winter sunlight, and all. This isn’t a Pinterest-perfect grow room. It’s a practical, scalable system built for gardeners who want healthy seedlings without guesswork.
In this post, I’ll walk you through exactly how my indoor seed starting setup fits together - lighting, airflow, humidity control, soil blocks, monitoring, and long-term tracking - so you understand not just what to use, but why it works.
Why Seed Starting Indoors Matters in Indiana
Indiana gardeners know the pattern.
Late spring frosts that sneak back in just when you think winter is finished.
April temperatures that swing wildly from warm sunshine to raw wind.
Heavy clay soil that stays cold and wet longer than you’d like.
And a narrow window for heat-loving crops that need every extra day they can get.
If you rely only on direct sowing, you’re at the mercy of that rhythm.
Starting seeds indoors changes that.
It allows you to establish tomatoes, peppers, herbs, and flowers weeks before the soil outside is ready. You transplant sturdy young plants instead of fragile sprouts. You gain time - and in Indiana, time matters.
But more than that, you gain control.
You control light.
You control airflow.
You control moisture and timing.
Indoor seed starting isn’t about having a fancy grow room or the latest gadget.
It’s about building resilience into your garden system so your harvest doesn’t depend entirely on the weather. It’s about giving your plants - and yourself - a stronger start.
And once you understand how the pieces work together, it becomes less about reacting to the season and more about guiding it.
Here's exactly what I use and why.
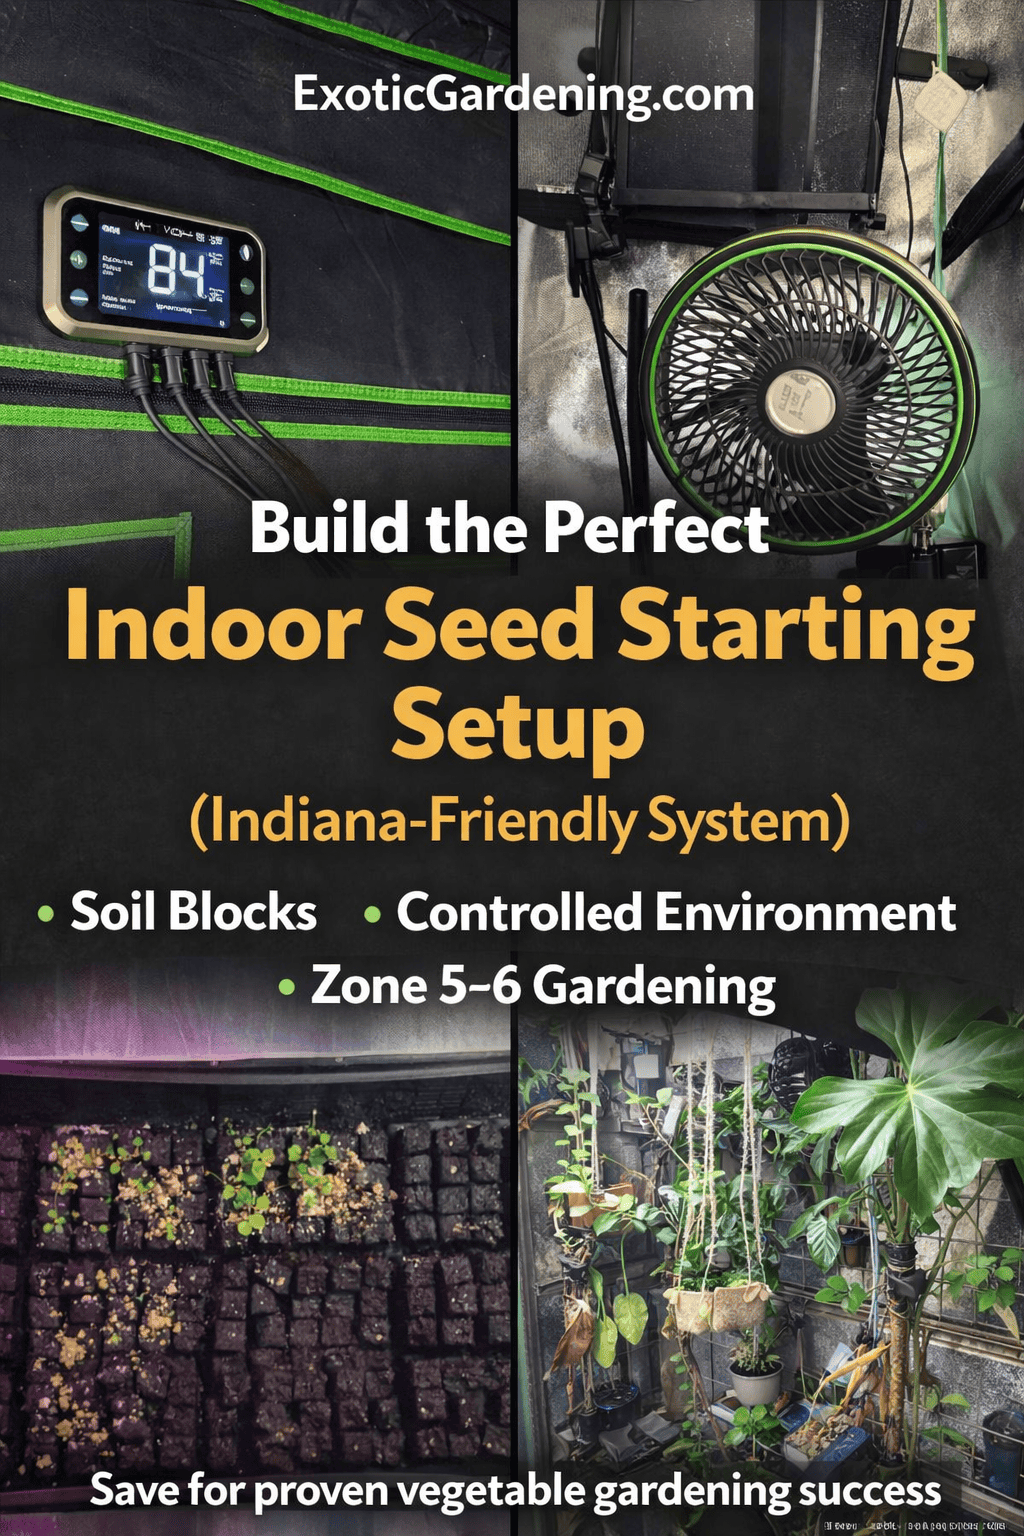
Lighting: VIVOSUN AeroLight Wing AW400SE + GrowHub Controller E25
Lighting is the backbone of any indoor seed starting setup.
In Indiana, we simply do not get consistent winter light. Between cloudy stretches and short daylight hours, relying on a sunny window is rarely enough. I learned that the hard way years ago.
I use the VIVOSUN AeroLight Wing AW400SE 400W full-spectrum LED grow light, paired with the GrowHub Controller E25.
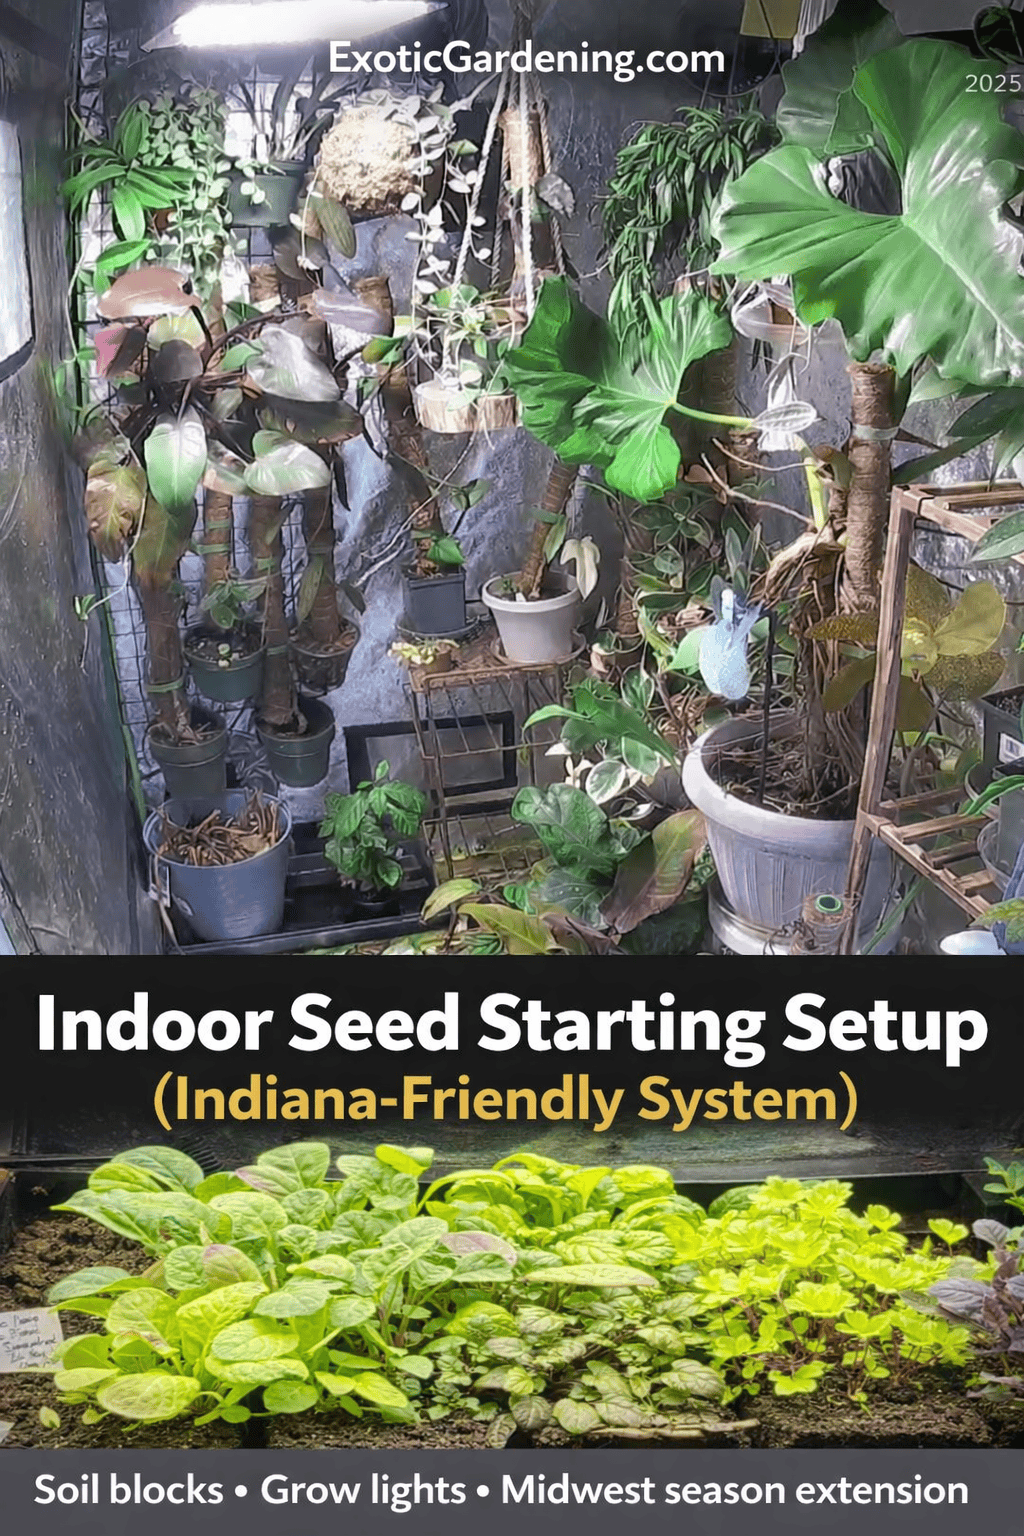
What I appreciate most about this light is the intensity and clarity of the spectrum. It’s bright - noticeably so - but it’s also balanced. I’ve used it not only for seedlings, but for tropical plants like Hoya and of course Theobroma cacao - which prefers shady areas but will withstand some light, and I’ve seen significantly stronger growth and more reliable flowering under it.
The integrated circulation fan is something I didn’t realize I would value as much as I do. Heat rises, and without airflow, warm pockets build up near the canopy of my grow tent and greenhouse. The built-in fan helps distribute that warmth evenly, which keeps plants from stretching and helps keep the floor area warmer.
The GrowHub Controller is what turns this from a light into a system. I can adjust intensity and photoperiod directly from my phone. During early germination, I dim the light - seedlings don’t need blasting intensity. As they mature, I gradually increase both brightness and duration. That flexibility makes a difference.
If you’re running a single tray on a shelf, you don’t need 400 watts.
But if you want a scalable indoor growing setup - something that can handle seed starts in spring, overwintering herbs in fall, and even tropical plants year-round - this creates a strong, adaptable foundation.
If you’re building a scalable indoor growing system and want something that can handle seedlings through more advanced growth, this is the grow light I use:
To automate lighting schedules, humidity and monitor conditions from my phone, I pair it with the GrowHub Controller:
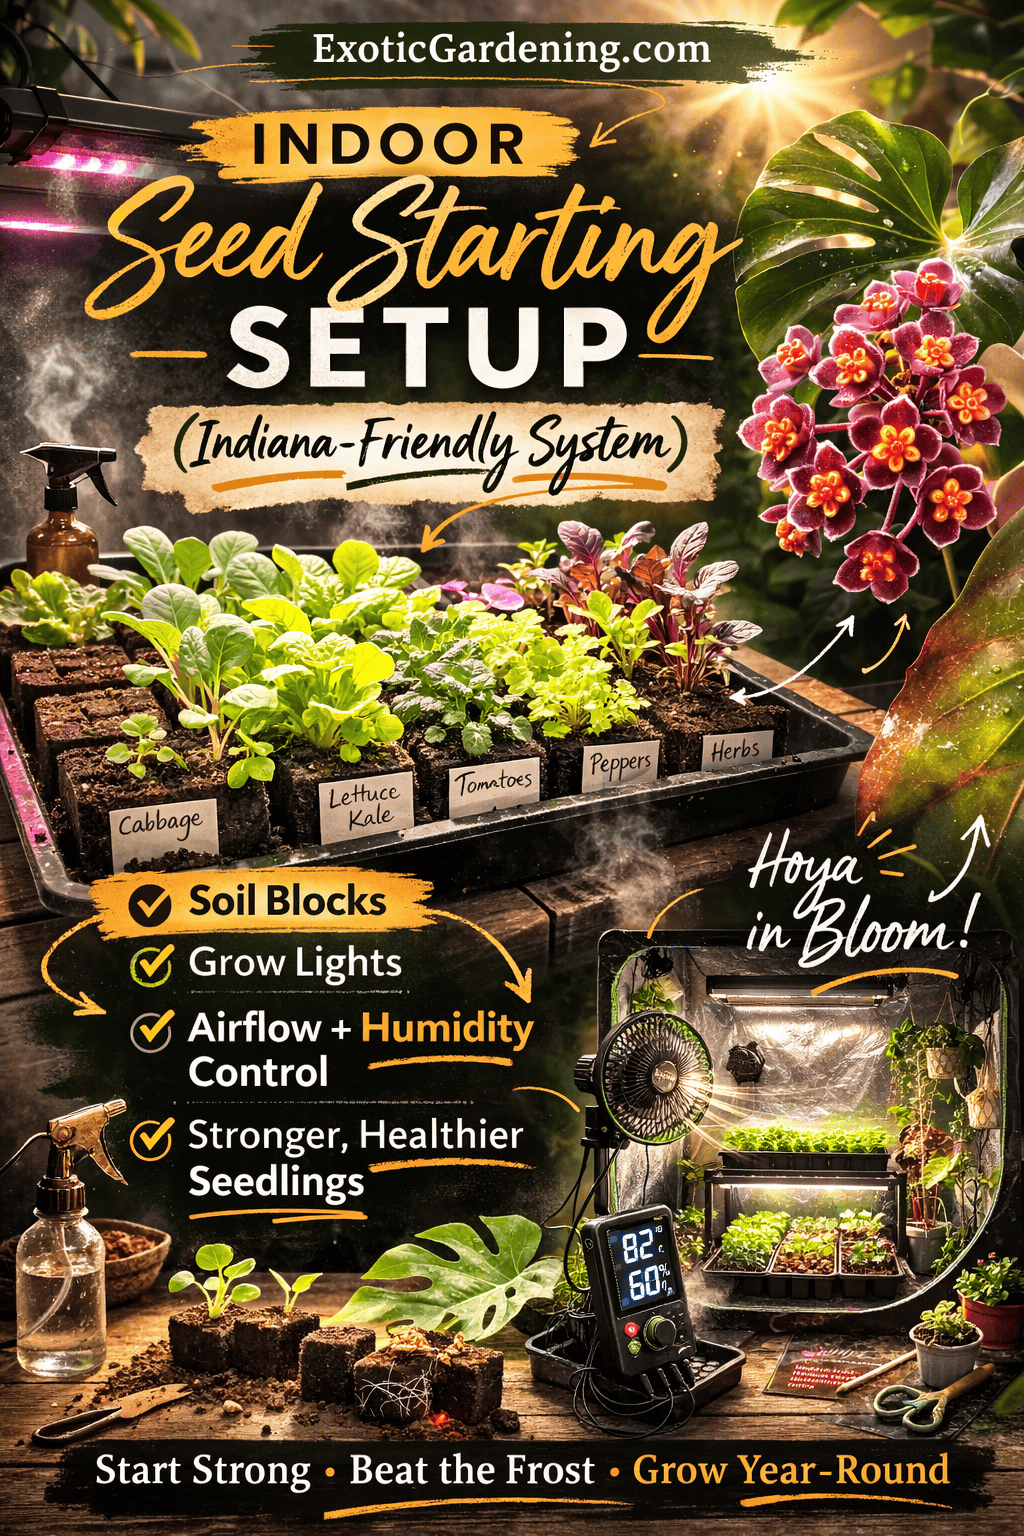
Containers: Soil Blocks and Air-Pruning Trays
When it comes to containers for an indoor seed starting setup, I focus on one thing above all else: root health.
Strong seedlings don’t start above the soil line. They start below it.
Over the years, I’ve moved away from traditional plastic cell trays whenever possible. Standard nursery trays typically have one small drainage hole at the bottom of each cell. Roots grow downward, hit that hole, and begin circling. Even if the plant looks healthy at first, circling roots create structural weakness and more transplant stress later.
That’s why I prefer soil blocks or air-pruning trays.
Why I Use Soil Blocks
Soil blocks eliminate the container entirely.
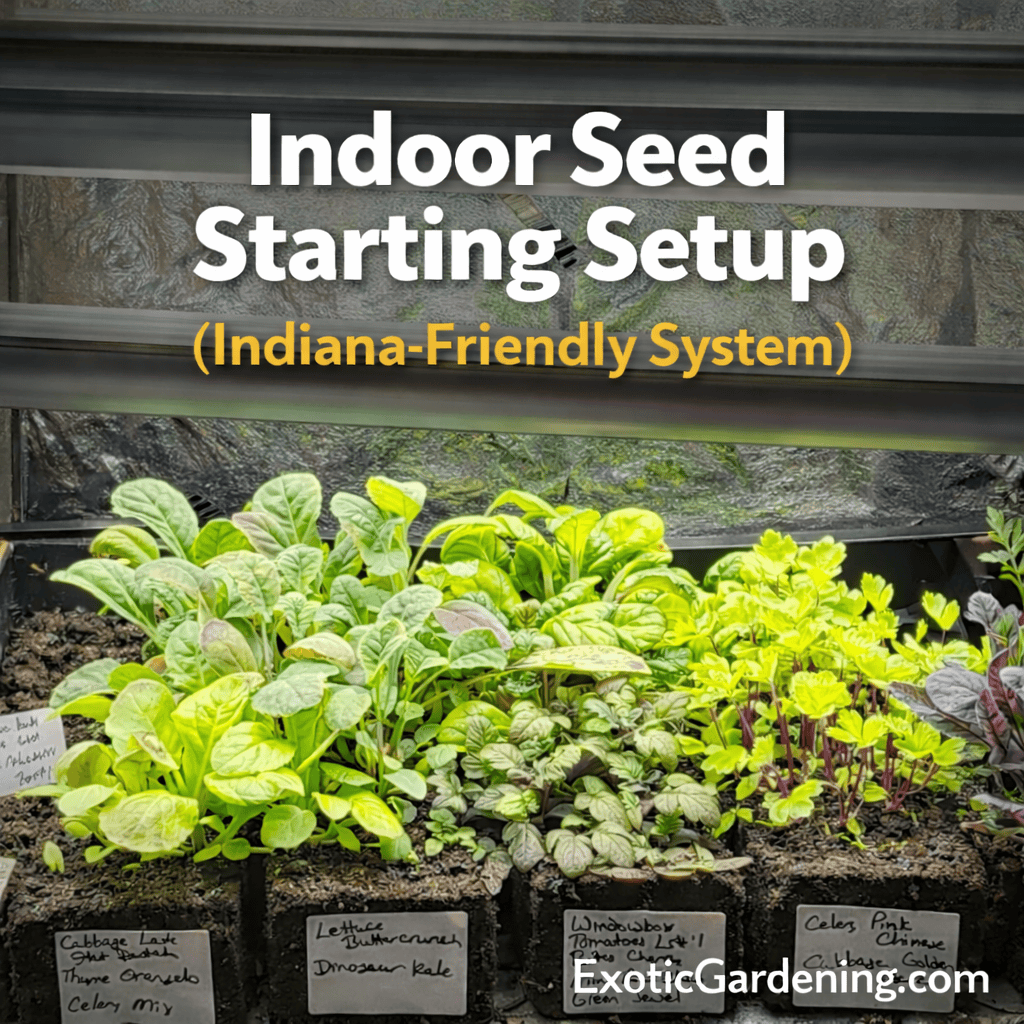
There are no plastic cells to sanitize and store. No peat pots to worry about burying fully or watching dry out unevenly. Instead, seedlings grow in compressed blocks of soil that hold together when properly mixed and watered.
Roots grow outward until they reach the edge of the block, where they naturally air-prune. This encourages branching within the block rather than circling around the bottom. The result is a dense, fibrous root system that transitions more easily into garden soil.
Soil blocks do require attention. If the mix is too dry or too wet, they can fall apart. But once you learn the moisture balance, they are efficient, economical, and surprisingly sturdy.
For watering, I use flat-bottom propagation trays with generous airflow holes. I set the tray into a larger pan of water for about ten minutes, then remove it once the blocks have absorbed what they need. Bottom watering prevents erosion and reduces disease pressure.
Air-Pruning Trays: The Mini Wini System
I’m also testing the Mini Wini Seed Starting Kit this year. It uses air-pruning technology and a uniquely shaped bottom design that prevents roots from circling - even if the plant stays in the tray a bit longer than ideal.
Instead of allowing roots to wrap around a drainage hole, the airflow at the base of each cell naturally prunes the root tip. That signals the plant to develop more fibrous roots within the soil volume. Stronger roots mean better transplant survival and more resilient plants.
I appreciate that the trays are durable and built to last. They aren’t flimsy seasonal plastic. If you’re building a long-term indoor growing system, equipment longevity matters.
What I Use
-
Soil Block Makers from Johnny’s Select Seeds
-
Johnny’s Soil Block Propagation Trays
-
Mini Wini Seed Starting Kit (Neversink Tools)
These aren’t affiliate-linked for me - and that’s intentional. I recommend them because they work, not because they generate income.
But the real takeaway isn’t the brand.
It’s airflow, consistency, and root development.
Whether you use soil blocks or air-pruning trays, the goal is the same: create healthy root systems from the beginning so your seedlings don’t just survive transplant - they thrive.
Soil Mix: What Actually Performs Well
Soil is where success begins.
You can have excellent lighting and perfect airflow, but if your soil structure is wrong, your seedlings will struggle from the start.
Over the years, I’ve tested homemade blends, generic store-bought mixes, and specialty options. I’ve learned that consistency matters more than experimentation when it comes to seed starting.
For soil, I rotate primarily between:
-
Johnny’s 512 Mix
-
FoxFarm Happy Frog
-
FoxFarm Ocean Forest
Johnny’s 512 Mix (For Soil Blocks)
Johnny’s 512 has performed better for me in soil block making than any other mix I’ve tried - including homemade recipes.
To be honest, I was slightly surprised the first time I used it. I shouldn’t have been - it’s formulated specifically for soil blocking - but after years of tweaking and blending my own mixes, I didn’t expect a pre-made option to outperform them.
It creates firm, consistent blocks that hold together without becoming dense. That balance is critical. Soil blocks need enough structure to maintain shape but enough air space to encourage healthy root development.
For me, it simply works.
FoxFarm Blends (For Established Seedlings & Tropicals)
Once seedlings are established, especially when I’m moving into container growth or tropical plant care, I prefer FoxFarm blends.
I often combine Happy Frog and Ocean Forest to create a base that’s nutrient-rich but still workable. For aroids and chunkier-rooted plants, I adjust further by adding:
-
Orchid bark
-
Fluval Stratum
-
Vermiculite and/or perlite
That allows me to fine-tune drainage and airflow based on the plant’s needs.
Since moving to this approach, I’ve seen my Hoya bloom almost continuously, and overall plant vigor has noticeably improved. Roots stay healthy. Growth stays steady. Plants don’t stall.
What Good Seed Starting Soil Must Do
Regardless of brand, effective indoor seed starting soil should:
-
Drain well
-
Hold moisture evenly
-
Stay light and airy
-
Resist compaction
I do not use heavy garden soil indoors. It compacts, drains poorly, and creates unnecessary disease pressure.
If you’re serious about building a reliable indoor seed starting setup, soil quality matters more than almost anything else. It influences root development, moisture balance, nutrient uptake, and transplant success.
Lighting drives growth.
Airflow supports structure.
But soil builds the foundation.
For gardeners who want consistent soil blocks, I’ve had excellent results with Johnny’s 512 Mix for structure and moisture balance.
When I’m growing more established seedlings or container plants, I often transition to FoxFarm blends for added nutrients.
Heat Mats: I Skip Them (Most of the Time)
Many seed starting guides insist that heat mats are essential.
In my Indiana setup, I rarely use them for normal seed starting.
That might surprise people, especially since I’ve owned just about every kind of heat mat over the years. I still have several. I’ve even built wooden boxes with a lightbulb inside to create bottom heat for trays. I’ve experimented.
What I’ve learned is this:
Heat mats are useful - but they are not mandatory under typical indoor conditions.
In my setup, the environment is already temperature controlled. The grow lights provide a mild amount of warmth. And consistency matters more than aggressive bottom heat.
For most vegetables and herbs, stable room temperatures combined with proper lighting are sufficient.
Heat mats can also introduce complications. I’ve seen seed starting trays warp or melt from prolonged use. I’ve seen mats overheat or degrade. If you’re not monitoring carefully, too much bottom heat can dry soil unevenly and create more problems than it solves.
That said, they absolutely have a purpose.
When I germinate highly tropical seeds in winter - especially since my home is heated with wood and runs cooler - bottom heat can make a difference. I’ve also used heat mats to maintain water temperature when soaking seeds in glass baby food jars. In those cases, they serve a specific, controlled role.
But for standard seed starting?
I skip them.
Strong light, steady temperatures, and proper soil moisture carry more weight than most people realize.
Humidity: Controlled, Not Excessive
Humidity is one of the most misunderstood pieces of indoor growing.
Seedlings do not need jungle-level humidity.
They need stability.
For standard vegetable and herb starts, normal indoor humidity combined with proper watering is usually enough. I use tray lids during initial germination to retain moisture, but I remove them as soon as seedlings emerge. Leaving them on too long, especially with low airflow, creates the perfect conditions for damping off and fungal disease.
High humidity plus stagnant air is a problem.
Balance is everything.
Where Humidity Control Becomes Important
I actually purchased the VIVOSUN AeroStream H19 Intelligent Environmental 19L Humidifier for a different purpose - my Theobroma cacao.
Cacao requires higher humidity to prevent leaf tip browning and stress. In that context, the humidifier makes a real difference. It’s designed for grow tents, includes a temperature and humidity probe, and allows me to monitor and adjust conditions precisely.
For tropical plants, that level of control matters.
For normal seed starting?
It’s optional.
If your home air is extremely dry in winter, a small boost in humidity can help. But most gardeners do not need a large-capacity humidifier to start tomatoes or herbs successfully.
Again, consistency carries more weight than extremes.
To keep humidity stable inside my grow tent without over-saturating the air, I use the
VIVOSUN AeroStream H19 Intelligent Environmental 19L Humidifier.
It includes a temperature and humidity probe, smart controls, and large capacity - which makes maintaining consistent conditions much easier during Indiana’s dry winter months.
Airflow: Essential in Controlled Spaces
Airflow is one of the most overlooked elements of indoor seed starting - and one of the most important.
Proper air movement helps prevent:
-
Damping off
-
Weak, leggy stems
-
Mold growth
-
Stagnant, humid pockets
Seedlings need gentle movement to develop strength. Airflow signals stems to thicken and stabilize. Without it, they stretch and become fragile.
That said, the need for fans depends entirely on your setup.
If you’re growing in a larger room with natural air circulation, you may not need dedicated fans at all. For years, I grew seedlings in open rooms without adding extra airflow because the space itself provided movement.
But in a grow tent or small enclosed area, airflow becomes essential.
Tents trap warmth and humidity. Without circulation, air stagnates quickly. That’s where a controlled fan makes a difference.
I use the VIVOSUN AeroWave E6 Gen2 Grow Tent Clip Fan in my tent setup. What I appreciate most is that it’s energy efficient, oscillates smoothly, and allows for controlled output. I don’t need hurricane force. I need a consistent, strengthening breeze.
Seedlings should sway slightly - not bend over.
Think strengthening breeze, not stress.
As with every other part of this system, it’s not about intensity.
It’s about balance.
Strong seedlings don’t happen in still air. I use the
VIVOSUN AeroWave E6 Gen2 Grow Tent Clip Fan to keep air gently circulating
around my trays. The oscillating feature, smart controls, and quiet EC motor help prevent
damping off while strengthening stems without stressing young plants.
Monitoring: VivoSun GrowCam C4
Yes - I monitor my setup.
Not obsessively.
But intentionally.
I use the VivoSun GrowCam C4 2K QHD WiFi Smart Camera inside my grow tent and greenhouse.
And I genuinely love it.
Being able to open my phone and see exactly what’s happening inside my grow space - whether I’m in another room or away from home - gives me peace of mind. I can check moisture levels visually. I can observe leaf posture. I can catch early signs of stress before they become problems.
When you’re balancing gardening with homestead life, chores, writing, or speaking engagements, remote monitoring saves time and reduces stress.
It also changes how you learn.
I can watch how plants respond throughout the day. I can see how they shift toward the light. I can monitor how humidity affects leaf structure. And when something looks off, I can respond immediately.
There’s also something unexpectedly enjoyable about it.
I’ve shared live views of my grow space at garden club meetings. I’ve shown people tropical plants thriving in Indiana winters. I can record clips and share them online without disturbing the plants themselves.
It turns observation into education.
For me, that makes it more than a convenience tool. It’s part of how I refine and share my growing process.
You don’t need a camera to start seeds.
But if you’re building a controlled indoor growing system - especially one that includes tropical plants or year-round production - being able to see what’s happening at any moment is powerful.
And sometimes, it’s simply reassuring.
I also use the VIVOSUN GrowCam C4 2K QHD WiFi Smart Camera inside my grow space to monitor plant health, moisture levels, and overall conditions without constantly opening the tent.
Being able to check in remotely helps me maintain stable conditions and catch small issues before they become bigger problems.
Tools Help. Systems Create Results.
Individual tools make seed starting easier.
But systems are what create consistency year after year.
Over decades of gardening - and while writing The Complete Idiot’s Guide to Seed Saving & Starting - I kept returning to one simple truth:
Successful gardeners track what they do.
They understand why seeds germinate the way they do.
They notice which varieties perform best.
They adjust timing based on real observation, not guesswork.
That’s the difference between starting seeds and building a resilient growing system.
My book lays the foundation - seed anatomy, pollination, harvesting and storing seed, germination techniques like stratification and scarification, transplanting, hardening off, and even adapting plants to your climate.
But knowledge alone isn’t enough.
You need a place to apply it.
That’s why I created the Seed Starting Planner.
Not as a decorative printable - but as a working record.
It allows you to track:
-
Varieties
-
Planting dates
-
Germination rates
-
Transplant timing
-
Performance year to year
Because improvement happens when you connect knowledge with observation.
When you write down what worked - and what didn’t - you stop repeating mistakes. You begin to refine your timing. You build confidence in your own decisions.
That’s when seed starting stops being a seasonal task.
It becomes part of living more intentionally - and more independently - with what you grow.
Tools are helpful. Systems are powerful.
That’s why I use a Seed Starting Planner to track varieties, planting dates, and germination rates year to year.
👉 Get the Seed Starting Planner
If you want a deeper foundation in seed saving and propagation principles, my book
The Complete Idiot’s Guide to Seed Saving & Starting walks through the why behind everything I’m doing here.
👉 Get the book: The Complete Idiot’s Guide to Seed Saving & Starting
🎥 Prefer to Watch It Instead?
If you’d rather see this setup in action, I’ve documented the entire seed starting process — lighting, soil blocks, airflow, humidity, and transplanting — in my Seed Starting video series.
Common Seed Starting Mistakes Gardeners Make
Let me save you some frustration.
Most seed starting failures aren’t mysterious. They’re predictable.
I’ve made every one of these mistakes at some point - and I’ve seen them repeated season after season.
Starting too early.
In Indiana, it’s tempting. A warm day in February or March can make you feel like spring has arrived. But if seedlings outgrow their containers before outdoor conditions are stable, you create stress and delay rather than gain time.
Using weak lighting.
A bright window isn’t always enough - especially during cloudy Midwest winters. Weak light leads to leggy stems and fragile plants that struggle after transplanting.
Overwatering.
This is one of the most common. Seedlings need moisture, but they also need oxygen at the root level. Soggy soil suffocates roots and invites disease.
Not labeling.
You think you’ll remember which tray holds which variety. You won’t. Especially when everything looks identical at the cotyledon stage.
Skipping airflow.
Still air encourages weak stems and fungal problems. Even gentle movement strengthens plants.
Transplanting too late.
When roots become crowded or start searching beyond their soil space, growth slows. Waiting too long creates avoidable setbacks.
Seedlings don’t fail randomly.
They fail when systems are inconsistent.
Once you create a stable indoor seed starting setup - light, soil, airflow, timing - success becomes far more predictable.
And predictable success is what makes gardening less stressful and more rewarding.
How This Connects to the Bigger Picture
Seed starting is only the beginning.
It’s the first step in a much larger rhythm.
Once seedlings are strong and ready, the focus shifts to preparing resilient outdoor soil. Healthy roots need healthy ground to move into. That means thoughtful soil preparation, not just digging a hole and hoping for the best.
Then comes transplanting - at the right time, under the right conditions - followed by steady monitoring as plants adapt to wind, sun, and fluctuating temperatures.
And eventually, if everything goes well, harvest.
But harvest isn’t the end either.
It leads into preservation - storing what you’ve grown so your work extends beyond the season.
When you look at it this way, indoor seed starting isn’t an isolated task. It’s the foundation of a complete growing cycle.
From seed…
to soil…
to harvest…
to preservation.
Each stage supports the next.
And when the system works together, gardening becomes less reactive and more intentional.
Frequently Asked Questions About Indoor Seed Starting Setup
Q. What is the best indoor seed starting setup for Indiana gardeners?
A. The best indoor seed starting setup for Indiana gardeners includes strong full-spectrum lighting, well-draining seed starting soil, consistent airflow, and stable room temperatures. Because Indiana winters are cloudy and unpredictable, relying on window light alone usually leads to weak seedlings. A controlled indoor system creates consistent results regardless of outdoor conditions.
Q. When should I start seeds indoors in Indiana?
A. Most warm-season crops such as tomatoes and peppers should be started 6–8 weeks before your average last frost date. Starting too early often causes more problems than starting slightly late. Overgrown seedlings become root-bound, stressed, and harder to transplant successfully.
Q. Do seedlings need 24 hours of light?
A. No. Seedlings need strong light, but they also need a rest period. I typically run grow lights 14–16 hours per day. Continuous 24-hour lighting can create stress rather than stronger growth.
Q. Why are my seedlings tall and falling over?
A. Leggy seedlings are usually caused by insufficient light or light placed too far above the plants. Weak airflow can also contribute. Strong, close light combined with gentle air movement encourages thicker stems.
Q. Is a heat mat necessary for indoor seed starting?
A. Not always. In a stable indoor environment, most vegetable seeds germinate without bottom heat. Heat mats are most helpful for tropical seeds or homes that run unusually cool. Consistency matters more than excessive warmth.
Q. What soil works best for soil blocks?
A. Soil blocks require a mix that holds structure without becoming dense. A fine, well-balanced mix such as Johnny's 512 Mix that is designed for blocking performs more consistently than heavy garden soil or coarse container blends. Proper moisture levels are critical to prevent blocks from crumbling.
Q. Can I reuse seed starting soil?
A. It’s not recommended for seedlings. Used soil may contain pathogens and loses structure over time. Fresh, light, sterile mix reduces the risk of damping off and poor root development.
Q. How much humidity do seedlings need indoors?
A. Seedlings need stable humidity, not extreme humidity. Normal indoor conditions are usually sufficient. High humidity combined with poor airflow increases disease pressure.
Q. Why do my seedlings get damping off?
A. Damping off is typically caused by overly wet soil, poor airflow, or contaminated growing medium. Bottom watering, proper drainage, and consistent air movement significantly reduce the risk.
Q. Can I grow tropical plants and vegetable seedlings in the same indoor setup?
A. Yes - but environmental needs differ. Tropical plants often require higher humidity and longer light duration. Vegetable seedlings need strong light and airflow but moderate humidity. Adjustable lighting and environmental control allow one setup to serve both.
Q. How do I harden off seedlings in Indiana?
A. Gradually expose seedlings to outdoor conditions over 7–10 days. Begin with short periods in sheltered shade, then slowly increase sun and wind exposure. Avoid hardening off during cold snaps or extreme weather swings common in Midwest spring.
Q. What makes an indoor seed starting setup successful long-term?
A. Success comes from consistency: balanced lighting, proper soil structure, airflow, labeling, and tracking results year to year. Systems outperform guesswork.
Build the Foundation Well
This isn’t about buying everything.
It’s about building a system that works where you live.
A system that handles Indiana’s late frosts and cloudy springs.
A system that supports steady growth instead of rushed recovery.
A system that reduces stress because you understand what’s happening and why.
Seed starting indoors is the foundation.
When you build it intentionally - with balanced light, healthy soil, proper airflow, and consistent tracking - everything that follows becomes simpler.
Stronger seedlings.
Smoother transplants.
Better harvests.
More confidence.
That’s when gardening stops feeling fragile and starts feeling dependable.



Leave a Reply