


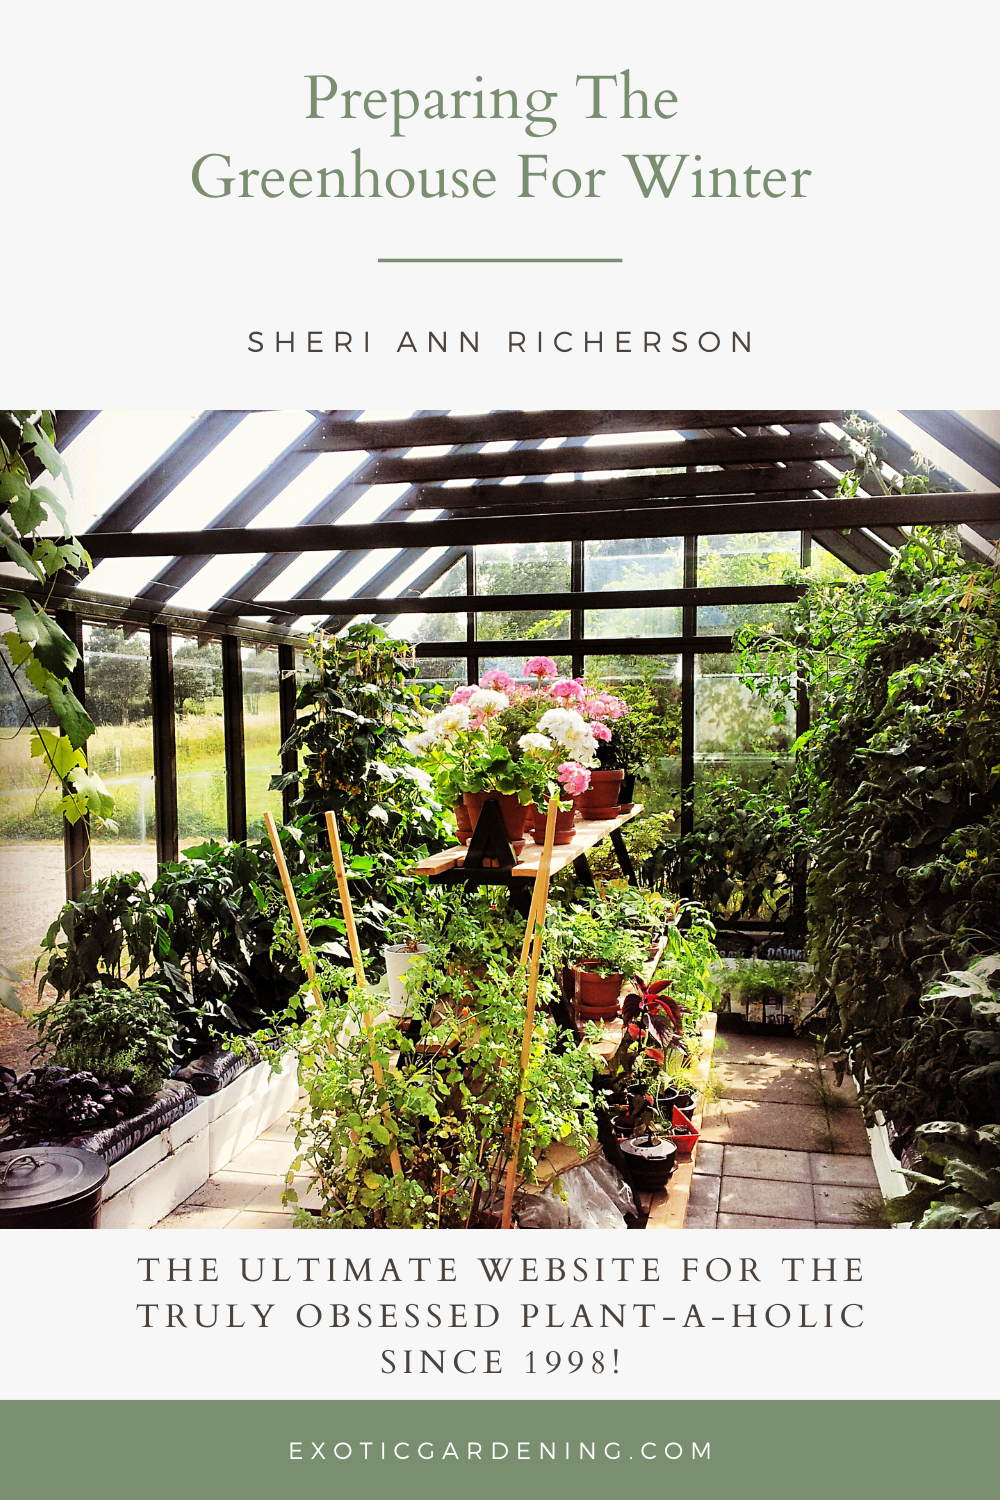
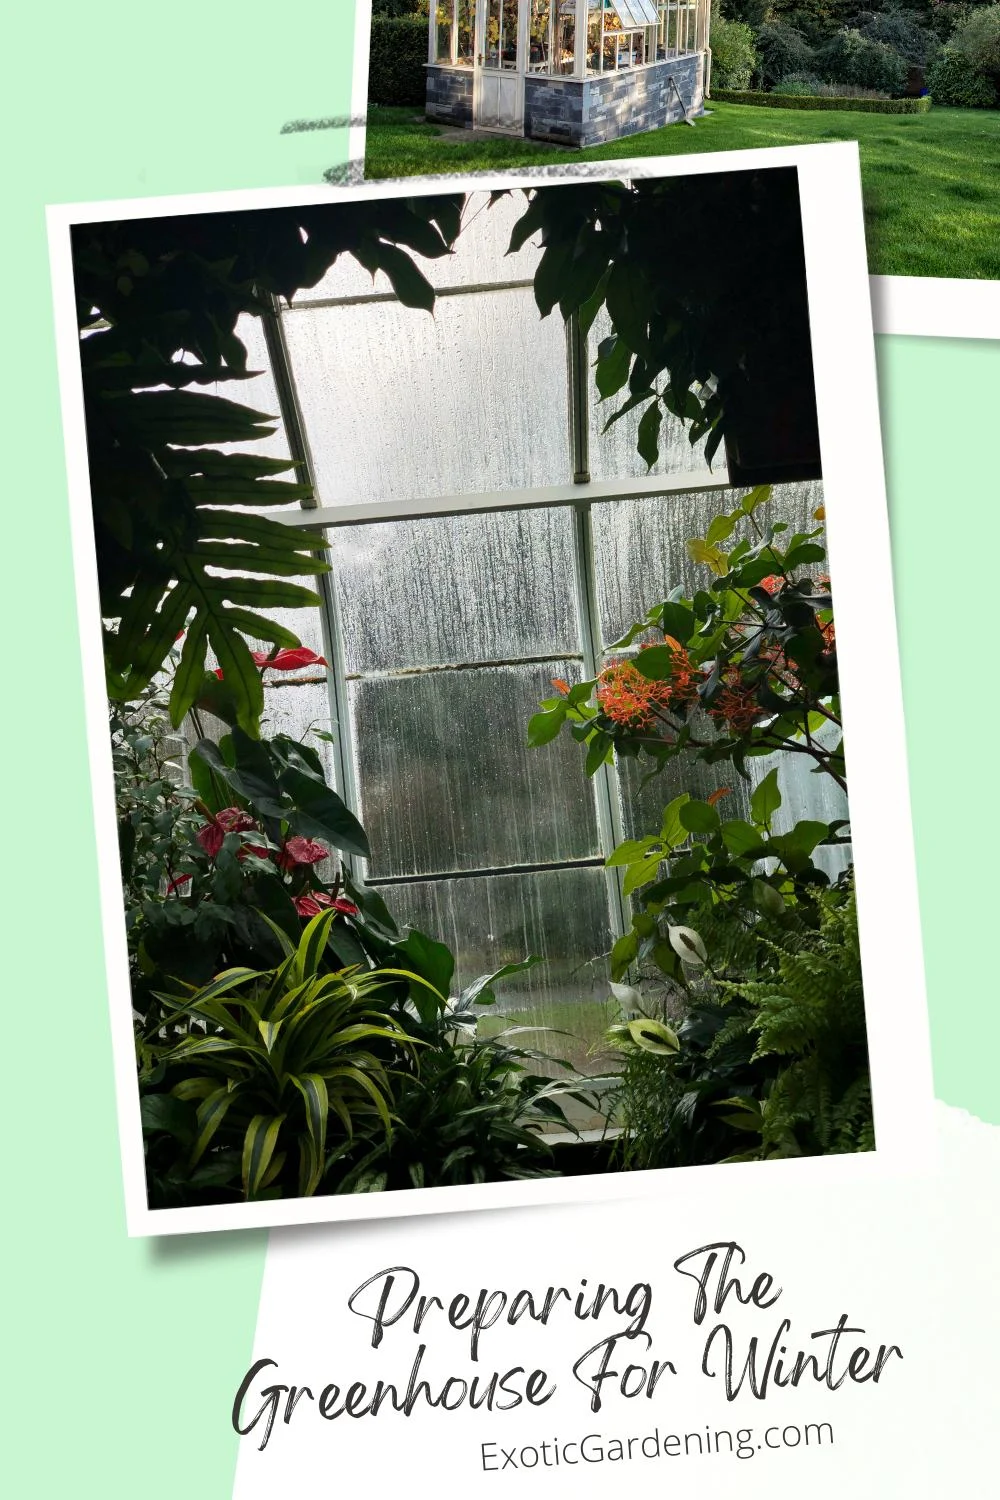
Preparing a greenhouse for winter can seem like an impossible task, especially if you wait until the last minute.
However, with a little early preparation, you can easily glide into winter without any major hurdles.


Wash The Inside Of Your Greenhouse
The first step you should take is to go into your greenhouse with a bucket of warm, soapy water and a scrub brush for windows on a warm day in July or August.
You can choose to add either bleach or hydrogen peroxide to the soapy water to give it more disinfecting power.
Bleach can cause problems with plant roots that may come into contact with any surface the bleach has touched at a later date if all of the residue is not removed.
Hydrogen peroxide on the other hand is safe to use around plants and will not harm them.
The proper mixture should be a ten percent addition of either bleach or hydrogen peroxide to your pre-mixed warm, soapy water.
Make sure your greenhouse is wide open and well ventilated while you are in there working.
This is not only important for your health and safety but it is also important that the fumes and heat can escape from the greenhouse.
Scrub everything, from the benches to the side walls, as well as any pots or tools.
If you have a plastic greenhouse, scrub it with a sponge, then spray it down.
This will not only disinfect the greenhouse, but if there are any pest eggs, it will kill them.
As you are washing the walls down, check for any missing caulk if you have a glass greenhouse or cracks and tears if your greenhouse is made of plastic.
Make a note of these places, as you will need to come back before you begin to bring your plants back indoors and repair them.
Once the greenhouse is scrubbed and you are ready to leave it, close it up for a few hours, being careful to watch the interior temperature so that it does not combust.
For safety reasons, it is best to keep the interior temperature of the greenhouse under 100 degrees F.
The sealing up of the greenhouse once you have finished will help to ensure that any remaining pests, pest eggs or germs are annihilated.
Make Necessary Repairs
After you have ensured that your greenhouse is sterile and ready for the plants, it is time to repair any problems that you may have encountered during the cleaning process.
Take your tools, caulk gun, special greenhouse plastic repair tape and scissors into the greenhouse and begin to repair or replace the various spots.
If you are using caulk, be sure to remove the old caulking first with a putty knife.
You will then want to scrub the area down to be sure that any remaining caulk or dirt that may be on the surface is gone.
Once you are sure that the surface is clean and completely dry you can run a strip of caulk along the edge of the window to seal it.
Caulk must be used when the air temperature is over 45 degrees so that it will set properly, so summer is the best time to do this.
As you are working on sealing any damaged areas in the greenhouse, you may want to add an extra layer of bubble plastic to the inside of your greenhouse to help insulate it over the winter months.
You may do this now or you can wait a few more months.
The extra insulation will cause the greenhouse to retain more heat.
However, if you have lots of plants and do not wish to move them once they are brought back inside, then it would be best to do it while the greenhouse is empty.
To Heat Or Not To Heat
Whether or not you decide to heat your greenhouse is a personal choice that you must make.
This decision should be made at the time that the greenhouse is erected if at all possible.
You will need to take into consideration both the cost of heating your greenhouse as well as ways that you can help to defer those costs.
For example, situating your greenhouse so it can catch the maximum amount of light coming from the south is of extreme importance whether you decide to use it as a big coldframe or as a heated greenhouse.
Insulating the northern most side will also help your house to retain as much heat as possible regardless of where you are located.
You will want to make sure that you use a waterproof insulation or one that is specifically made for greenhouse use.
Check The Ventilation System
Once the greenhouse is sealed up, be sure to re-check your ventilation system.
If you have made the decision to heat your house you will also want to check your heating system at this point.
It is much easier to get a problem fixed in warm weather than to risk losing your plants once the temperatures begin to fall and the heater fails or the ventilation system refuses to work.
Shade Cloth
Using a shade cloth is a good idea in most zones during the warmer parts of the year, however, by the second week of September, you should make sure that all shade cloth has been removed, cleaned and put away for the winter.
This is also the time that you may want to start moving your tender plants back inside.
Once the outside temperatures fall below 50 degrees Fahrenheit, you will want all of your plants in your greenhouse and will want to begin running heat.
If your heater is on a thermostat, set it for 50 degrees and allow it to come on automatically.
If you are using a method of heating that requires you to control when the heat is on be sure to watch the outside temperature as well as the inside temperature to know when it begins to fall below the 50 degree mark.
Heating Options
Another way to help hold heat in your greenhouse is to place 50 gallon rain barrels or plastic drums that have been painted black and filled with water inside of your greenhouse.
These can be used as benches to hold plants or simply placed in an out of the way spot.
The drums will absorb and hold considerable heat for short periods of time.
The drawback to this method is that the drums will take up a considerable amount of room unless you are ingenious enough to figure out a benching system that takes advantage of the drums.
Another option, but one that is not as good is to use solar water heaters.
It is a known fact that they make the least amount of heat when it is needed the most.
Remember that while using solar panels and other solar techniques that once the sun goes down and the coldest part of the night sets in, they are of very little use.
Tom Ogren author of Allergy Free Gardening and former nursery owner offers this bit of advice on heating a greenhouse.
“How a house is used in the winter depends on the price of fuel and how much the gardener wants to actively garden in winter. I used to have a huge wood fired boiler and 40 acres of woodland, so I could heat all I liked. In really cold areas, zone 3 for example, a warm, cozy greenhouse in say March, is just so wonderful! When heating costs and demands can be high, I have had good luck using bio-therm tubing. This is rubber tubing that sits on top of the benches and the plants sit on top of the tubing. At the ends of the benches the tubes, which are about the thickness of a pencil, connect to header pipes, usually 2-4 inch PVC. The header pipes in turn are connected to the water heating source. The good deal here is you just heat the root zone under the plants. I have found that with warm roots, a greenhouse can be quite cool but the plants will grow just great. Also, for starting cuttings etc., bottom heat is terrific. The drawback to bottom heat and tubes is leaks in the tubes are common.”
Even if your interior temperature goes a bit below the 50 degree mark for a short time most likely your plants will not be damaged provided they are not in wet soil.
Peter Loewer, greenhouse owner and author of the book The Evening Garden, lives in Asheville, North Carolina and offers the following tips for greenhouse gardeners.
“My greenhouse has thermopane glass and is connected to the hot water heating system in the house with one old-fashioned radiator. If temperatures fall below 45 degrees, the system goes on. Since most tropical plants — if not in wet soil — will withstand such night temperatures, I rarely lose anything.”
Loewer grows a variety of plants such as cymbidiums, cattleyas, dendrobiums, bougainvillea, numerous South African succulents, bananas and orchid cacti.
“Many tropical plants will survive as long as they are dry and the temperatures do not fall below 40 degrees for any length of time,” said Loewer.
Insect Control
The first week of October is a great time to fumigate with smoke pellets if your plants are showing signs of pests or if you prefer a more organic approach, release beneficial insects.
Once the fumigation is complete, be sure to wash the windows or plastic sheeting down again.

Move The Plants Inside
If you have not already done so, be sure to get the rest of your plants that you will be overwintering brought inside during this week.
You may also want to take cuttings of any annuals or tender perennials that you wish to root.
Second Greenhouse Washing
By the first week of November, you should wash the greenhouse down one more time and if you have not previously done so, line the interior of your greenhouse with bubble plastic or an extra layer of polyethylene.
The windward side is the most important area to line, although lining the entire house is beneficial.
Remember, this is how you will save money on your heating bill and retain the heat should there be a heating system outage.
More Decisions
By this point you will need to decide if you will be turning the heat up and growing plants or simply overwintering them.
In zones 1 through 4 most gardeners won’t want to try to actively grow much of anything in a greenhouse during the months of December, January, and February.
But toward the end of February the greenhouse starts to get easier to heat due to warming outdoor temperatures and the light levels start to improve gardeners in these zones may want to fire up a heating system.
USDA Hardiness Zone Specific Tasks
For greenhouse owners in zones 5 through 7 the greenhouse in winter can be started up actively closer to the first of February.
The timing is essential in order to grow items like really large and full hanging baskets of fuchsia which need time to grow on from cuttings.
Many of these plants will do just fine in a cool greenhouse.
For greenhouse owners in zones 8 and 9 the greenhouse can be used almost anyway you want to in winter.
“You can grow tomatoes or peppers inside and get fruit all year long if you time it right. When growing heat loving vegetables, inside a winter greenhouse, you’ll almost certainly be bothered with whiteflies, red spider mites in the heat of summer and whitefly in winter. To deal with these, I used to grow five gallon pots of Japanese Eggplants and put a pot for every few hundred square feet of greenhouse space. These are the trap plants, and they will dray whitefly like a magnet. Once a week you just spray the trap plants,” advises Ogren.
Gardeners in zones 10 and 11 should use their greenhouse to protect their most tender plants during the months of November through March.
If you are using a greenhouse in these zones, be sure to cover it with some shade cloth.
This will not only help the greenhouse to stay cooler but will also allow you to use it for shade-loving plants.

Greenhouse Tips And Tricks
According to Penne Cuirmode, greenhouse owner and gardenwriter located in zone 5, “Our greenhouse is an older model, probably 20 years old, with single pane glass and I have found that during the months of December, January and February it is most practical, financially, not to try ‘growing’ plants, but just ‘overwintering.’ When the planting season begins in early March, I turn up the heat.”
The low light levels during the coldest parts of the winter are a big drawback to growing, although you can add lights and some do with good results, but the cost is very high to run these.
For Jeff Lowenfels, greenhouse owner and gardenwriter located in Anchorage, Alaska growing plants in his greenhouse requires the addition of lights.
“I grow orchids, annuals pulled in from outside, jasmines, starts of lots of seeds. I adjust the timing on the lights so that they have 11 hour days until after January when they get longer 14 hour days. Frankly, I pay more attention to them once fall hits. That is really all I do to over winter, start paying attention!”
Lowenfels greenhouse is heated.
He also offers this advice to anyone who has or is contemplating a greenhouse.
“Face the greenhouse south, that is the only way. I turn my heat on in late October and off in early February due to passive solar heat. Go for plants that thrive at cooler temperatures, there are lots of them.”
Another option is to use bottom heat in your greenhouse.
It is possible to keep one part of a greenhouse heated and actively growing, while using the rest of the greenhouse to simply over-winter plants.
“If your plan is to overwinter, some growers use a type of plastic thermal blanket and cover the plants directly, even though they are already in a greenhouse. The blanket is clear so light can get through it,” according to Ogren.
Even if you are using an unheated greenhouse, lining it with an extra layer of plastic will help to retain more heat and give you the ability to overwinter plants that might not survive with just one layer of plastic or glass.
To successfully overwinter plants in a greenhouse, simply keep the temperature just above freezing.
A double layered hoop house isn’t too difficult to keep this way, even in January.
However, right next to the plastic the plants may occasionally freeze depending on the outside temperature.
“Often it isn’t so much the cold that kills plants, as the frost on their leaves, and the freezing of their tissues. Inside the greenhouse there’s no frost on the leaves. Over-wintered plants can also be sprayed with Wilt Pruf , a water-soluble wax, before it gets too cold, and this will help to keep them from losing too much moisture from their leaves. it helps considerably to over-winter things. It also helps to make sure plants are well fertilized with plenty of potassium before winter sets in, as high K levels air in promoting winter hardiness,” Ogren states.
If you are using an unheated coldframe or greenhouse, the first week of December you should begin to line the inside of the vents with straw or hay matting.
This will help to cut drafts down. You need to recheck your vents to make sure that they are properly working.
The vents should be opened daily at this point.
Scott Vlaun, editor for the Seeds of Change eNewsletter, greenhouse owner and seller located in Maine, overwinters a wide variety of hardy plants in his unheated greenhouse.
“I have overwintered a lot of hardy vegetables like beets, lettuce, kale, chard etc. in something we call a giant coldframe. I just cover everything with straw and put straw around the base to keep out the drafts until the snow comes to insulate it. The corrugated plastic cover seems to work well. I use it to grow peppers and Basil in the summer,” said Vlaun.
Prepare To Start Seeds
The fourth week of December should find you cleaning all the pots that have been used as well as the seed boxes in preparation for the weeks ahead.
Don’t forget to disinfect as you clean.
If pests are beginning to be a problem again, go ahead and treat the greenhouse using your preferred method.
Fertilization
The first week of January you should begin to fertilize any plants in your greenhouse that are actively growing.
From this point on, you will want to fertilize weekly.


Final Thoughts
Now that you know what you must do to successfully overwinter plants in a greenhouse, you may be wondering what some of the new advancements in greenhouse structures are that will make your work easier.
According to Loewer, the best greenhouse advancement in recent years is insulated glass.
“It’s amazing what you can do with insulated glass,” he said.
“We are working on a design for a combination earth bermed and straw bale solar greenhouse with fish ponds for thermal mass and chicken breath as an additional heat source,” said Vlaun. “I think the corrugated plastic and Straw Bale construction are good advances.”
In conclusion, Ogren offers this bit of advice, “I have had extensive experience with double-layered, plastic sheet covered hoop houses. We used to use a 3 year quality, 6 mil tube to cover the houses. The tube covered the house and it was filled with warm air from inside the house by use of a squirl cage fan. It was mounted on the inside of the greenhouse, on a piece of plywood with a hole cut in the center of it for the fan to blow into. We used lath to secure the plastic to the plywood. The result is like a large balloon of sorts, although typically the insulating air space between the layers is about a foot deep. The fans cost about $40 or less and they take about the same energy to run as a 100 watt light bulb. They are well worth the effort.
I used this sort of greenhouse in northern Minnesota and over-wintered plenty of hardy plants with next to no heat at all. I have also used them in California for years. These hoop houses are fast to put up, easy to work with and inexpensive to build. They are the cheapest cost per square foot of ground covered by far and are what a huge number of commercial nursery people use everywhere. They can be bought in kits very reasonably. The hoops are made of galvanized pipe.”
Many nurseries are more than happy to share their tips and techniques for overwintering, heating and maintaining their greenhouses with others.
The best place to start gathering information about taking care of your own greenhouse is from others in the area who have already been doing just that.
The internet is another source.
From email lists to garden forums and sites that offer advice on greenhouses, the information is endless.
Finally, be sure to pick up a good book on greenhouses.
One that I recommend is The Complete Book Of The Greenhouse by Ian G. Wales.
Greenhouses And Grow Lights


5 Factors to Consider When Choosing Greenhouse Lighting
There are five factors that are important to consider when choosing greenhouse lighting. Learn what they are and why they are important.


Rare Tropical Plants in Greenhouse #1
Sometimes it's fun to share information on the plants you are growing, especially the rare tropical plants with others.


Cool Greenhouse Uses
Learn cool greenhouse uses for those of you that have a greenhouse but use passive solar heat or a small heater.

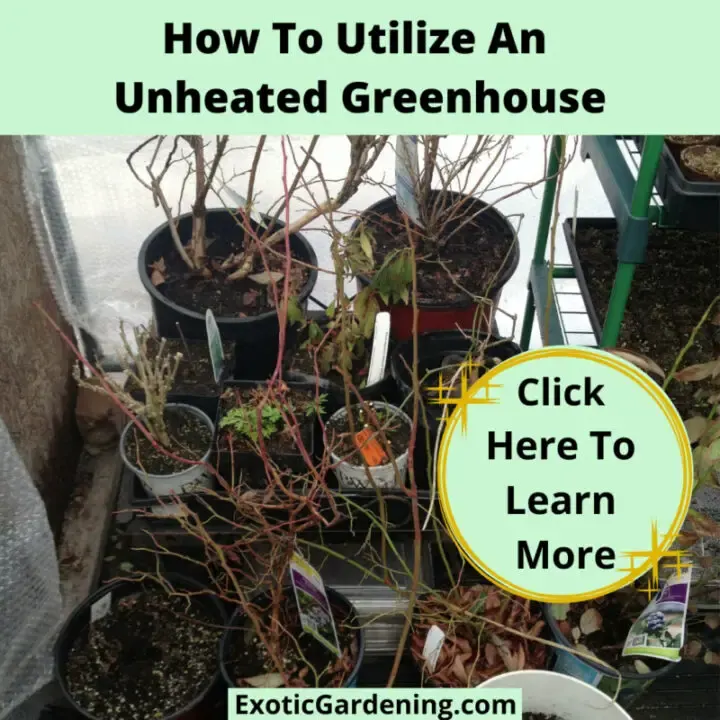
How To Utilize An Unheated Greenhouse
An unheated greenhouse is easy enough to utilize for a winter vegetable garden or even for winter seed starting.


Greenhouse And Cold Frame Garden Structure Ideas
Learn about tunnel houses, greenhouses and cold frame garden structures as well as how they are used to grow plants outdoors year round.
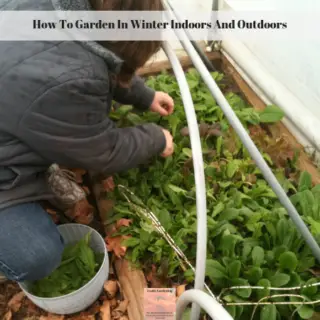
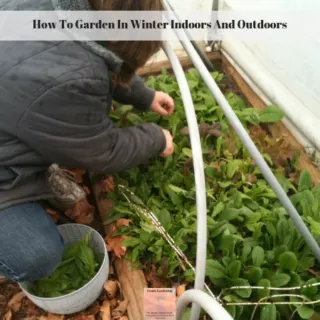
How To Garden In Winter Indoors And Outdoors
Learn how to garden in winter indoors and outdoors. There are many vegetables and herbs that don't mind the cold or thrive in containers.


Garden #9 - The Greenhouse Garden
The greenhouse garden area consists of a large greenhouse that is divided into several sections.
These sections operate year-round and house a wide array of tropical plants.