When I first learned that chocolate came from a tree, I wanted to grow one. Never mind that I lived in Indiana or that Theobroma cacao belonged in a tropical climate. I was already bringing home unusual plants and trying to figure out how to keep them happy indoors, so the thought of having the actual plant behind chocolate was more than I could resist. What I didn't know was how far that curiosity would take me, from a tree in my living room to fresh cacao pods, homemade chocolate and presentations where other people could begin their own growing adventure.
These Theobroma cacao videos are pieces of that story, recorded at different times as I learned, experimented and shared what I was doing. You will hear me return to germinating seeds more than once, because that was often the part people wanted to see for themselves. There is something about opening a pod and watching a little root emerge that makes the whole idea feel possible. But the seed is only the beginning, and the lessons that follow have as much to do with caring for a living tree through an Indiana winter as they do with the chocolate we hope to make someday.
The Chocolate Tree That Started It All
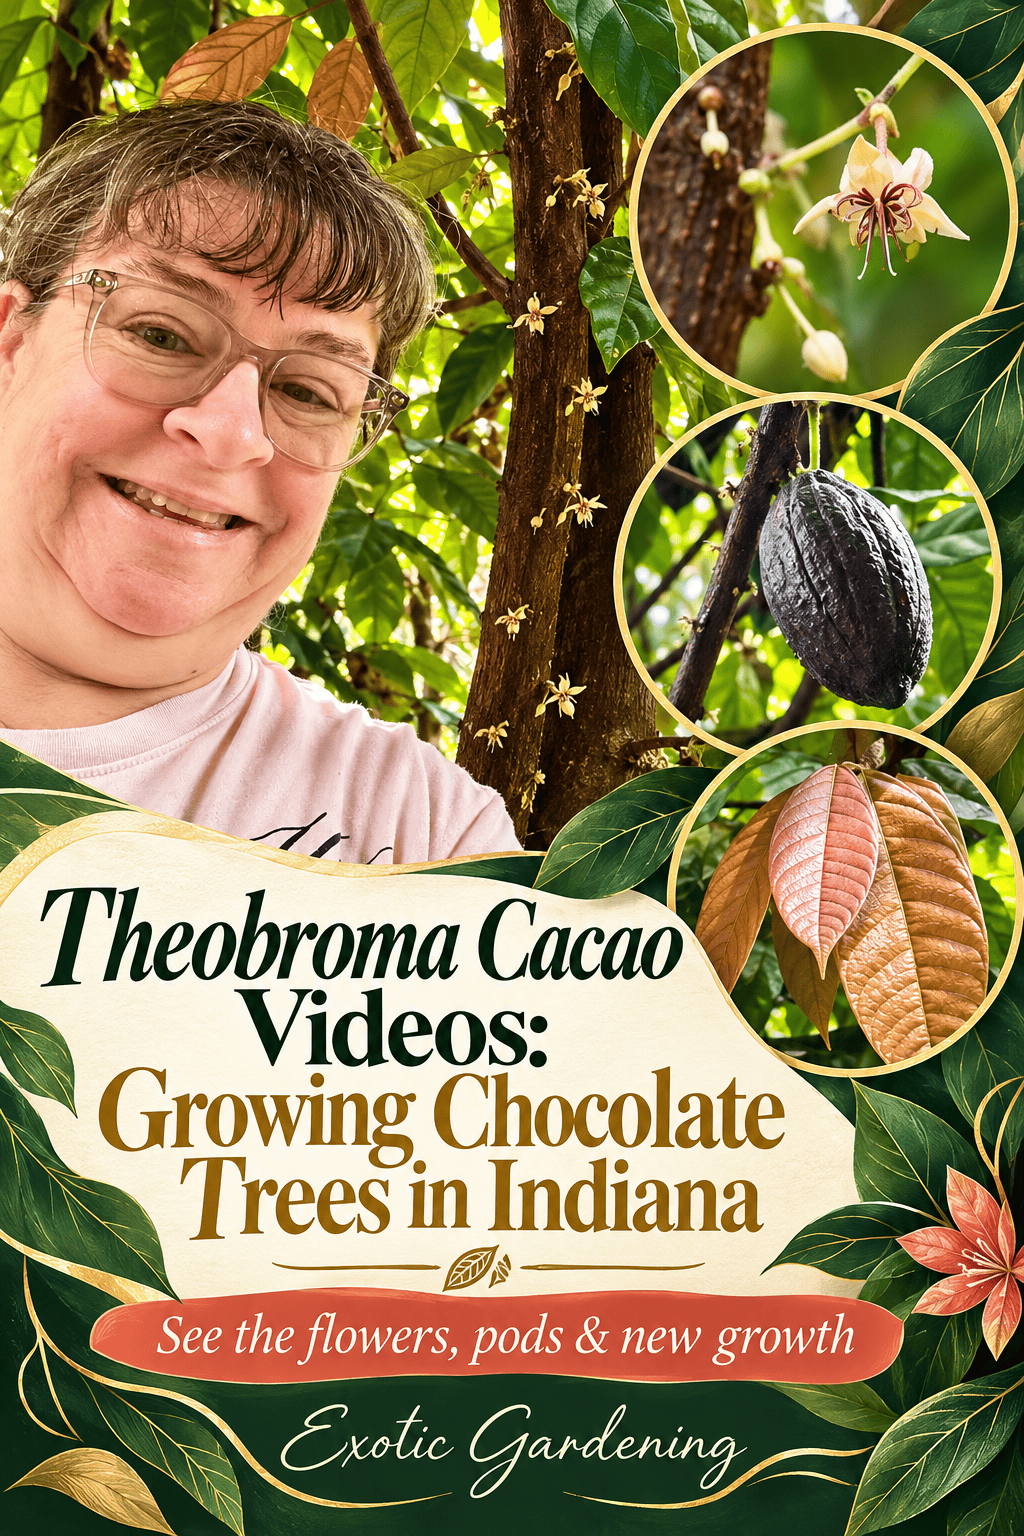
My first cacao tree came through a plant trade back when GardenWeb was where I went to find people who were just as excited about unusual plants as I was. It arrived large enough to need a five-gallon pot, and I was over the moon. Then the leaves began falling, and suddenly I had a beautiful plant I was afraid I would lose before I had even learned how to care for it. That is where the research became personal. I wasn't simply collecting information about cacao anymore; I was trying to understand what the tree in front of me needed.
Humidity became an important part of that first experiment. I made a temporary enclosure around the tree, and when new leaves began appearing, I gradually removed the wrapping rather than exposing it to room air all at once. Two years later, I came home from a Garden Writers Association symposium and found that tree blooming in my living room. Oh my, after all the worry about those falling leaves, there were flowers on my chocolate tree in Indiana! The foliage wasn't looking its best after my time away, so even that wonderful moment came with another lesson about keeping the plant comfortable.
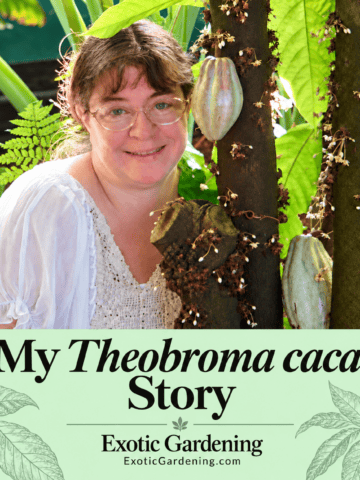
The video below brings that early interest into the story behind A Chocolate Lover's Garden. Looking back, what stands out to me is how one plant kept leading to something else: another question, another grower, a botanical garden I wanted to visit or a chance to share seedlings with someone who had never considered growing cacao. If you would like the fuller account of those years, including the friendship in Puerto Rico that helped me obtain fresh pods, I share it in my Theobroma cacao story.
I also kept this early presentation, filmed in 2000 and uploaded much later, because it belongs to the beginning of the adventure. The recording is older, but the excitement of having a real plant and real seeds to show people is familiar to me. As you watch, remember that these videos were recorded over many years. They show what I was doing at the time, while the written articles give me room to explain things more fully and add what I have learned since. Together, they offer a better picture than either a set of instructions or a video by itself.
Opening a Pod and Seeing Where Chocolate Begins
One of my favorite things about sharing cacao is watching the connection become clear when someone sees a fresh pod opened. Most of us know chocolate as a bar, a drink or an ingredient in the kitchen, so the seeds surrounded by that pale, slippery pulp can be quite a surprise. This is the living beginning of something so familiar, and having it in front of you changes the questions you ask. You begin wondering how those seeds grow, what the pulp is for and how anything inside that pod could become the smooth chocolate you are used to eating.
For a gardener, the important decision comes before the seeds have a chance to dry: are you going to grow them, or are you going to use them for making chocolate? I like to decide that before opening a pod so the seeds I want to plant can go straight into their germination setup. A cacao bean sold as a food ingredient may already have been fermented, dried or roasted, which is a very different starting point from fresh planting seed. When buying a pod or loose seeds, ask what you are actually getting and how recently it was harvested rather than relying on the word “cacao” in the listing.
In the live demonstration below, I bring the pod and the chocolate-making discussion together. The part I would encourage you to look at closely is the material itself: the shell, the seeds and the way they sit inside. If you have never opened a cacao pod, that view makes the process much easier to understand. It also explains why I work carefully around the shell instead of cutting straight through the center and risking the seeds I hope to grow.
Turning the other seeds into chocolate takes us into another kind of project. Fermentation begins the development of chocolate flavor, followed by drying and roasting, and then the shells are separated from the nibs. Grinding produces the cocoa mass used in chocolate making, while further processing affects the texture and finished result. The International Cocoa Organization explains those stages if you want to follow the process beyond what a demonstration can show.
When I first tried making chocolate, Bryan warned me that I wouldn't get the smooth texture of a commercial bar without the right equipment. He was right, but I wanted to try anyway. Handling the pod and working with the beans taught me something that reading about chocolate alone couldn't give me, even though the result wasn't the polished product you would find in a shop. That experience is why I enjoy introducing the process without pretending that one small batch tells the whole story of chocolate making.
These two short videos give you a quick look at that same connection between the plant and the food. They are a nice place to begin if you are sharing cacao with someone who has never seen a pod, while the longer demonstration gives you more time to settle in with the subject. Whether you are drawn to the growing or the chocolate making, there is plenty inside that one fruit to make you look at it a little differently.
Living With a Cacao Tree in Indiana
Growing cacao here has always meant working with the conditions I can provide, and that is where experience with your own plant becomes valuable. I grow my tree at temperatures as low as 50°F. That is part of my actual growing experience, and it belongs in this discussion rather than being replaced with a temperature range that makes it sound as though I have always kept the tree in tropical warmth. At the same time, keeping an established tree through cooler conditions is a different situation from expecting fresh seeds to germinate quickly or a young seedling to put on vigorous growth.
For someone beginning this adventure, I would start by looking honestly at the winter space available. A container lets you move the tree, but it doesn't remove the need to know what is happening around it. The temperature near the leaves and pot may be different from the thermostat reading across the room, especially beside a window or in a greenhouse overnight. A thermometer placed near the plant gives you something useful to work with as you learn how that particular space behaves. My experience with 50°F is something I can share; it isn't a promise that every tree, seedling and growing setup will respond exactly as mine does.
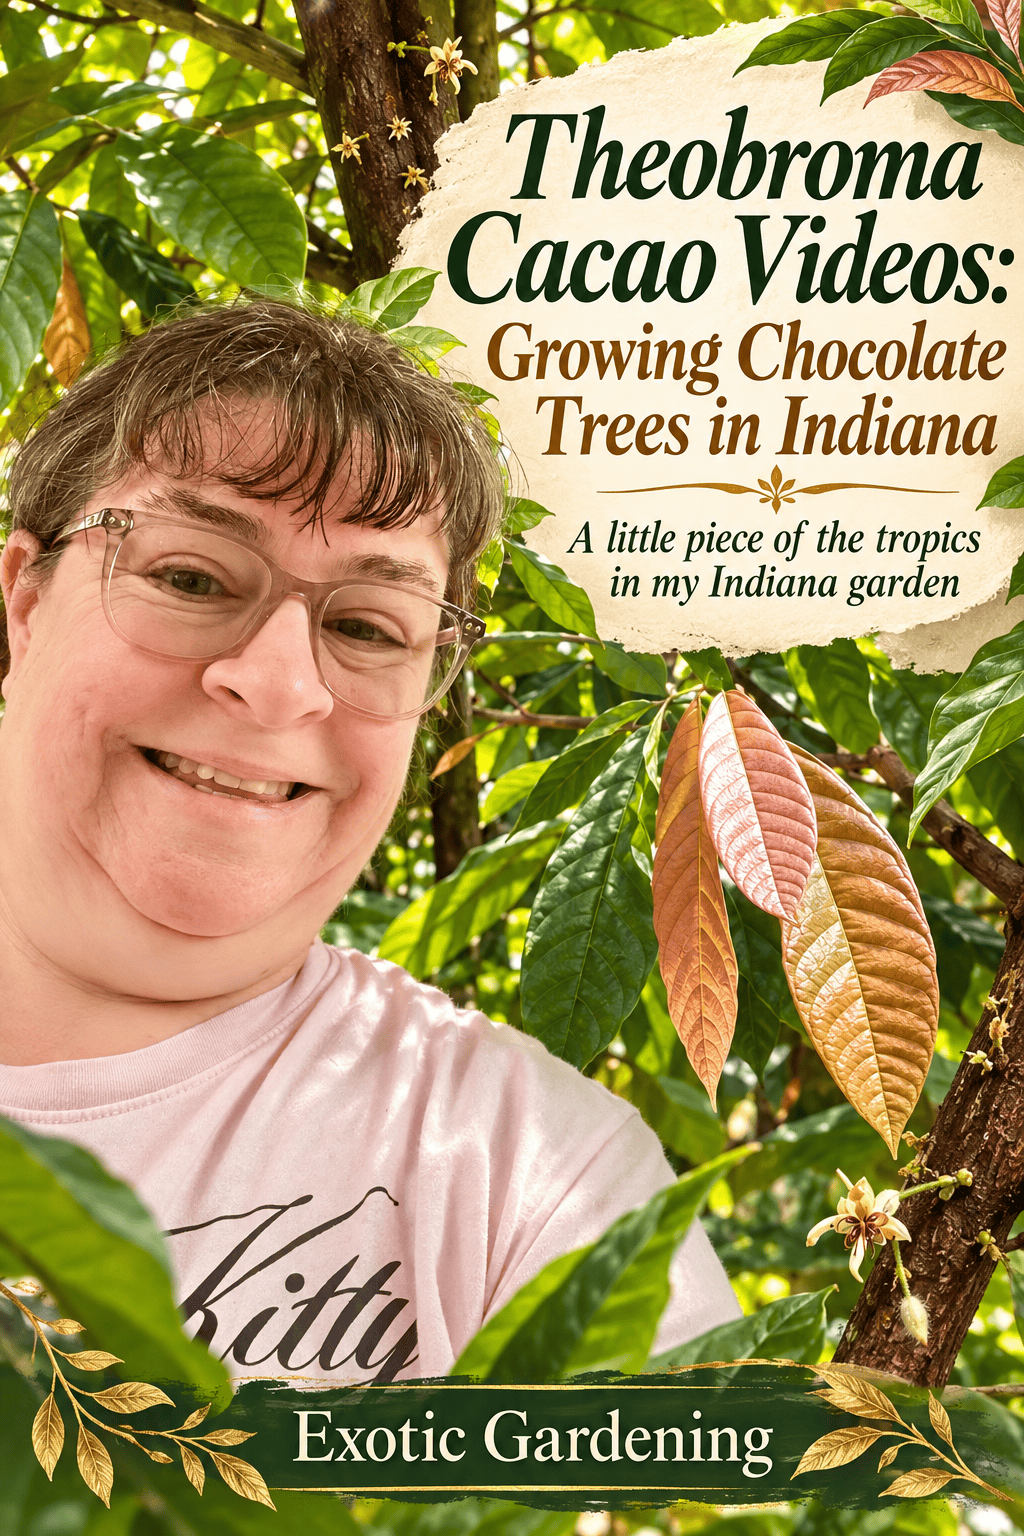
I have lost cacao trees during power outages, so dependable winter care is more than an abstract concern for me. Before bringing home a plant, it helps to think about where it can be moved if its usual space becomes too cold and whether you can comfortably care for a larger pot later. A little seedling looks easy to fit into the house, but the tree it becomes still needs a place where you can check it, water it and give it suitable light. The older Indiana growing video below belongs to those years of working out what I could do with a tropical plant in a very different climate.
Watering and humidity were some of the first things I had to learn to consider separately. Dry room air doesn't necessarily mean the pot needs more water, and a wet pot doesn't tell you that the air around the leaves is comfortable. Feeling below the surface of the mix and lifting the container helps you learn what is happening around the roots, while noticing changes after the heat comes on or the tree moves gives you clues about its surroundings. Let excess water drain away and check any outer container or saucer, rather than assuming that a tropical plant should always stand in water.
If the foliage begins looking poor, I find it more useful to work back through what changed than to give every brown edge the same explanation. Perhaps the tree was moved, a watering was missed, or the room conditions changed with the season; there may also be pests to look for on the stems and undersides of the leaves. A photograph and a few notes help you compare the plant over time. Changing the water, light, location and feeding all at once makes it harder to tell which part of the adjustment helped, particularly when the next leaves are still developing.
Those new leaves are worth watching for their beauty as well as for signs of growth. Cacao's coppery or pinkish young foliage can look quite different from the older green leaves, and following the same leaves as they mature is a lovely way to get to know the plant. The UF/IFAS cacao growing guide describes that color change and offers background on the tree's needs, although its outdoor Florida recommendations need to be considered in the context of a container growing in Indiana.
That same attention is useful whenever another plant arrives. In the unboxing video below, I introduce a plant under the name “Lemon,” which brings a fresh set of questions into the growing space. Keeping its label and source information with your notes lets you follow what that particular plant does rather than assuming a name tells you everything about it. I enjoy the discovery, but I also want to see how the plant settles in before comparing its growth with a tree I already know.
From Fresh Seed to a Little Chocolate Tree
Germination comes up repeatedly in my presentations because it gives people a way to participate. A cacao tree carrying pods may feel far removed from anything you could grow at home, but a fresh seed in a damp paper towel is something you can watch for yourself. That is why I keep more than one recording here. The method will be familiar from one video to the next, but seeing it in a longer presentation or returning to it after your own seeds arrive can make a detail stand out that didn't seem important the first time.
Freshness is where I begin. I prefer taking seeds from a freshly harvested pod and starting them promptly, because cacao isn't a seed I can dry and tuck away until the next convenient planting day. If you are ordering loose planting seeds, the collection date and shipping method deserve attention before the package reaches you. Having the towels, container and pots ready ahead of time makes it easier to work calmly when it arrives, instead of leaving the seeds exposed while you look for supplies.
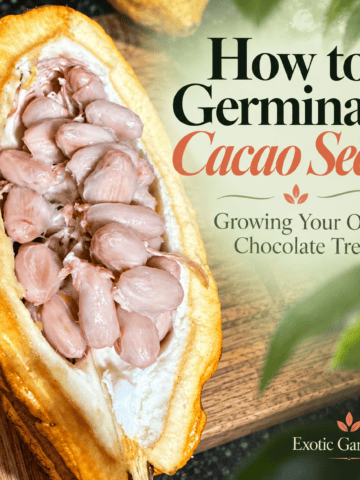
I wrap one seed in each damp paper towel so I can check it and move it separately when the root appears. The aim is to keep moisture around that seed without leaving it sitting in a puddle, and the way the towel behaves will depend on the room and container you are using. Rather than deciding that it needs water at a certain hour every day, open it gently and see what is happening. The video below shows the pod and handling, while my written guide to germinating cacao seeds gives you the current directions to use alongside it.
Some of my seeds have started germinating in as little as 24 hours, and finding that first little white root is exciting. It is also easy to misunderstand the timing if you haven't done this before, because a root appearing in a towel and a leafy seedling emerging above the mix are separate events. One tells you that germination has begun; the other comes after you have moved the seed and it continues developing. Record them separately if you keep growing notes, and give the plant time to make that transition without digging it up to check every day.
Once the root appears, the part that matters most is protecting it as you move the seed. Prepare a place in moist potting mix before lifting it from the towel so you can guide the root into the space rather than push it through compacted material. If it has caught in the towel fibers, moisten them and take your time; the little root is too important to pull free roughly. My planting photographs show the vermiculite topping I use, but that surface layer is only one part of the pot. The mix underneath still needs moisture and drainage, and a healthy-looking surface doesn't tell you everything about the roots.
As the seedling emerges and its leaves begin opening, the project starts becoming less about germination and more about growing the plant you have produced. That is an easy point to overlook when you have been so focused on getting the seed to sprout. Warmth, suitable light and the conditions around those tender leaves now deserve attention, and every successful seed eventually needs room of its own. Think about how many trees you can keep before starting an entire pod, especially if your winter growing space is already shared with other plants.
The longer presentation below gives the process more room, bringing the seed starting and indoor growing together. If you have a question about your own attempt, it helps to identify the stage where you are having trouble. A seed that never produced a root calls for different questions from a seedling that emerged and then deteriorated. Knowing whether the problem began with freshness, towel moisture, planting or later care gives you a much better starting point than treating every disappointment as a failed germination method.
A few simple notes can be useful without turning this into a complicated record-keeping project. Write down where the seeds came from, when they arrived and when you first noticed roots and new growth, then add anything important you changed. If a seed softens or rots, separate it from the sound seeds and check the remaining towels; if they have dried, look at what is causing the moisture loss. Not every failure begins with something you did, and a seed damaged before it reached you won't be rescued by repeating the setup more carefully. The notes help you learn from an attempt without guessing at every step.
The Tiny Flowers That Make You Look Twice
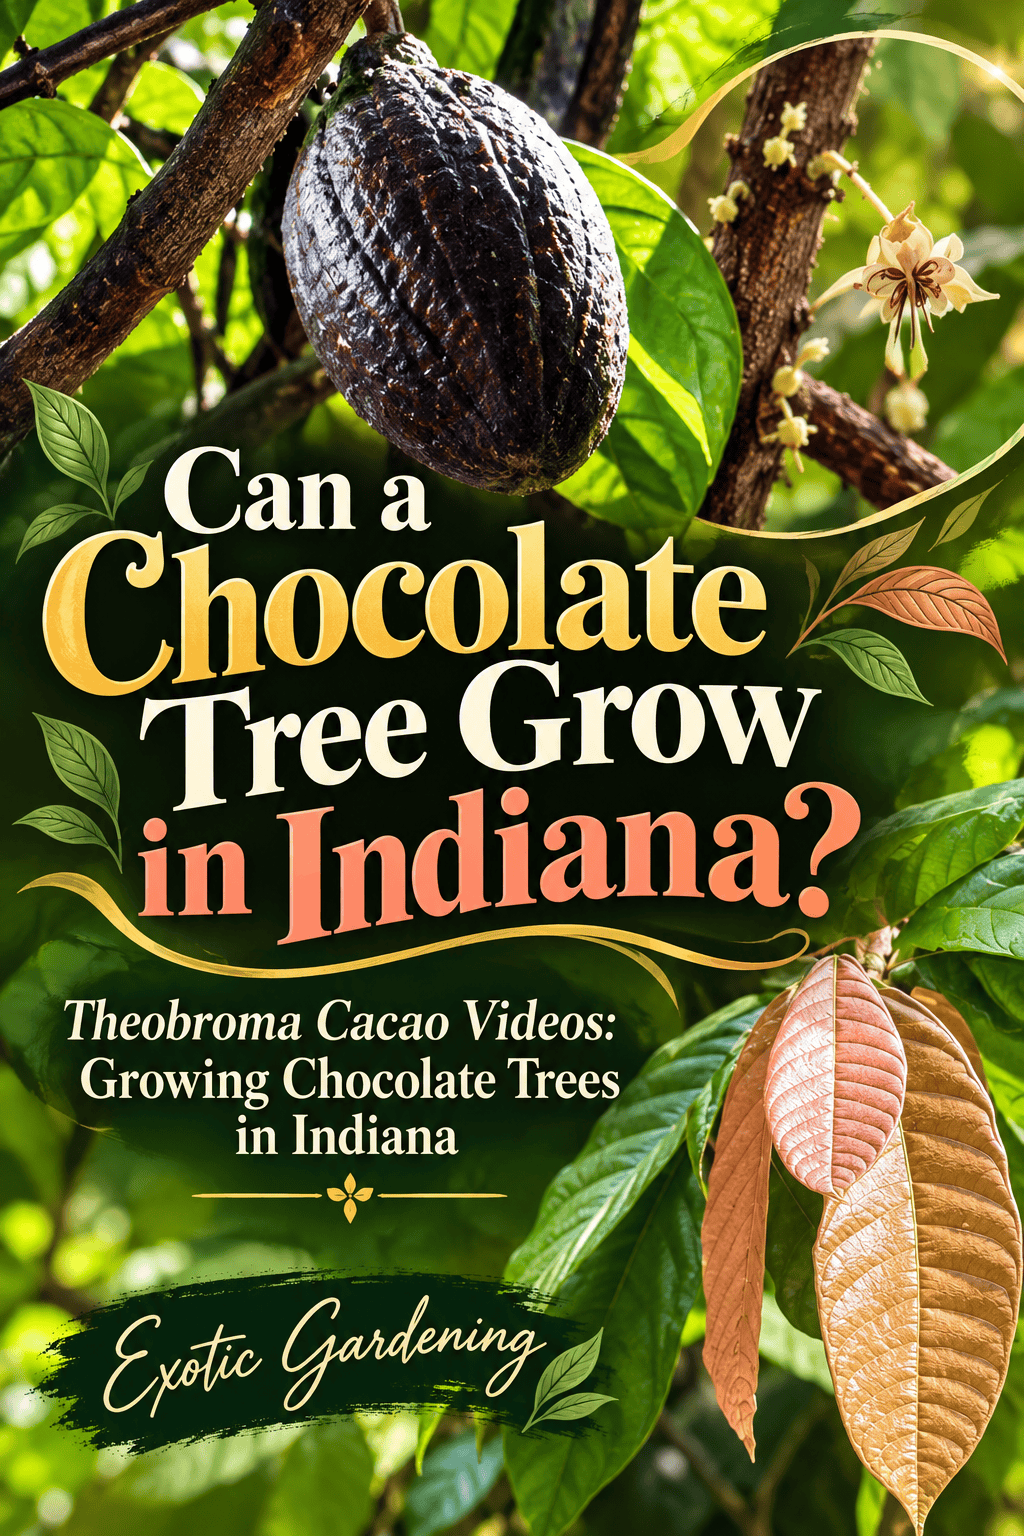
After spending time with seedlings and foliage, it is understandable to start watching for flowers. I certainly did, and finding my first tree in bloom was one of the moments that kept this plant so special to me. Cacao asks you to look in a different place from many familiar flowering plants, because those tiny blooms appear on the trunk and older branches rather than only among the leaves. The botanical word is cauliflory, but you don't need the term to appreciate how surprising it is to see a flower coming directly from the wood.
Flowers also bring another set of questions, especially when your tree is growing indoors. Blooming doesn't guarantee that a pod will follow, because pollination still has to happen, and some cacao types need pollen from a compatible plant. In Kew's account of caring for its chocolate trees, the horticulturist describes hand pollination early in the morning. That experience under glass helps explain why the presence of flowers alone doesn't tell you how an indoor tree will set fruit.
If pods are your goal, ask about the identity and pollination requirements of a plant before buying it, and keep in mind that seedlings leave some of those questions open. Then there is the time and care involved in bringing a developing pod to maturity. Growing the tree, seeing it bloom and eventually having fruit are achievements you reach along the way, rather than one automatic result of starting a seed. For me, those first flowers were wonderful in their own right, and I don't want the promise of chocolate to make anyone overlook the pleasure of the living plant.
Following the Chocolate Garden Beyond the Videos
What began as wanting the tree behind chocolate has become a much larger part of my gardening life than I could have imagined. The pods led me toward seed starting and chocolate making, the seedlings gave me something to share at presentations, and the trees kept sending me back to questions about what was happening in my own growing space. I still enjoy that connection between looking closely at a plant and discovering something I hadn't noticed before, whether it is the color of a new leaf or a flower so tiny I need to get closer to see it.
If one of these videos has made you want to try cacao, follow the part that interests you. The germination article is there when you are ready to work with fresh seeds, and my personal story fills in more of the experiences behind the recordings. You can find both, along with A Chocolate Lover's Garden, the book Tom Ogren and I wrote, in the Cacao & Chocolate Gardening hub. There is more to explore than I can fit into a demonstration, and you don't have to begin with a plan to produce your own chocolate to enjoy growing the tree.
I would love to hear where cacao has taken your curiosity. Perhaps you have never seen a fresh pod before, or you are already caring for a seedling and wondering what comes next. If you have a tree of your own, tell me what you are noticing and what your growing conditions are like. Sharing those details is how a conversation about an unusual plant becomes something another gardener can learn from, just as those early plant-trading conversations did for me.





Leave a Reply