
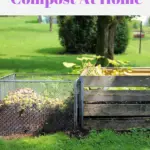


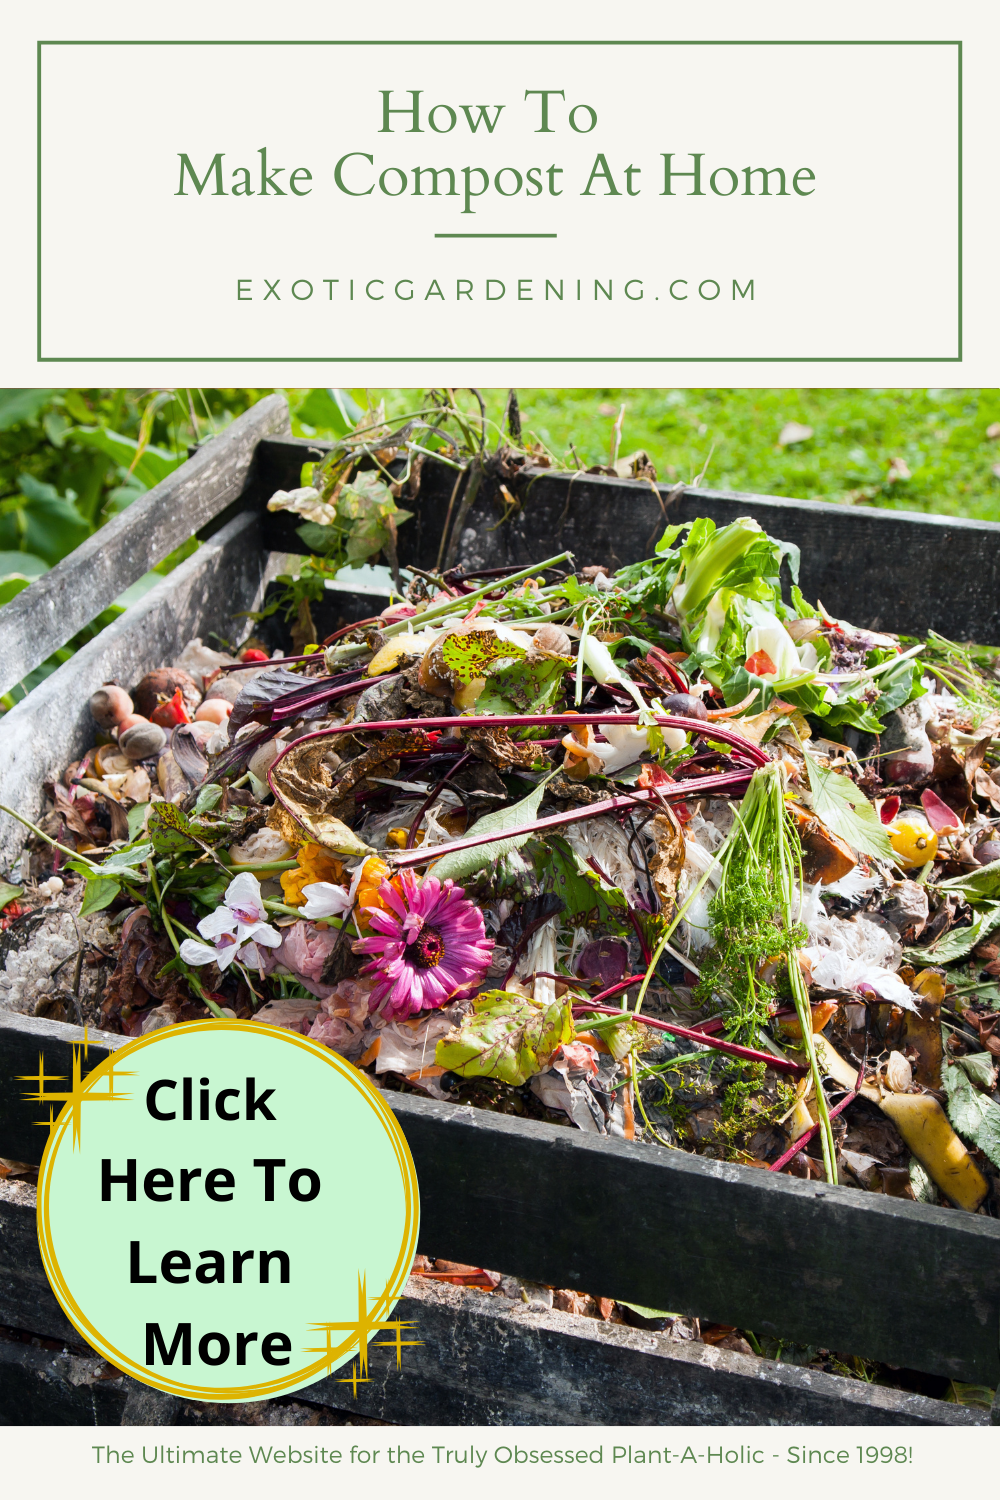
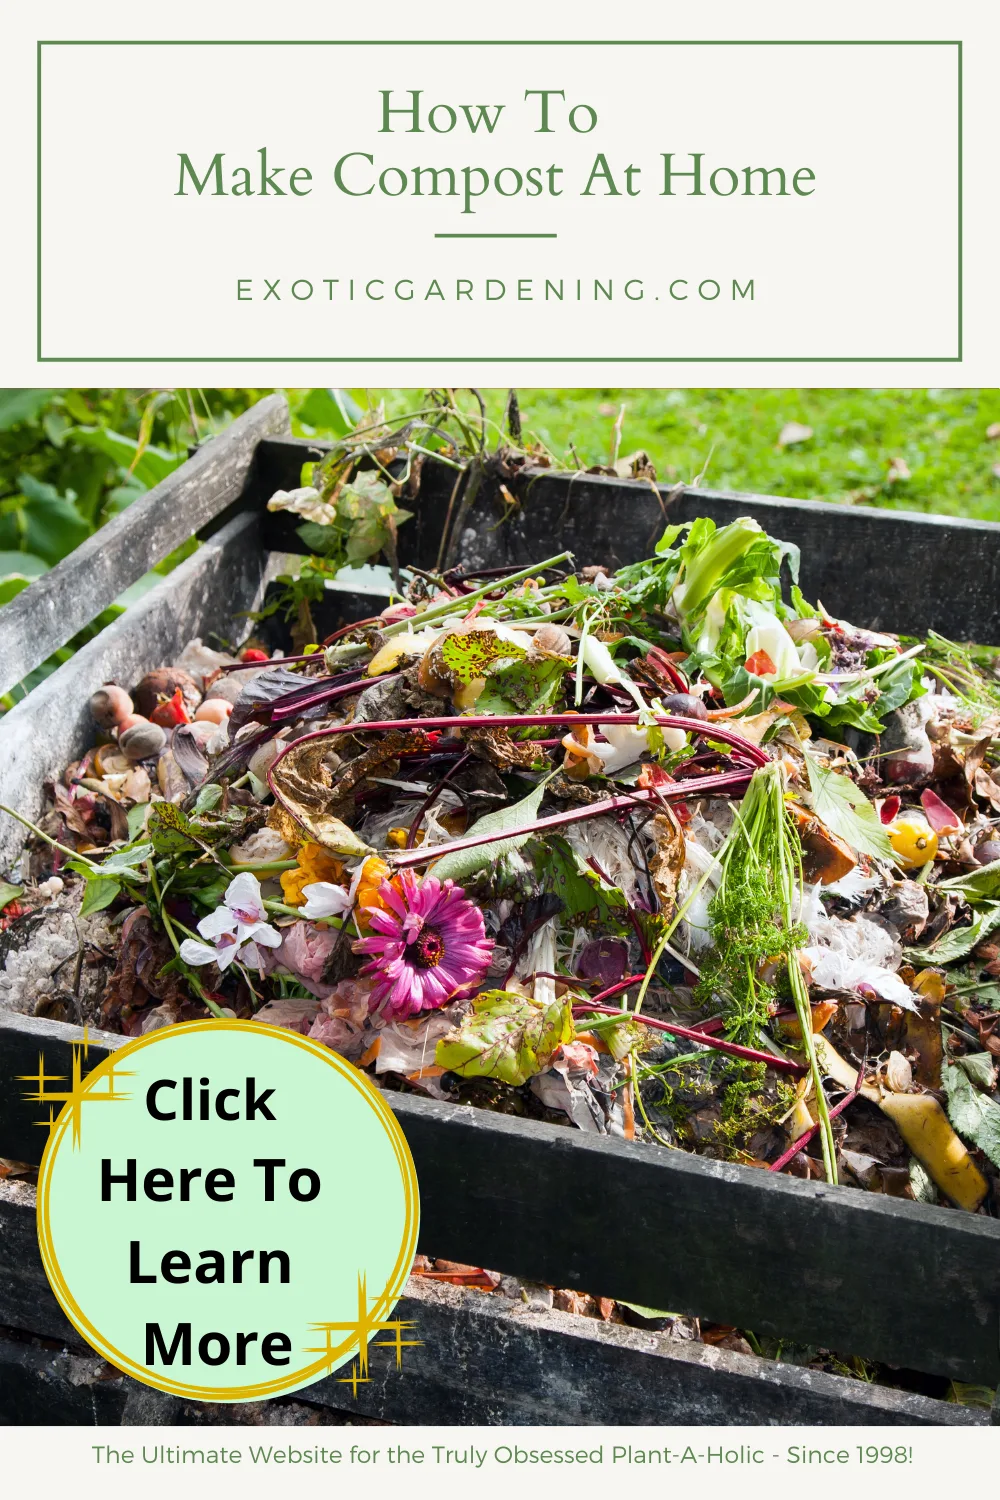
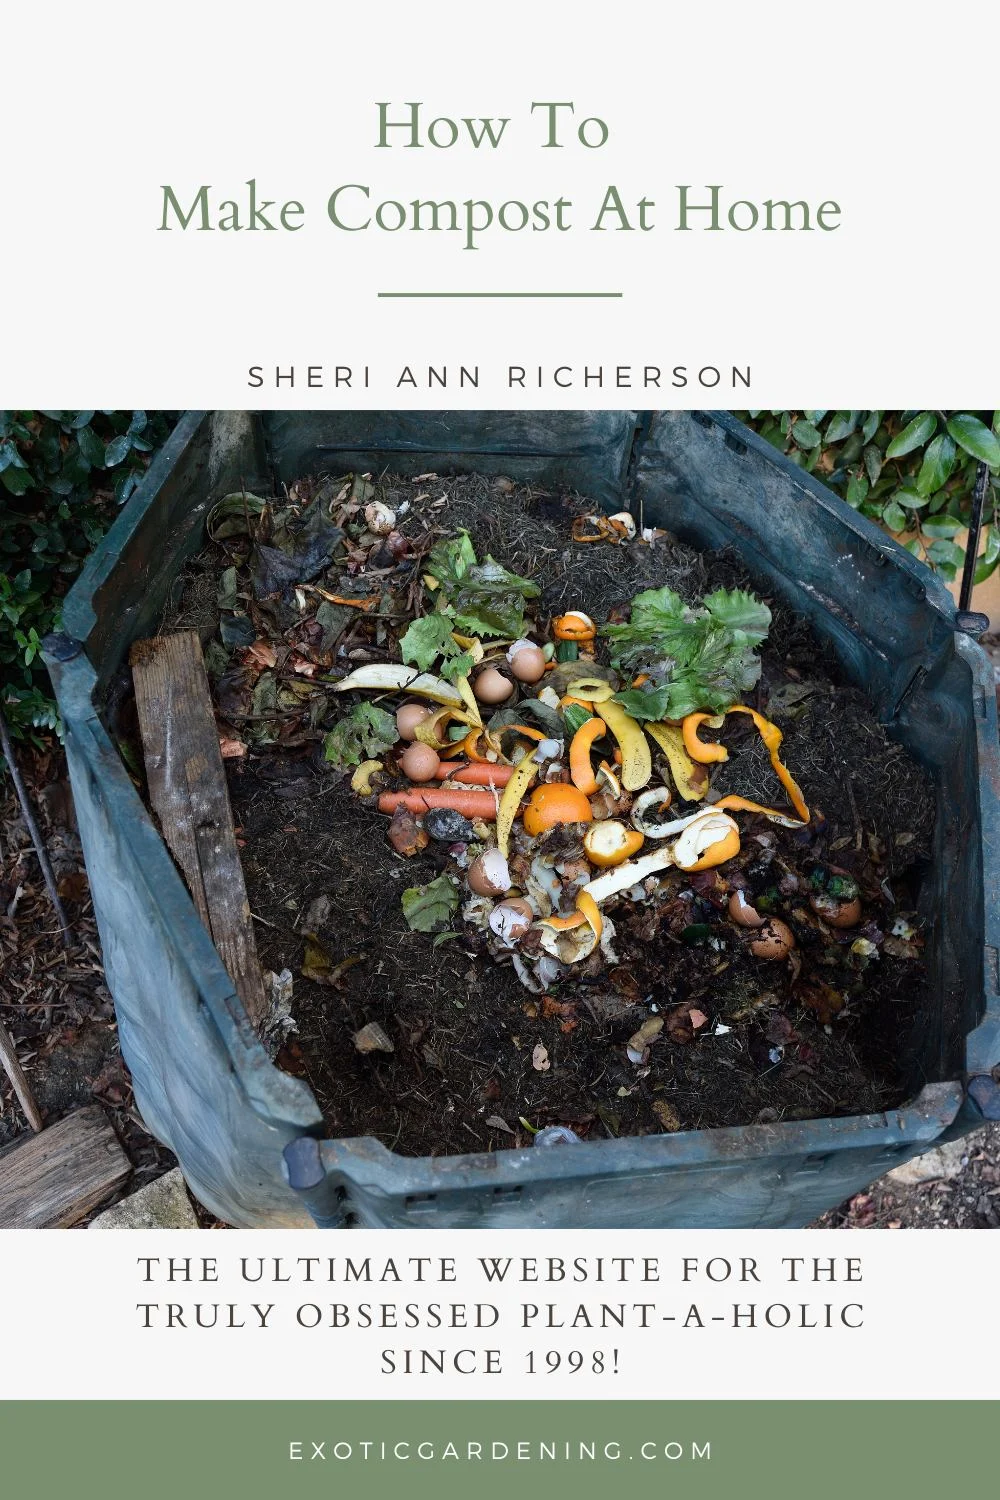
Learning how to make compost at home isn’t difficult to do.
More than likely you have all the tools and ingredients you need to start composting in your own yard and kitchen.
Why Compost?
Compost is the best way to improve your garden soil in preparation for planting.
It is the best way to make the richest garden soil possible and the result of that is healthy plants.
Using your own compost to make your own soil is an amazing experience.
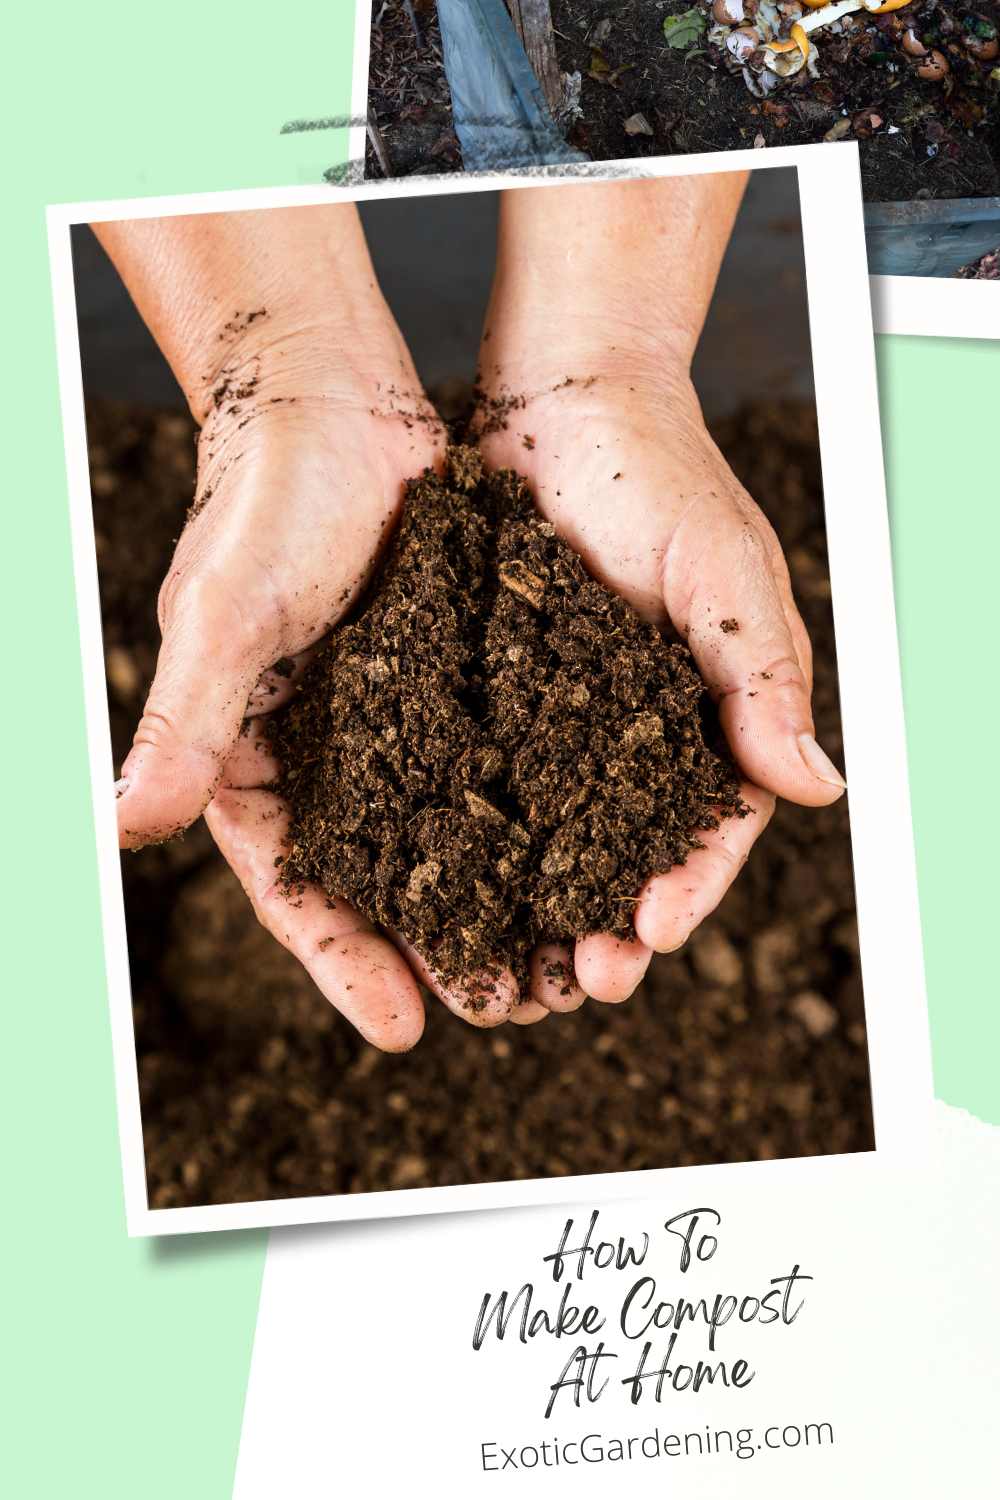
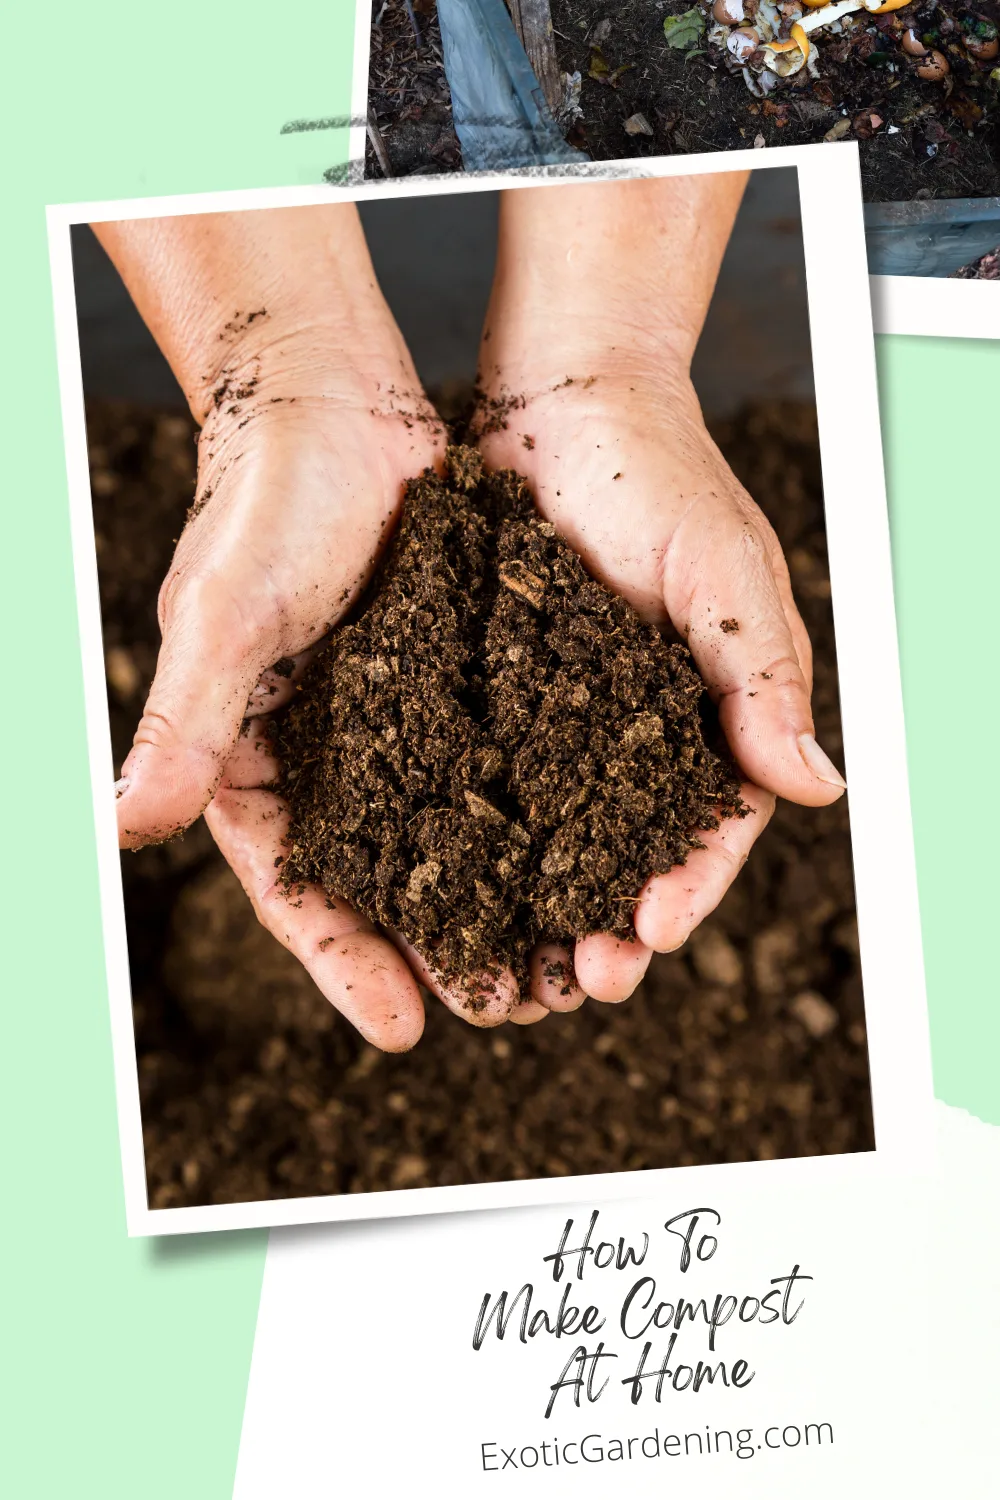
What you get when you are done is rich, black soil that smells earthy and is ideal for growing all kinds of plants in.
There are many advantages to composting.
The first advantage is you get free black gold for your plants.
The second advanage is you save waste from being hauled to the landfill.
The third advantage is you help to save the environment eliminate run off from your yard and having less need for pesticides in your own garden.
The Best Soil Amendment
Simply put, there is no better soil amendment than compost.
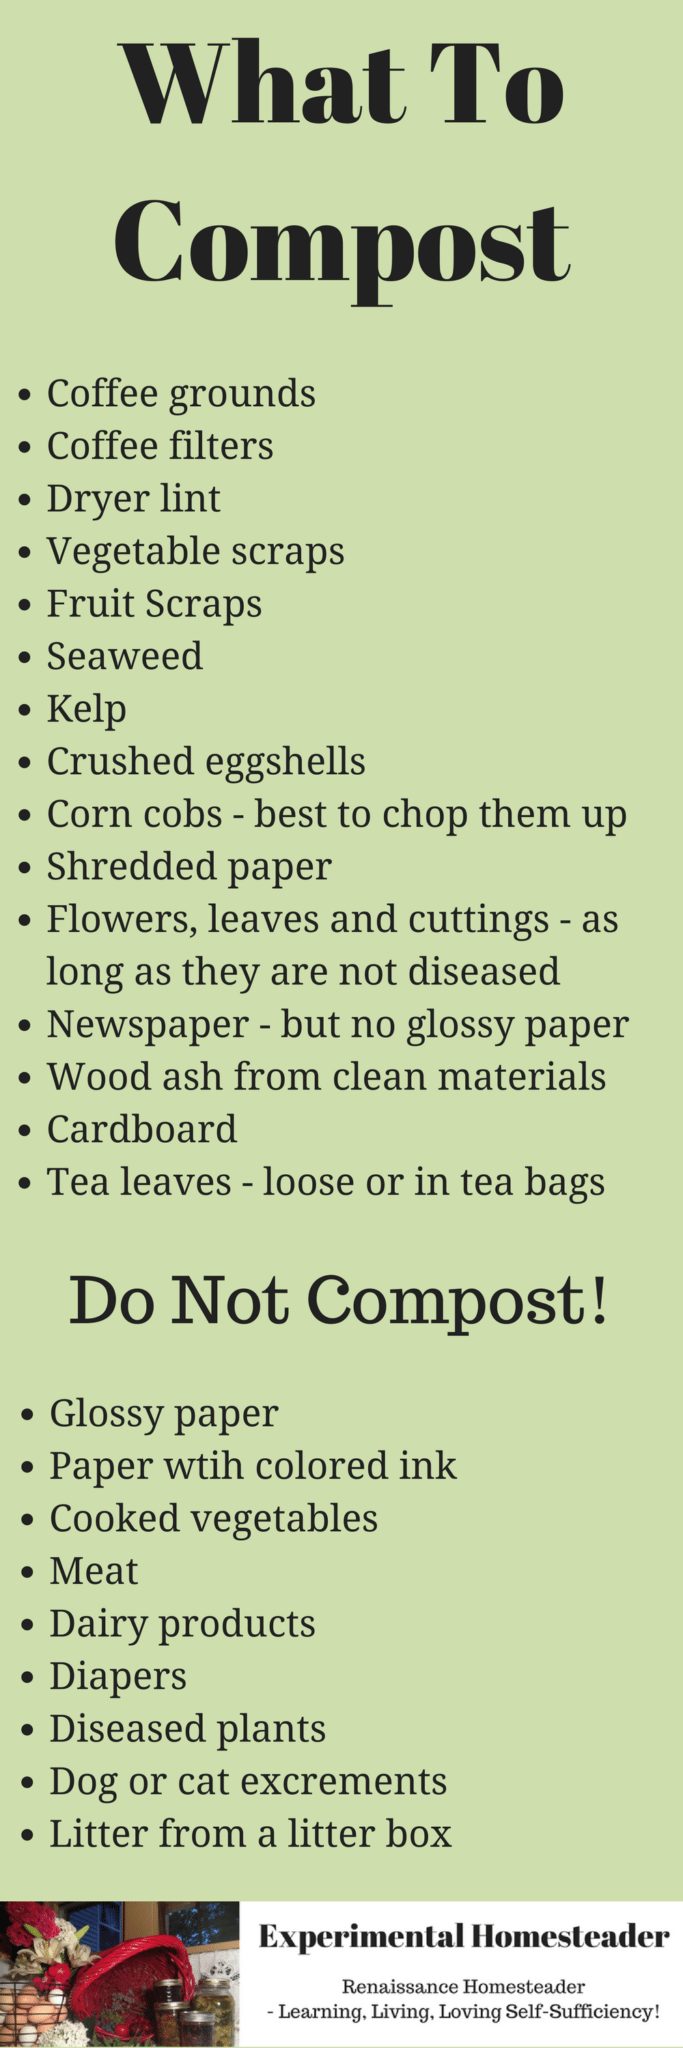
Black gold, as it is called, is made from organic waste that would otherwise end up in the landfill; items such as weeds, plant clippings, kitchen scraps, livestock manure, shredded paper, leaves and grass clippings, to name just a few.
When combined, these materials heat up, break down and turn into black gold.
The more you turn your compost pile, which adds oxygen to the mix, the faster the materials will break down.
However, if turning a compost pile is not your idea of a good time, try slow composting – it does work.
Compost – An Environmentally Friendly Option
Using compost to improve your soil helps to eliminate the runoff that so typically happens when synthetic fertilizers are used.
This is because the increased amount of organic matter in your soil allows water to soak into and travel through the soil to your plants roots, rather than to puddle on the surface or simply flow away.
Soil enriched with compost also holds fertilizer better.
When a heavy rain hits, if you have poor soil that cannot take up the fertilizers you have applied, those fertilizers wash away.
The run off often ends up polluting a stream, or harming local wildlife that drink the puddles of water they find.
Soil that is compost enriched generally does not need synthetic fertilizers because the compost provides everything your plants need to thrive.
You’ll also need fewer pesticides if you even need them at all.
Super-healthy plants are less susceptible to disease and insect attacks.
Less chemicals in your garden encourages beneficial insects to take up residence and they will deal with the few insects that do try to invade.
Creating compost is all about not wasting or polluting precious natural resources.
This is something we all need to find a way to do.
It is also about finding a better, more environmentally friendly way to garden.
Composting allows us to work with the natural flow of nature.
We can learn how to garden by the seasons using compost to warm and enrich our soil.
We can turn waste into a reusable product that does not require any non-renewable resources nor harm the environment in the process.
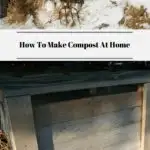
Making compost at home is a five step process and the really good news is you can start the process today, right in your own kitchen or backyard by simply saving fruit and vegetable scraps you might otherwise throw away or by collecting leaves or grass clippings.
Here is how to get started making compost at home.
Step #1: Gather Carbon-Rich Materials
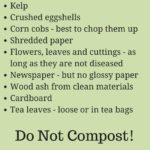
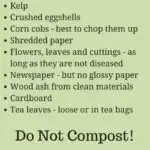
Shredded newspapers, tea bags, coffee grounds, egg shells, fall leaves, straw, dead flowers as long as they did not die from a disease work great as brown materials.
Spread carbon-rich materials around a 3-foot by 3-foot area, making the pile about six inches inches thick.
This pile can be put directly on your garden or contained inside of a compost bin.
Be sure to do this in a sunny location of your yard.
If you’re not using a compost bin, use big sticks and fallen branches to create a base area, however be aware that this material does not break down quickly, so be prepared to use the slow compost method instead of trying to turn the pile.
Step #2: Add Nitrogen-Rich Materials
Now take green materials like grass clippings, weeds, hedge trimmings, kitchen scraps such as raw fruit or vegetable peelings or raw bones (no meat or dairy), and livestock manure (goat, poultry, horse, cow, sheep – no dog, cat or shavings from small animals other than rabbits) from non-carnivore animals.
Chicken manure works great and yes, while it is not green in color, it has lots of green stuff in it.
Layer this mixture on top of the brown materials you already piled up.
Make sure the green materials are approximately two inches thick.
The ratio to remember is three times as much brown material as green material.

Step #3: Add Garden Soil
On top of the green and brown materials, add a thin layer of garden soil.
For those who choose to use a soil mix instead of their garden soil, choose a soil mix that is organic, free of fuel-based ingredients and peat moss.
If you already have prepared soil from your garden, it will work better to add some of that into your compost mixture rather than packaged soil that could have ingredients in it that you don’t want to use.
Step #4: Prepare Area
Next make another layer with brown materials.
Moisten the layers, then add several more layers until your pile is at least three feet tall.
Keep in mind you are looking for a ratio of three parts brown materials to one part green materials.
It doesn’t matter how many layers you put, just keep in mind this ratio as you make your layers.
Step #5: Have Patience
Over the next few weeks, turn the soil with a fork or shovel every couple of weeks to incorporate oxygen into the compost pile.
You want to move the materials from the inside of the pile to the outside of the pile.
Keep the pile moist but avoid allowing it to get soggy.
If you need to tent it or cover the pile with a tarp to prevent rain from washing it away, that is ok to do.
You can also put all the ingredients into a special container called a compost bin to protect it if you prefer.
Plus, you won’t harm the environment; in fact, you’ll improve the environment because you are no longer adding more stuff to your local landfill.

Final Thoughts
The amount of time it takes to go from raw material to finished compost varies depending on the composting method you use.
The most important thing to keep in mind is not to use your compost until the natural reactions that occur in the compost pile are finished.
Once this happens, your compost is cured and ready to use.
Cured compost is not hot – and you do not want to use hot compost unless you are using it in early spring to warm the soil because hot compost can fry a plants roots or kill seeds.
Cured compost is dark and crumbly with no “organic” smell.
To use your cured compost, add a three inch thick layer on top of the soil making sure it does not directly touch any plant stems or alternatively add a small layer to the top of the soil in your container gardens.
Do this every spring and soon your soil is going to be full of all the necessary nutrients your plants need.
This is the process to build healthy organic soil – and while it does not happen overnight, once your soil is healthy you will notice a difference in the health of the plants you grow and the harvest you reap.
Soil Amendments


Linkyo Stainless Steel Kitchen Compost Bin Review
A kitchen compost bin is a must for many people. Find out what features the Linkyo had that I loved and what compost bins I recommend.

When to use Fluval Stratum for Houseplants
Discover the perfect timing to use Fluval Stratum for houseplants and unlock vibrant growth in your indoor oasis. Learn more here.


Soggy Soil Woes? Learn How to Fix Waterlogged Soil in Pots!
Learn expert tips on how to fix waterlogged soil in pots. Revive your plants and create a healthier, thriving garden.